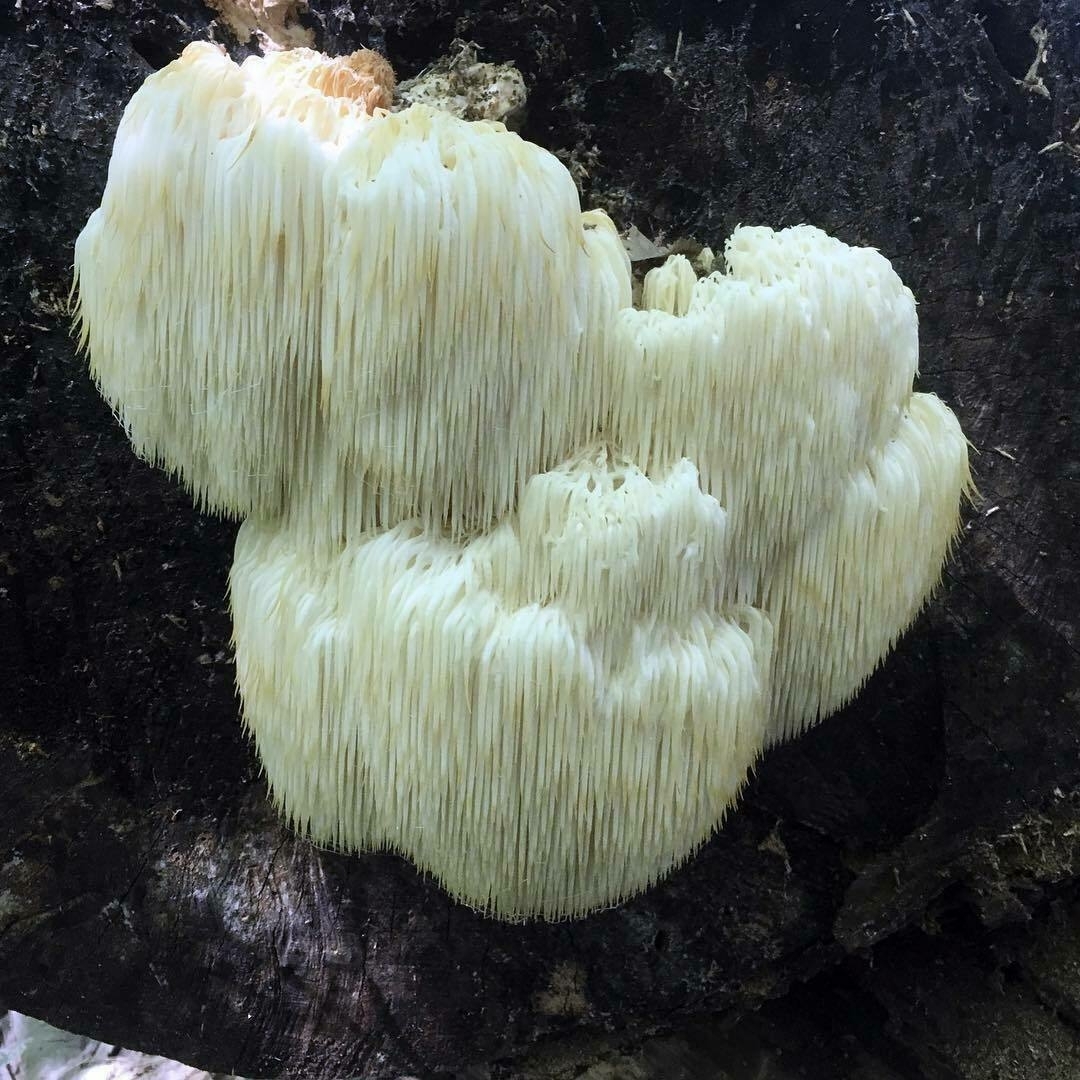
Found this clump of Bear's Head Tooth mushroom today on the C&O canal near Brunswick, Maryland. Over two pounds! We ate about a third of it for dinner. What a find.
[gallery size=full columns=1]
[gallery size=full columns=1]
You are the product: https://www.lrb.co.uk/v39/n16/john-lanchester/you-are-the-product
The Living Earth iOS AP is underrated.
Setting up a new Synology NAS is no easy task. Amazing appliance.
In light of the new Ulysses subscription pricing, I’ve been testing out the Bear writing app for Mac to see if it meets my needs (it’s a lot cheaper for annual subscription). I like it. I’m also using the Unclutter app, from the makers of DaisyDisk.
With Unclutter, it’s really easy to create new notes on the fly. You just move your mouse up to the top of the menu bar, drag down, and you’re presented with a field to start typing in notes. I love this. It’s fast and I don’t need to first open an app. As an aside, Unclutter presents three panes: one holds clipboard items, one stores files, and one is for jotting down quick notes. It’s very handy. But this post is just about the notes pane, which I tend to use the majority of the time.
And the majority of the time, I’m typing in notes that I only need to maintain for a short time. Say, for instance, when I’m on a call and want to quickly log some notes. Those notes remain within Unclutter until I’m done with them, then I delete them.
But on occasion, I want a new note to be copied over to the Bear app. Bear is where I hold longer-term notes. Here’s a very easy way to do that using the Hazel, a brilliant Mac automation tool.
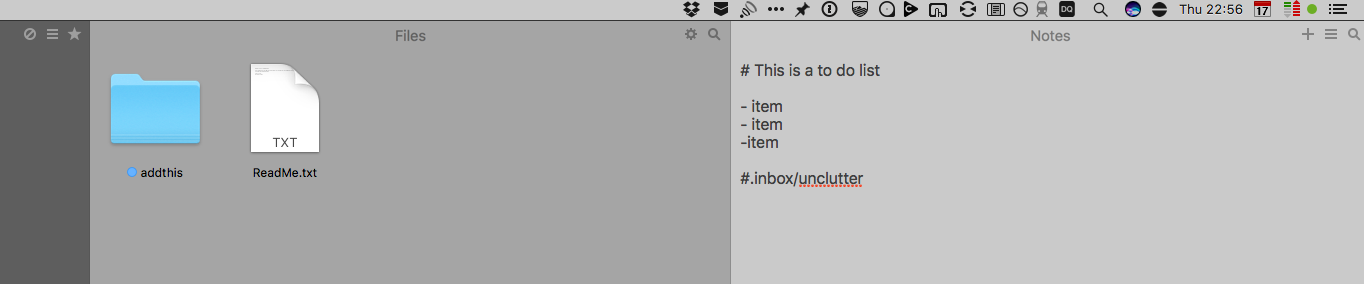
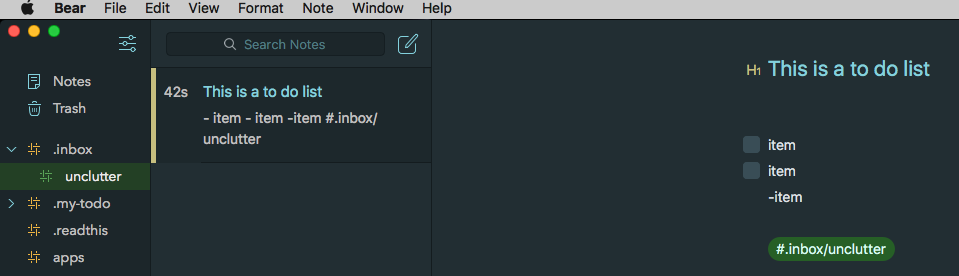
When I create a note in Unclutter that I want to save in Bear, I add a tag. In my case, I call it #.inbox/unclutter. In Bear tagging structure parlance, this means that I want this note to be in my inbox (#.inbox) with the sub-tag of unclutter. This works similar to traditional folders: the note will appear nested in my inbox tag. The ‘.’ in front of my inbox tag ensures that this frequently-accessed tag is sorted (alphabetically) near the top of my list of tags, which is handy since the “inbox” is always where I start when I fire up Bear. It’s where I store items to be further processed. So here’s a note I created in Unclutter (using markdown) with the ending tag: #.inbox/unclutter:
In Hazel, I created a rule to scan for texts in the Dropbox folder where Unclutter notes are stored. That rule searches for the tag: #.inbox/unclutter. When it sees that tag, it automatically copies the text note into Bear. Here’s what that rule looks like:
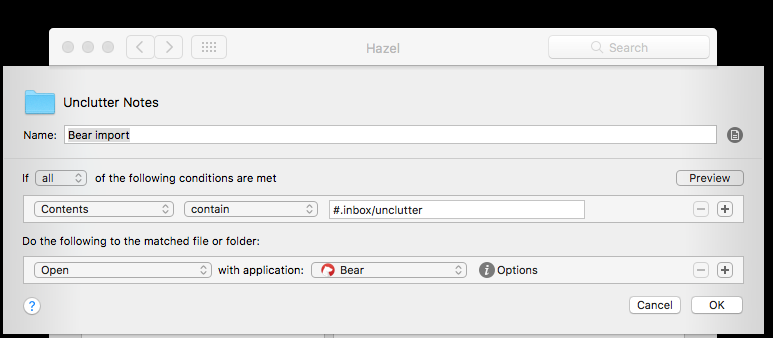
And once the Hazel rule runs, my new Unclutter note is copied into Bear.
Why do I want to do this? I’m generally using Unclutter as a really fast way to jot down notes. For most of those notes, I don’t want to save them for posterity. They’re just quick single entries for when I need to get some text down with no fuss, without needing to open an app. But sometimes I create a note with content that I intend to either build upon in the future, or want to copy/move to another text note housed within the Bear app. For those notes that I want to save for the longterm, I add just add the tag at the end and it’s waiting for me in Bear.
And another take on subscription apps.: medium.com/@simardca…
Good perspective on Ulysses decision: davidhewson.com/2017/08/1…
The increasing number of subscription apps just means we consumers need to make some hard choices about what we really need. I’m experimenting with Bear now. Apple Notes, while free, isn’t for me. We’re lucky to have so many good choices.
I paid for the Ulysses desktop and iOS apps a long while ago. I’m fine with their new subscription model and respect why they went in this direction. I don’t think it’s for me, however. It led me to evaluate my needs.
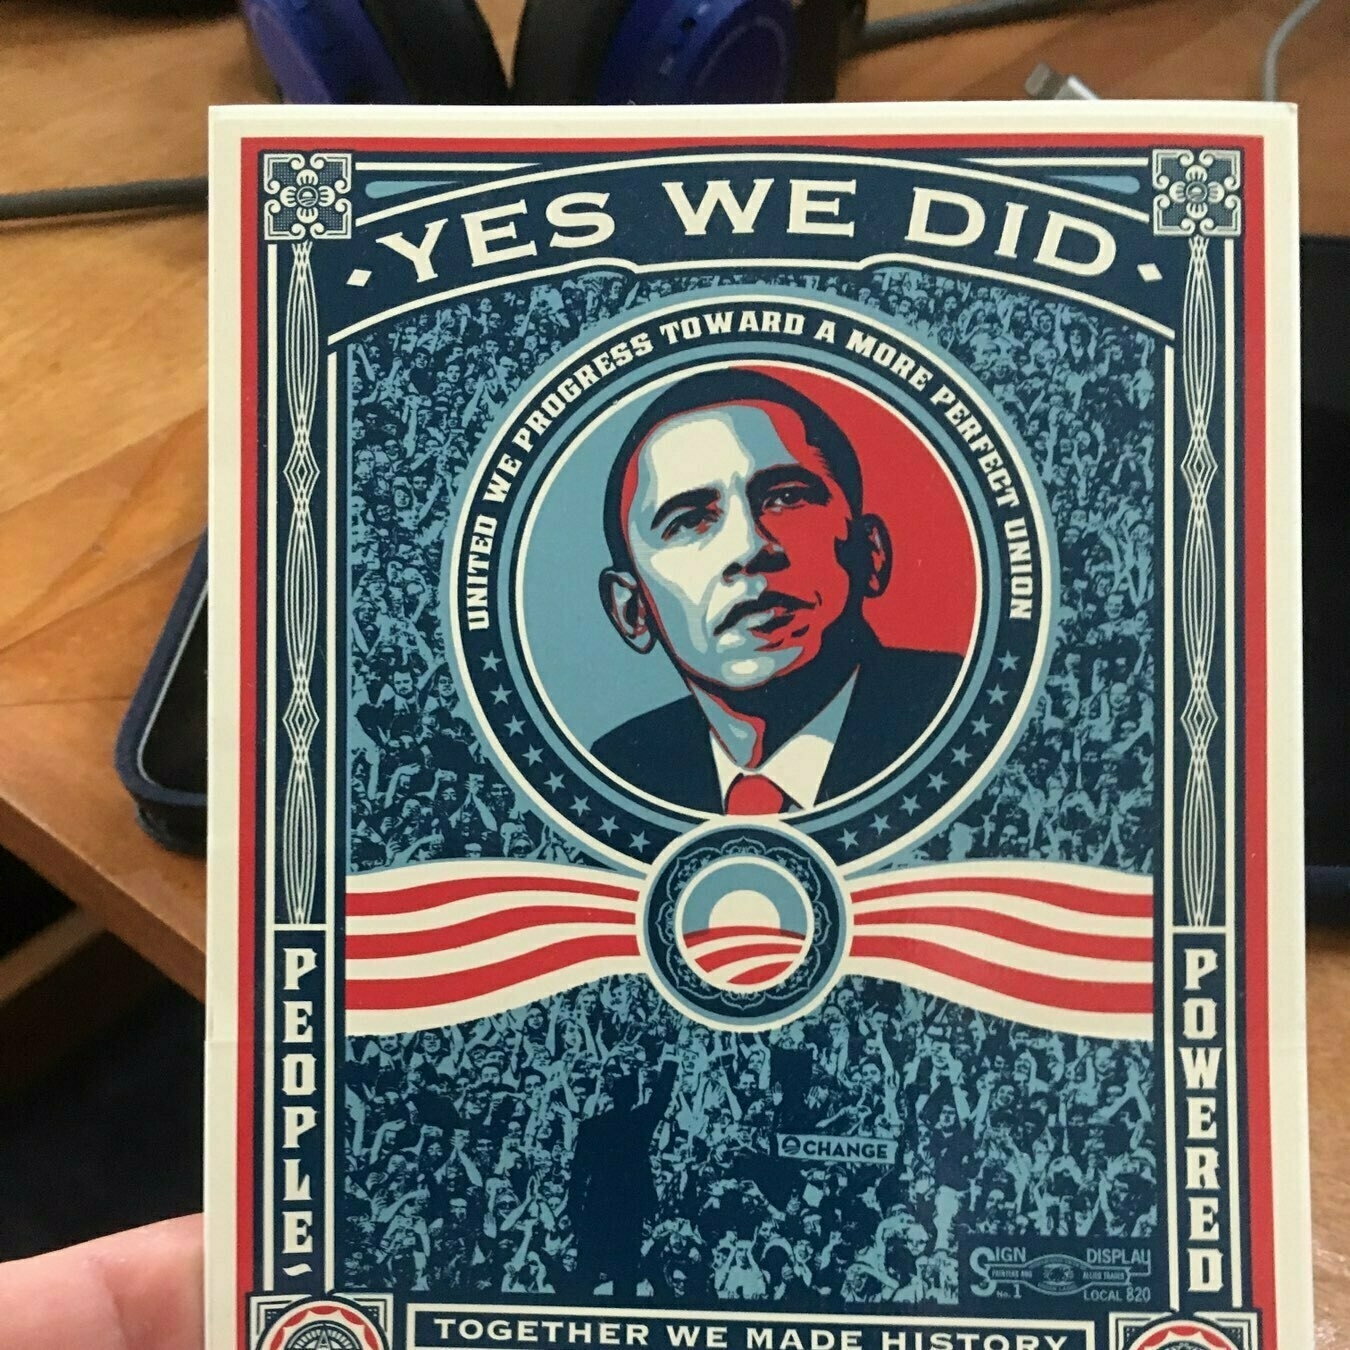
I came across this sticker today. Got me thinking about the hope I felt for our nation in 2008. And now, in 2017…