Where the Gunpowder tailwater begins — at Prettyboy Reservoir in Baltimore County, Maryland — it’s ranked in the top 100 trout streams in the nation by Trout Unlimited and is a joy to fish (on weekdays when not crowded). Visited the reservoir dam today and it was just beautiful. The swallows own this place.
Troy Kitch
The mountain laurel is blooming in Gambrill State Park near Frederick, Maryland. And this is my first post on micro.blog after migrating my website.
The completed shaving horse. I had a large black walnut fall in my yard, so I wanted to create some spoons from the Greenwood. I needed a shaving horse to hold the limbs for the carving work, hence this project. In a nutshell, you site on one side and push against the bottom bar to hold the work piece. The top where the work piece goes has a sheet of leather to keep the wood from moving around.
Here's the complete project.
Holes are drilled to fit the adjustable arms.
A view of the base in assembly.
The block is used as a wedge.
Each leg has a recessed mortise to fit the cross bar.
Here's what the underside of a leg looks like, attached.
A finished leg.
The mortise set-up.
Each leg, assembled.
Cutting the cheeks.
The hardest part was probably getting the feet angle correct.
Here was a challenging project from a few years back that I neglected to post. It involves some difficult joinery.
It looks great from the side.But the joinery in the back is not so nice. It's functional as a square, though, so I'll take it.The project was mostly an exercise in chisel work to clear out the wood.The arm of the square showing the joinery. The curved handle was cut with a bow saw and smoothed out, no big deal.The handle after cutting out the mortise and dovetail, with the completed arm in the background.
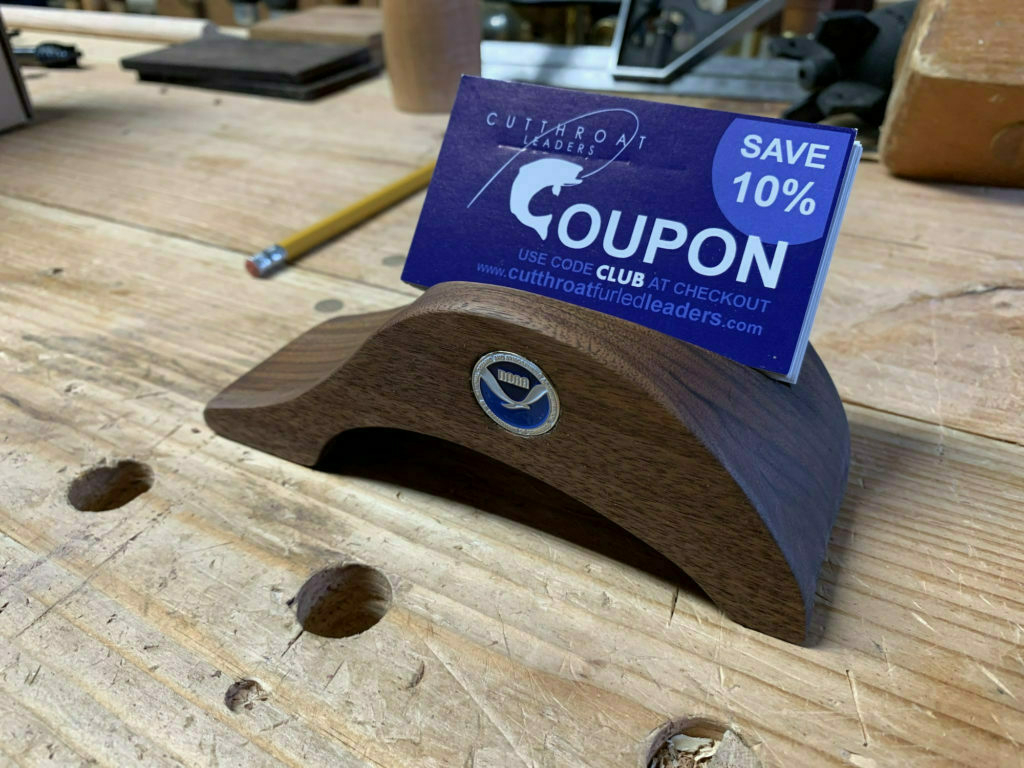
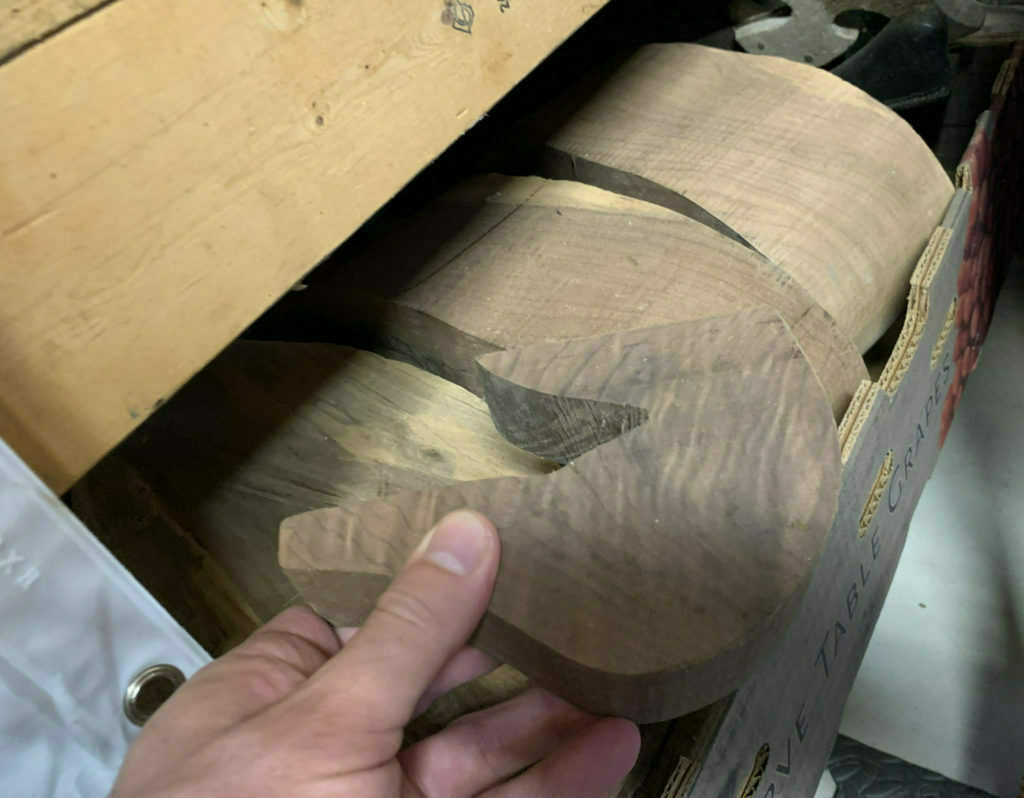
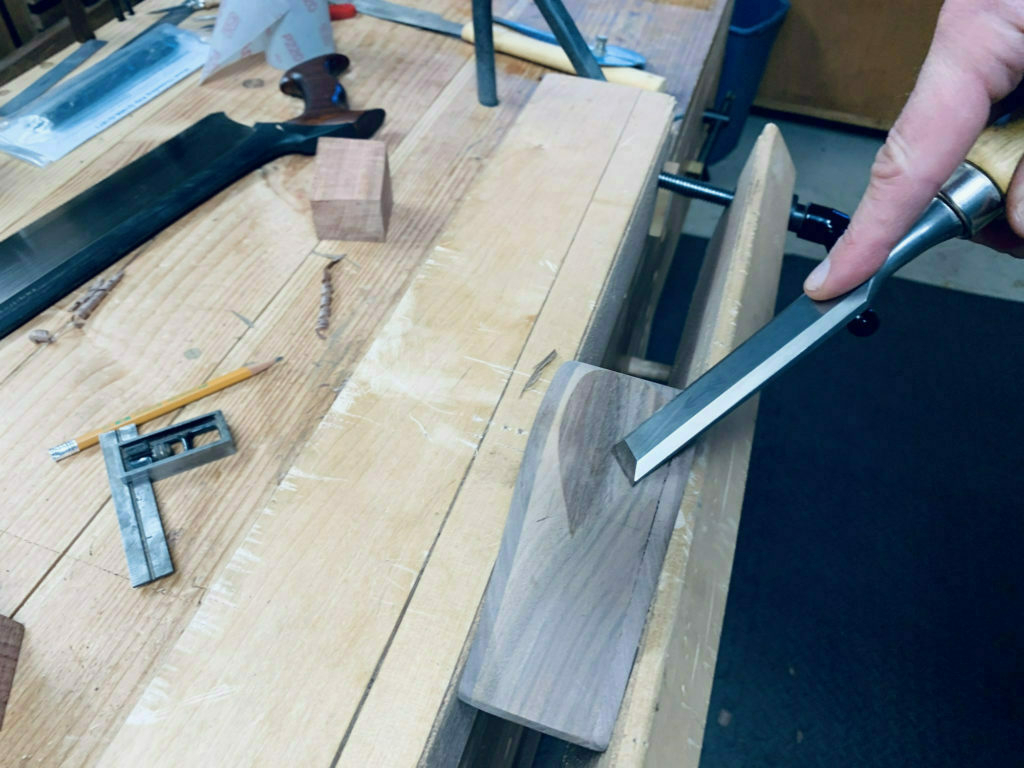
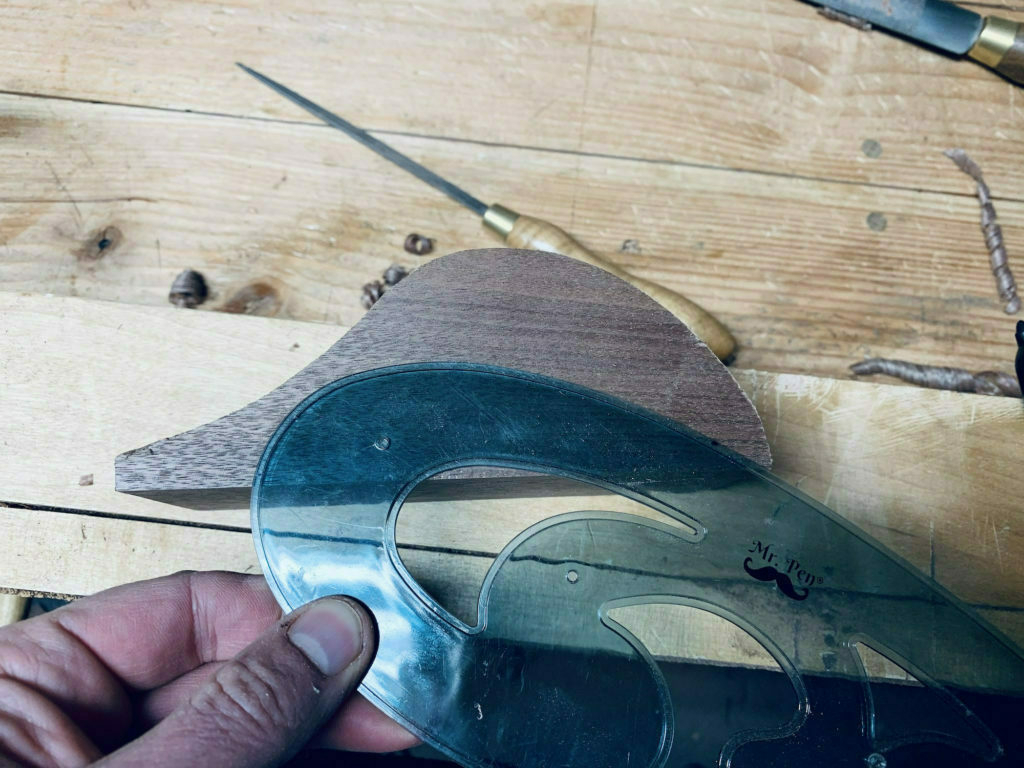
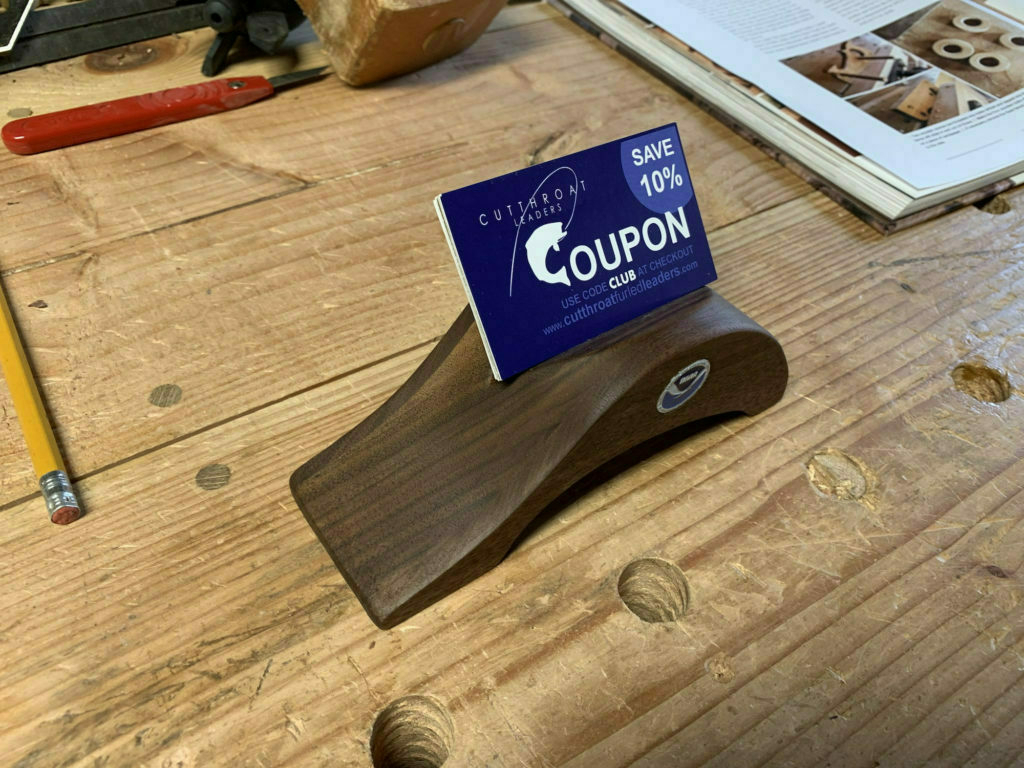
This is a weird little item, created from a bit of walnut I had no idea how to use: I friend gave me some duck body and head blanks. As I'm not a carver, I'm still figuring out how to use these. For one duck head, however, I decided it was a nice shape for a business card holder. I made this for a colleague who transferred to a new job. As we work for NOAA's National Ocean Service, it occurred to me that the duck head shape had a bit of an ocean wave flare to it. So that's what I hope it evokes.
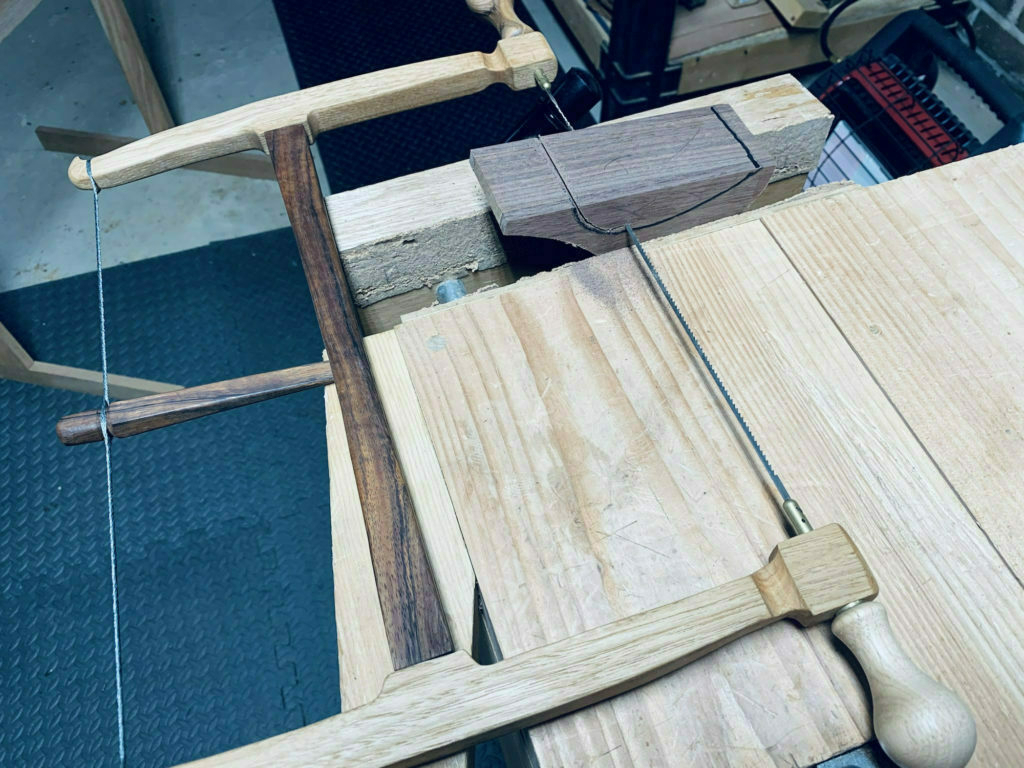
Here's the starting point: a duck head blank. In the background, you can see the bodies I have yet to decide what I should do with.The duckhead was a bit too thin for a stable card holder, I reckoned. So I added walnut strips to the front and back. It adds a bit of complexity, but I was determined to make this work.Cutting the notch for the cards was just a matter of eyeballing it.And cleaning it up with some chisel work.I added a nice bottom wavy curve.And sawed it out. The final shaping was with my files.Here's a view of the final card holder. I got ahold of a lapel pin from the place where we work, cut off the back, then cut out a hole to fit it nicely.Here's the front view with some sample cards. I think it turned out quite well!
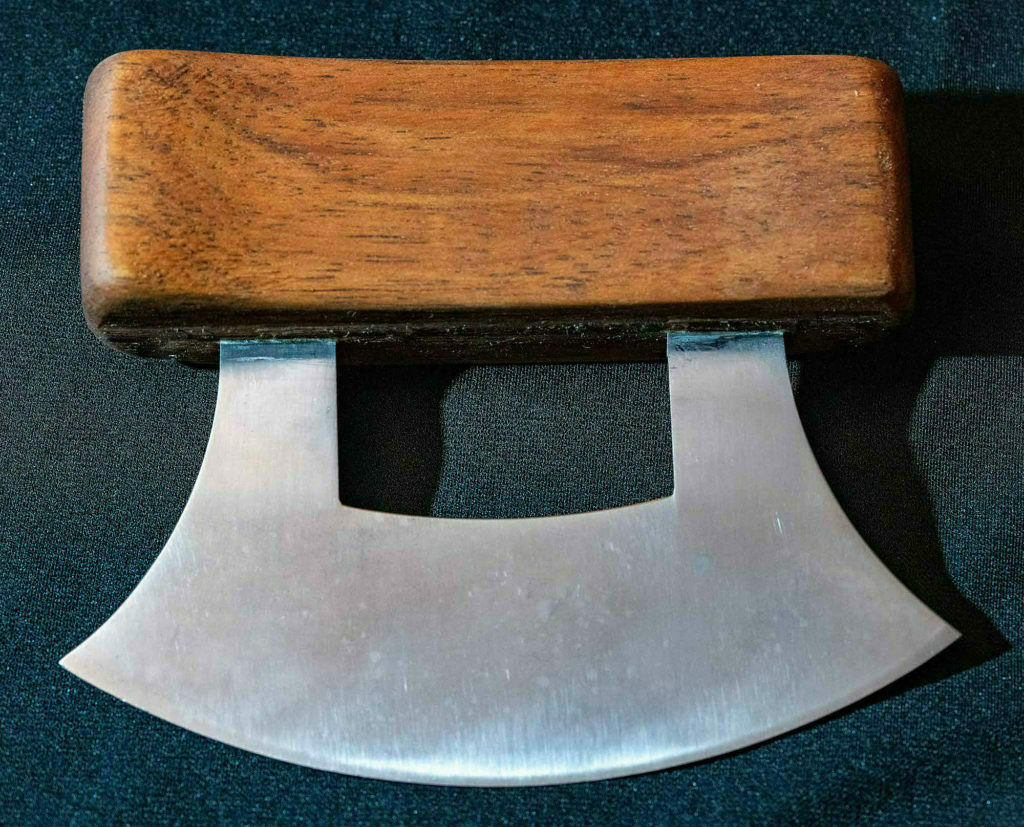
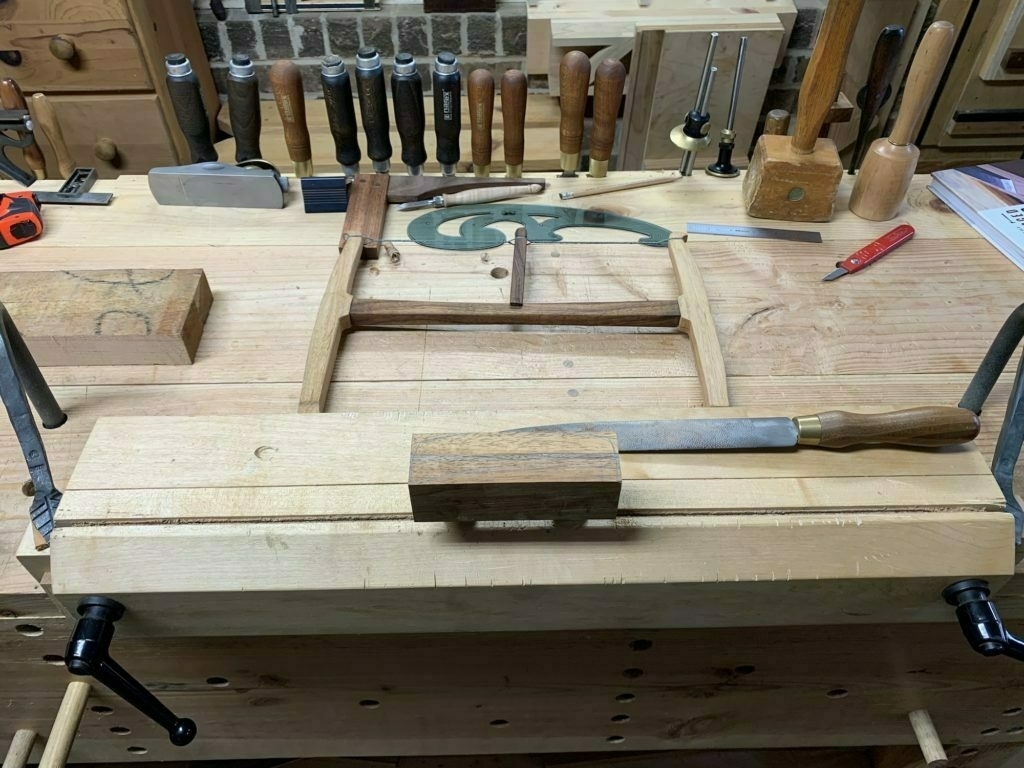
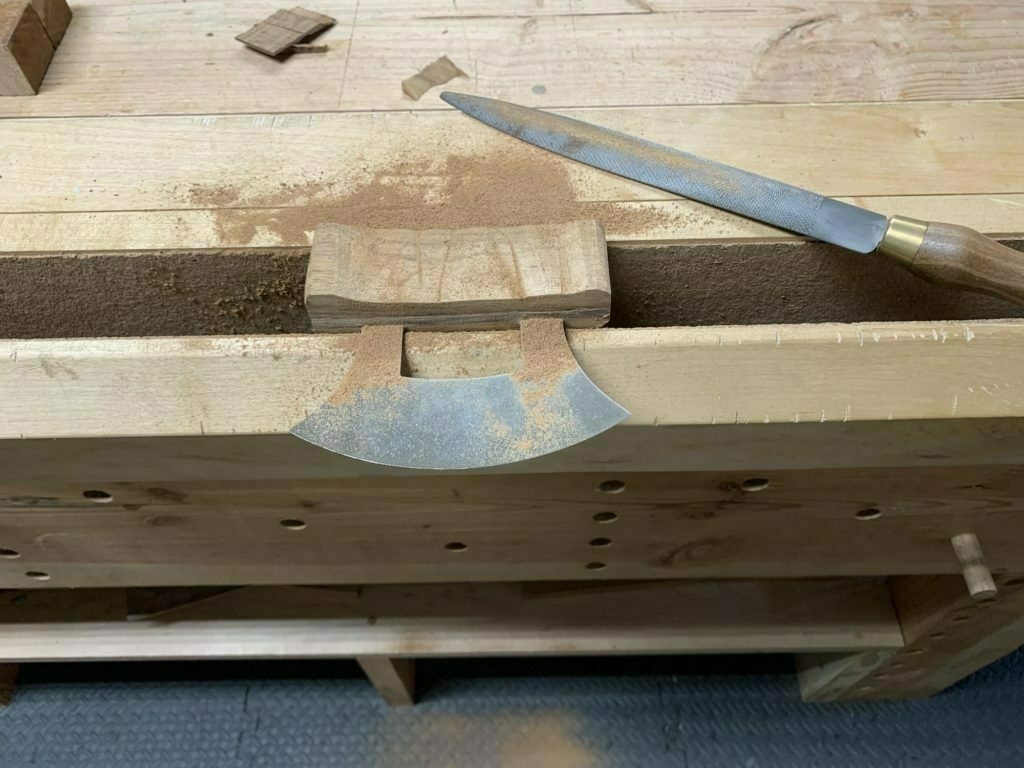
Woodcraft sells a simple Ulu knife kit. A while back, I picked up five of them because they were on sale for something like half off. Not much to these. Just a blade and some optional rivets. The only mildly difficult part is creating the tiny little mortises where the handle will sit.
I neglected to take a photo when creating the 3/64" deep mortises, but it's pretty easy to do with a tiny chisel. I could have used a tiny router plane. Someday, I may pick up on of those.After I rough cut the shape I wanted with a bow saw, I switched to my miracle files from Auriou (as I call them) to shape it well. These files are expensive because they are handmade in France. They are worth every penny.Nothing fancy, but functional. This handle is from a scrap of bubinga. I made it extra thick and nicely rounded, as it was a gift for a person with large hands.
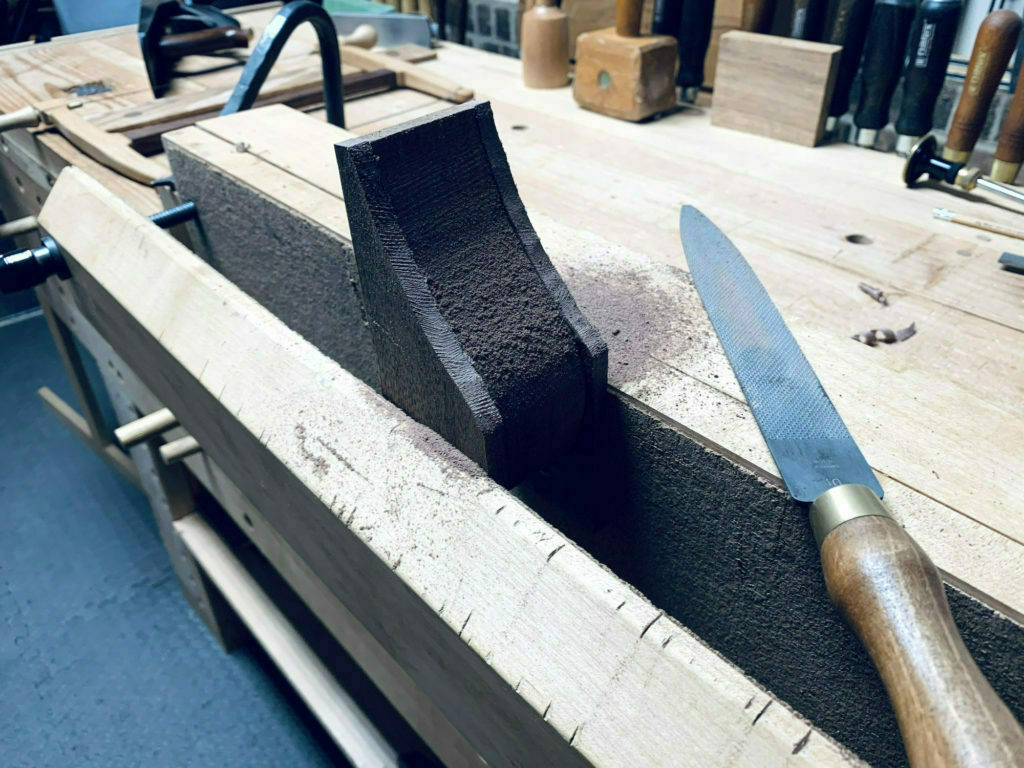
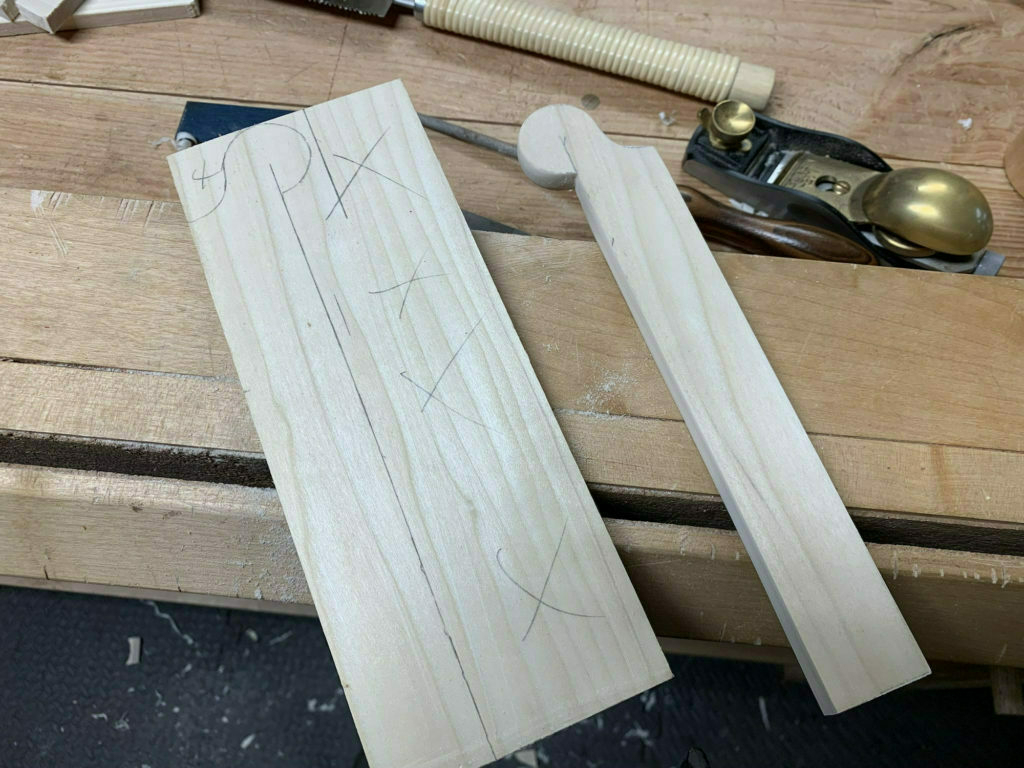
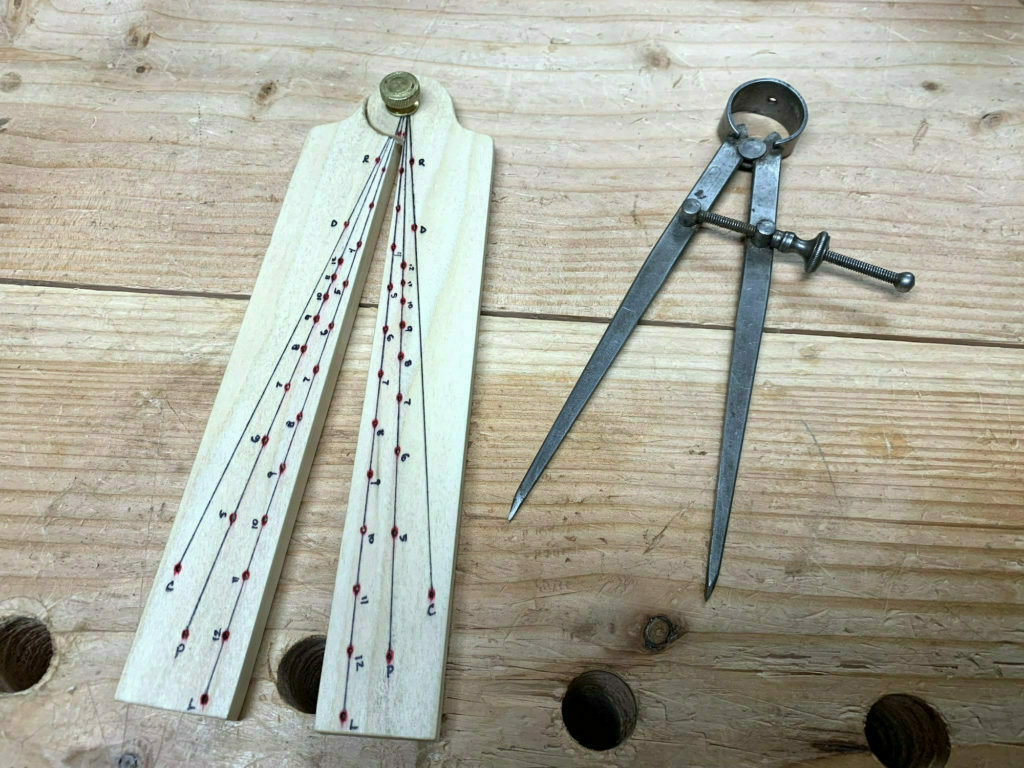
What is a Sector? Here's an excerpt from Lost Art Press, where free instructions and template are available to download:
If you haven’t heard of the sector, it probably means you aren’t an artillery officer or a ship’s navigator working in the 17th century. An invention attributed to the great astronomer Galileo, the sector was a calculation instrument comprised of a pair of hinged plates engraved with a variety of scales that – coupled with a pair of dividers – enabled the operator to calculate proportions, polygons, trigonometric and numerous other table functions.
— Lost Art Press
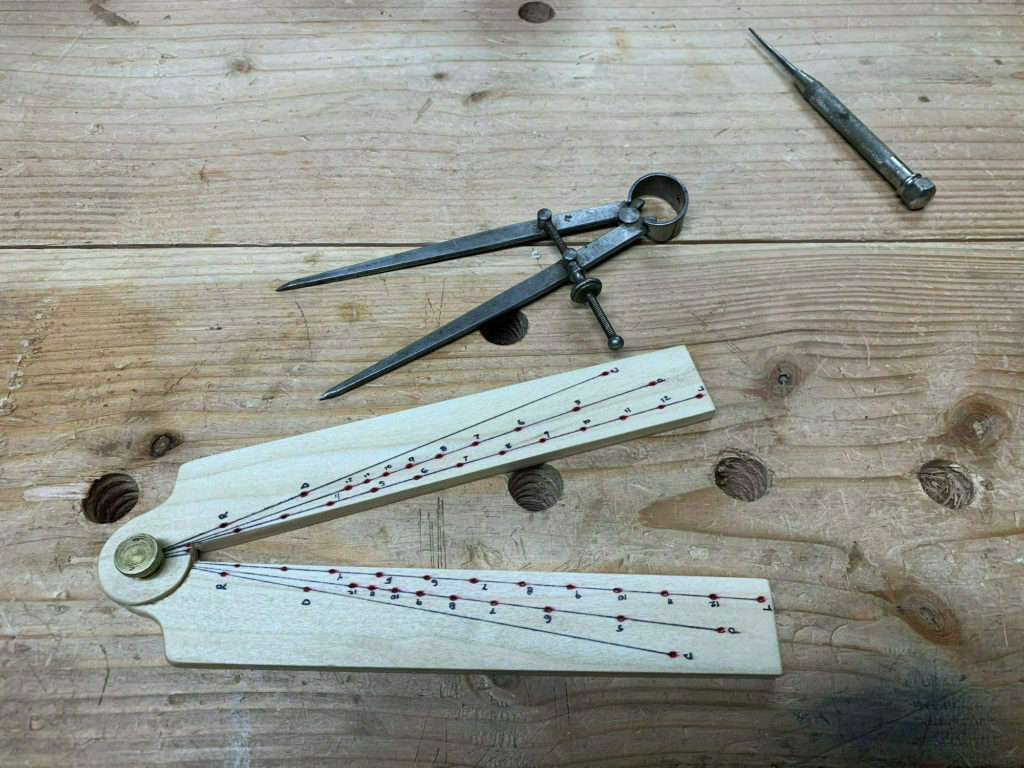
While I could have made one out of paper and laminated it, I decided to make one out of scraps of poplar.
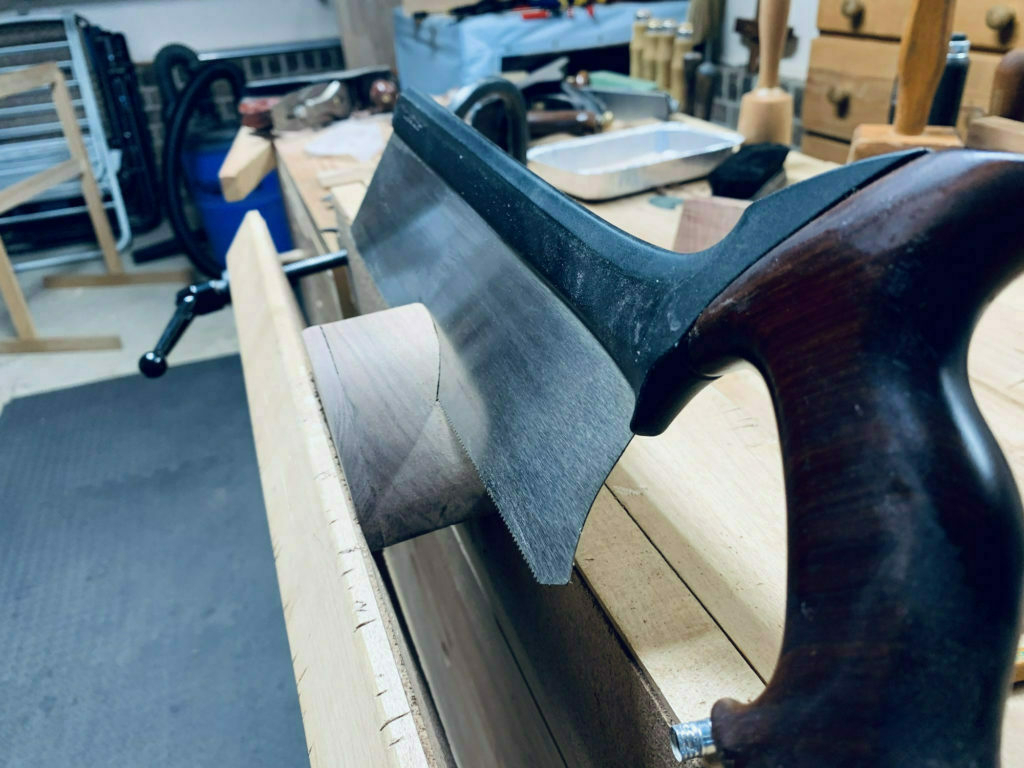
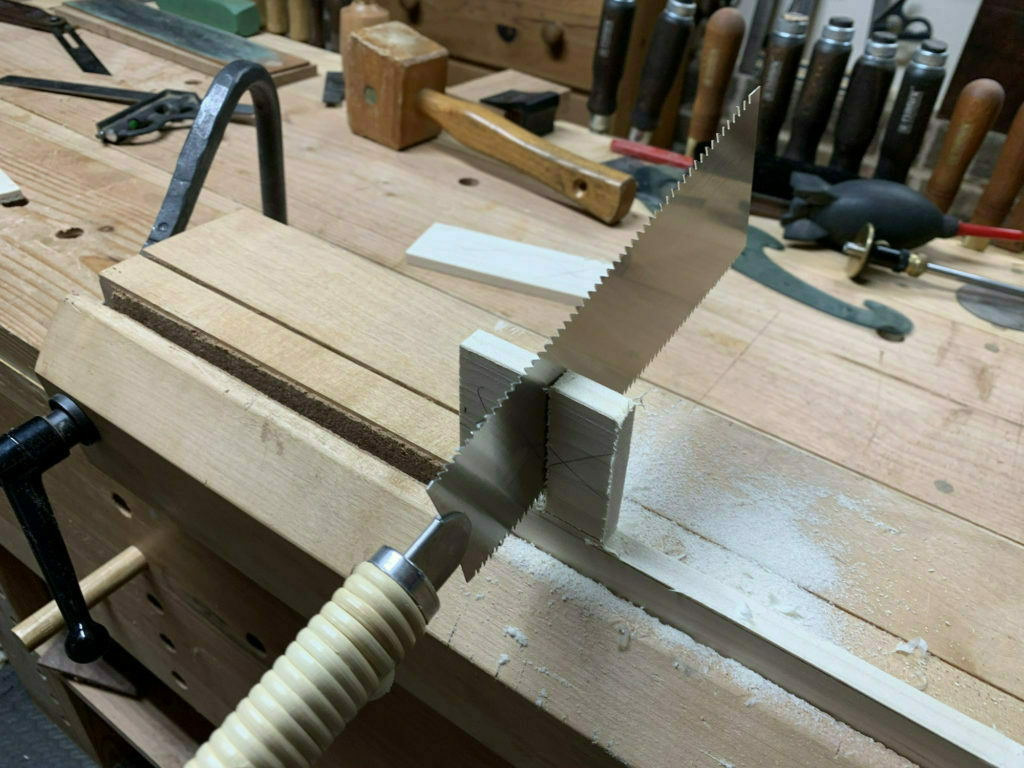
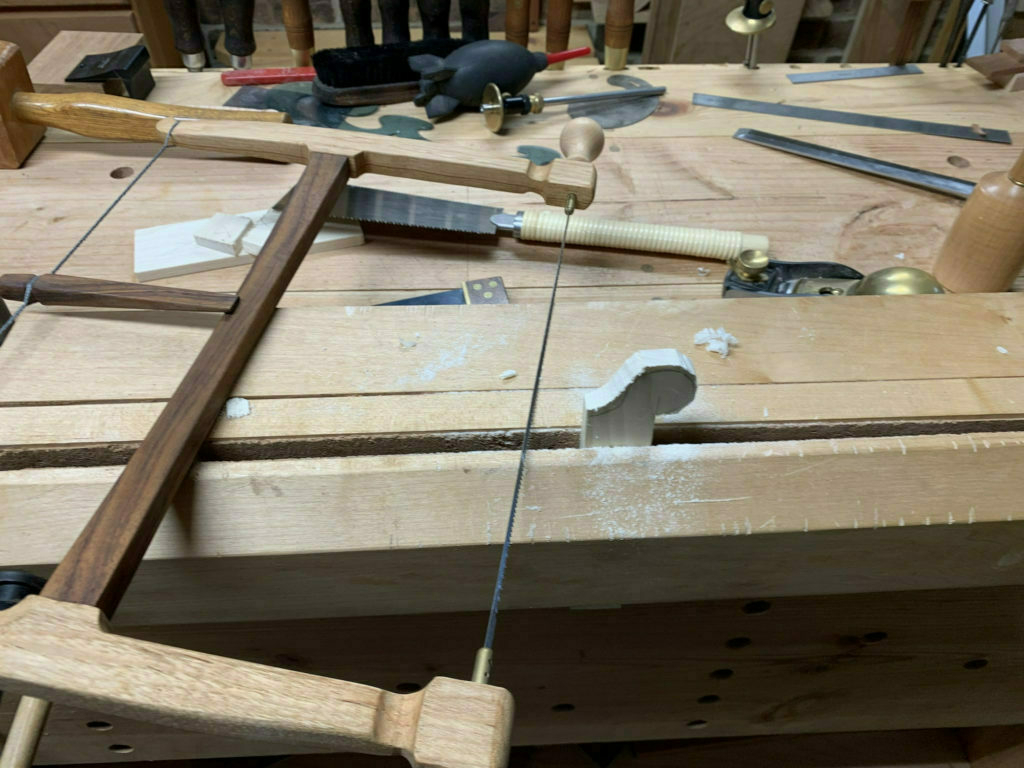
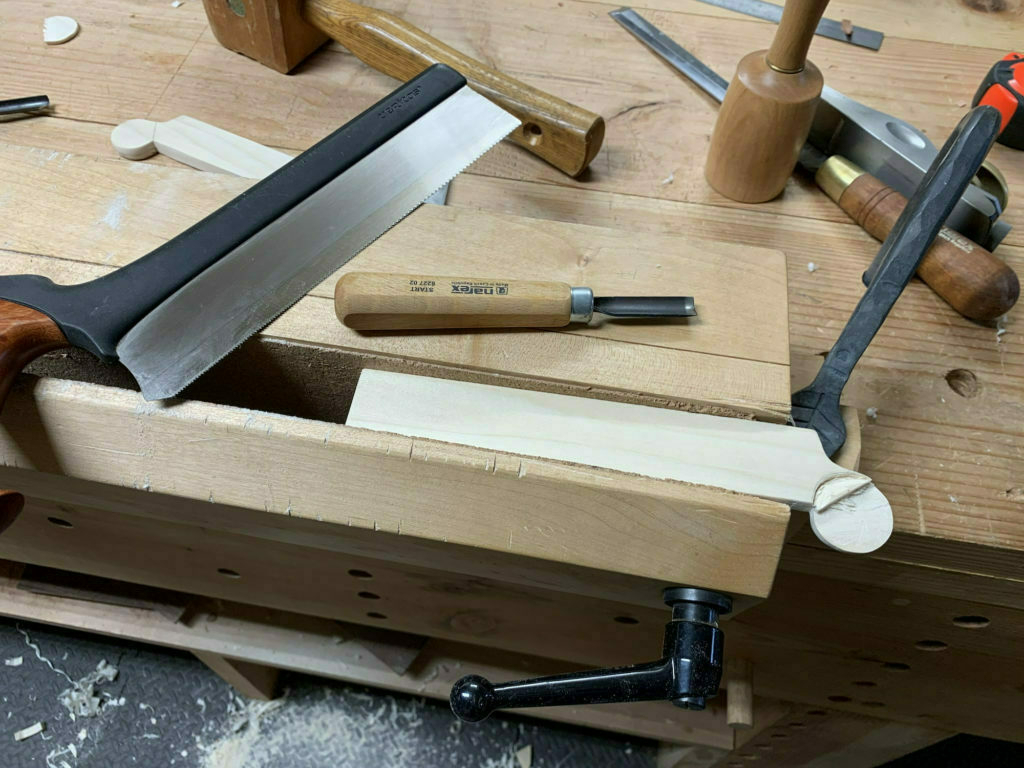
I started with a print-out of the template from Lost Art Press and used it to transfer the shape of the tool to the wood.I used a Japanese saw to slice it up.A bow saw and some file work made quick work out of shaping it.For the rounded top where the two sides of the sector are attached, I used some carving tools to carefully reduce the width. Then I drilled a hole through each piece to fit a brass screw I had on hand.With the paper template as a guide, it was pretty easy to map out the lines and points on the wood. Then I used a punch to mark the points. These points are where the compass registers to make calculations. The markings are done with sharpies.
That's it. Not much to it, really. But what an incredible tool for laying out stock and accomplishing other dimensioning. Someday, I may splurge and get a professional model. I found this beautiful Sector from Acer-Ferrous Toolworks that is both pricey and beautiful. Here's another lovely Sector from burnHeart.
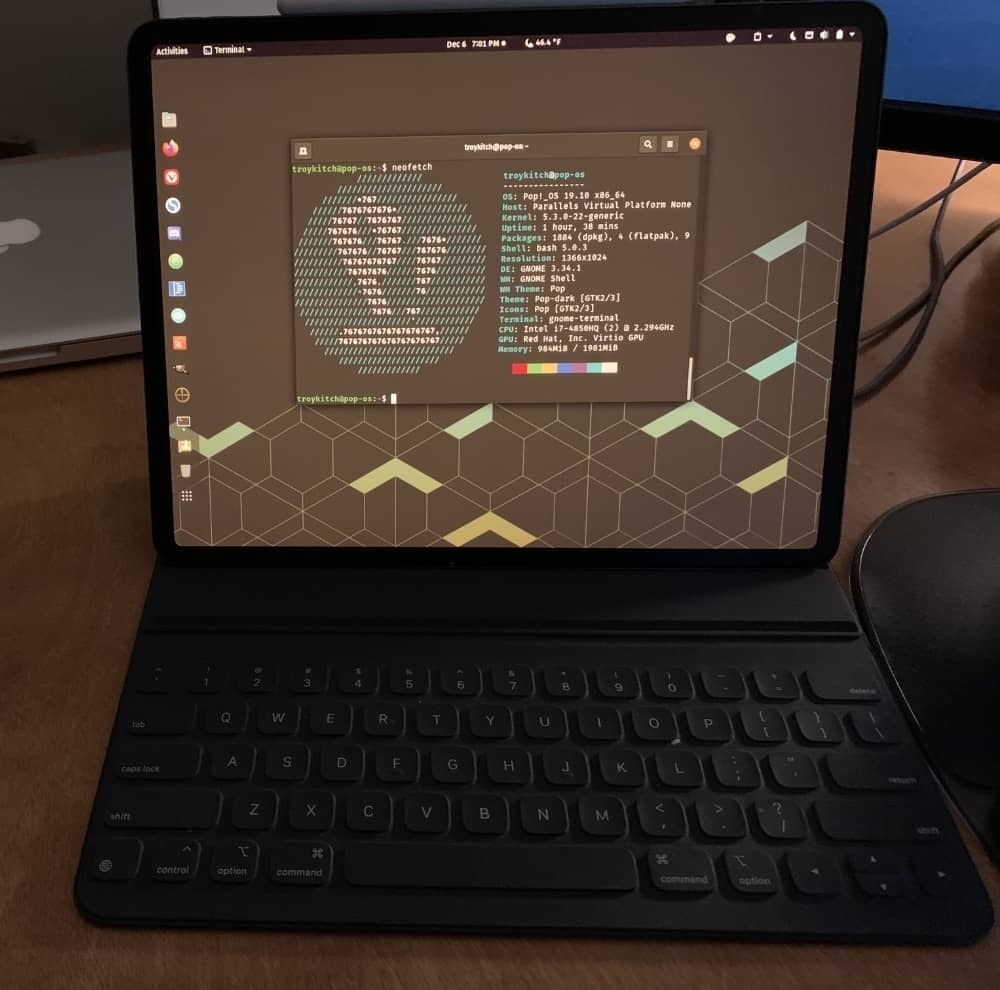
I recently "upgraded" an old 2009 Macbook Pro with Elementary OS, a fantastic Linux distribution. This led me down the distro hopping path, exploring way too many different Linux distros on my primary 2013 Macbook Pro using Parallels.
Then it occurred to me that to try out Linux on my iPad, just for kicks. Turns out it works great, provided you have a tool to run virtual machines and a Luna Display adapter. Above is a screenshot of my iPad displaying Pop! OS via my Macbook. Maybe this isn't the most useful thing in the world, but it's pretty cool to use my Apple pencil on Linux.
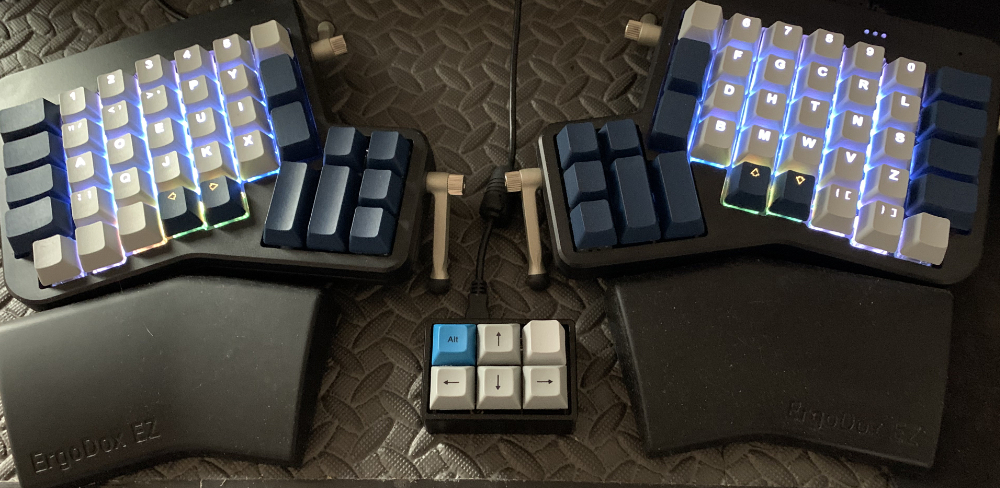
I bought an Ergodox EZ Glow ergonomic mechanical keyboard in 2019 and I've grown to love it. It took me some time to adjust to a split keyboard, and even more time to nail down my personalized layout across three different programmed layers. The unmarked keys on the board did not take as much time to adjust to as I thought they would. I purchased the black model with Cherry MX Brown switches, and upgraded to Blue Zilent switches and gray/blue keycaps. Dreamy.
But after months of using this keyboard, there was one thing I could just not get used to: switching layers to get to the arrow keys. I never realized how often I use arrow keys until they weren't easily accessible. My solution was to get a tiny six key customizable keyboard from TechKeys. It fits perfectly in between the two keyboard halves. In addition to the arrow keys, I programmed the top left and right keys with an extra shift and space, because it's often quicker to tap the tiny board when arrowing around. I think it's an amazing set-up.
Now I just need to get some custom keycaps for the tiny board. I'm currently using leftover keys from my Vortex Race 3. Why two mechanical keyboards? I have a standing desk station and a sitting desk station. I use the Vortex while sitting, the Ergodox while standing. Excessive? Perhaps. But the Ergodox is not the easiest keyboard to move around, so this works for me. Plus ... I just love mechanical keyboards. It's a bit of an addiction.
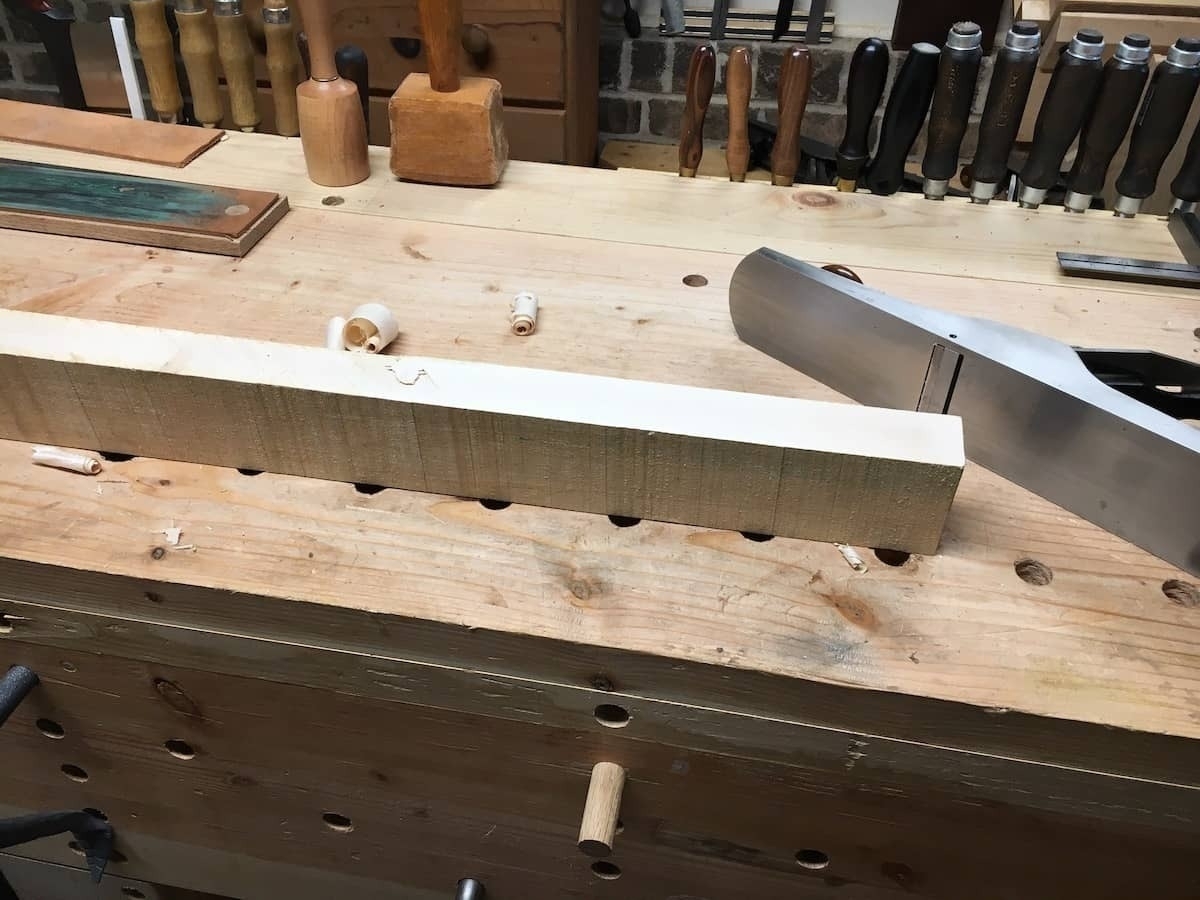
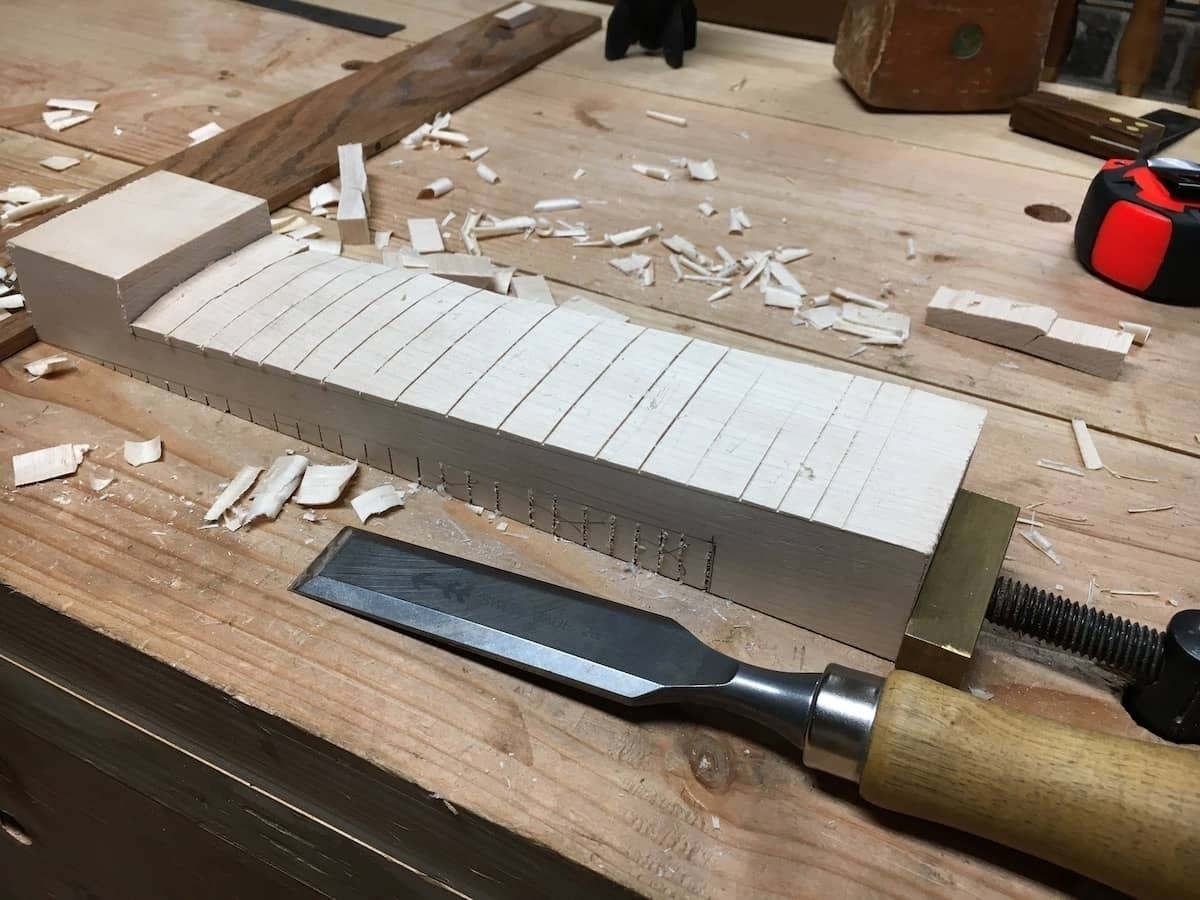
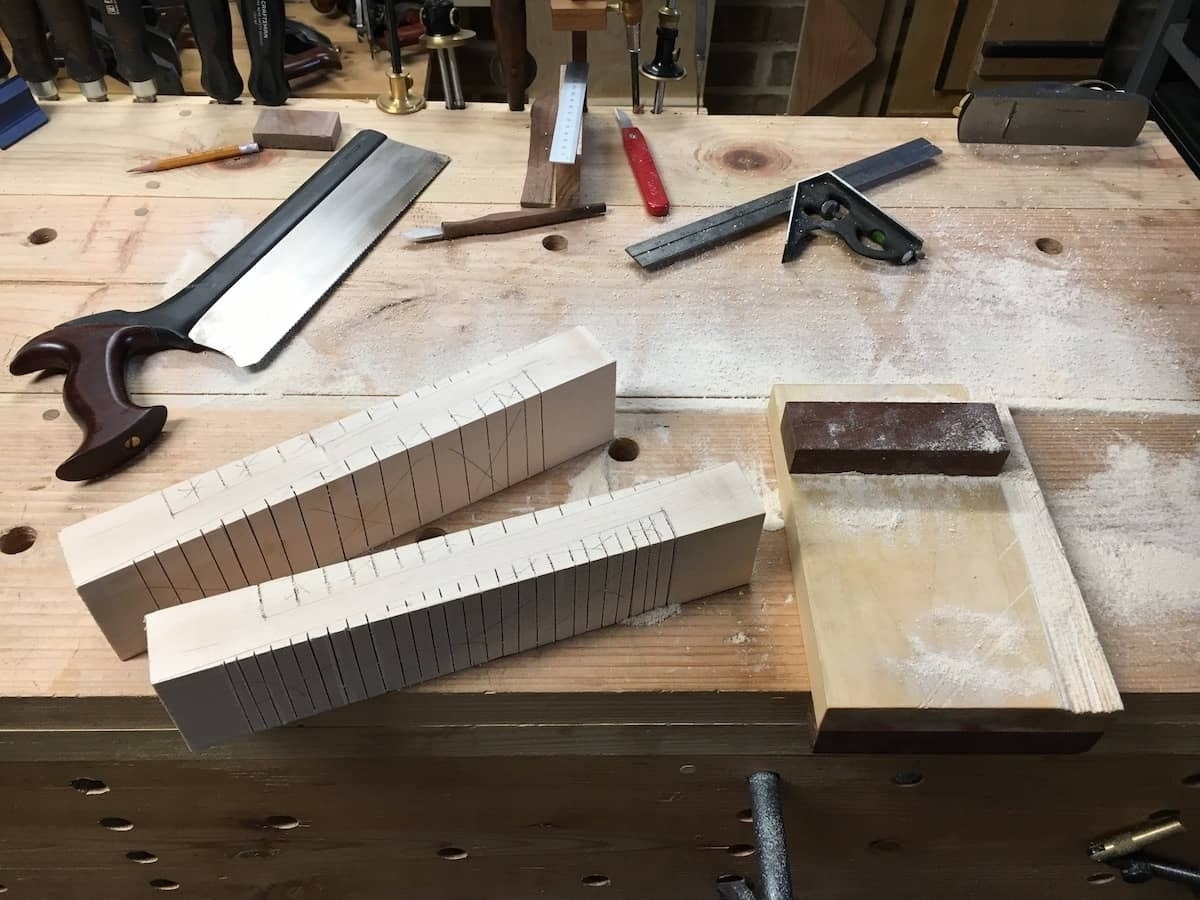
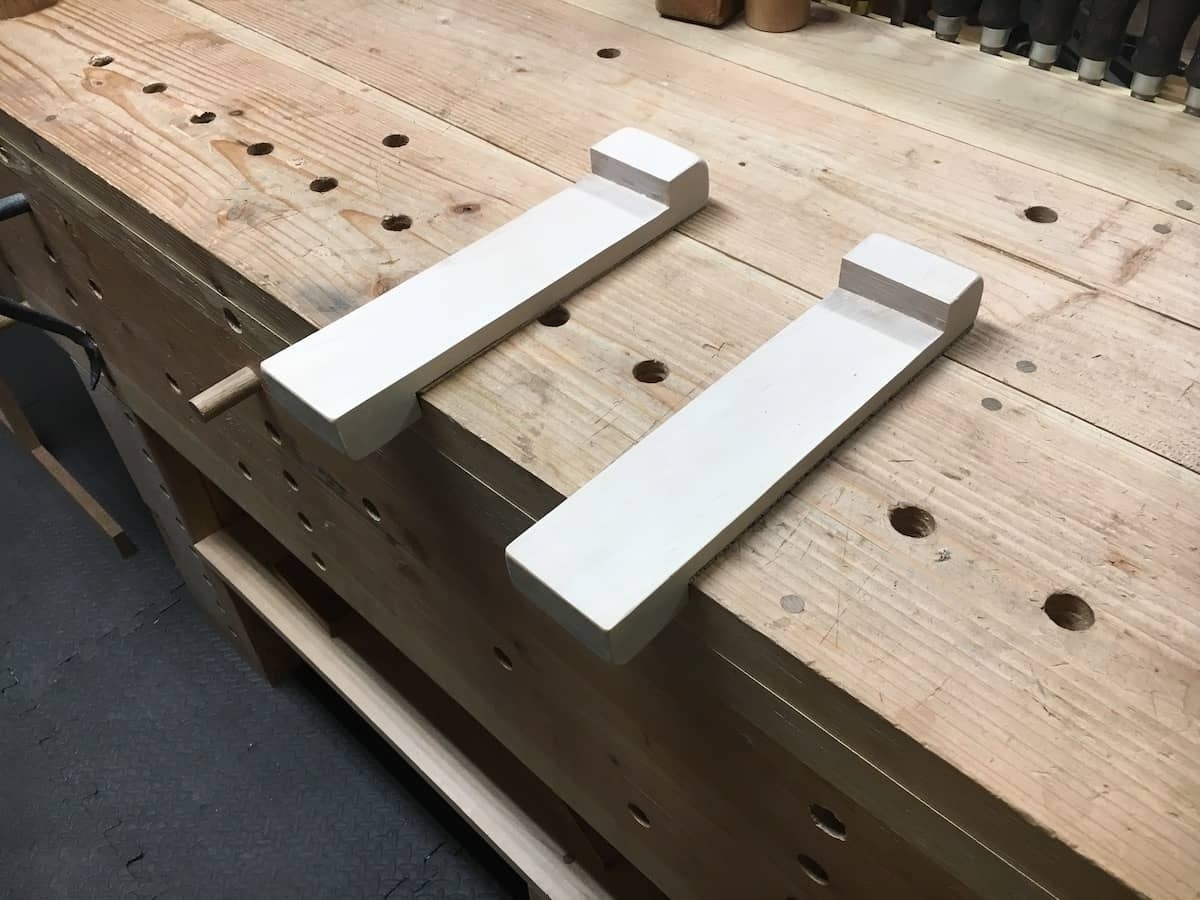
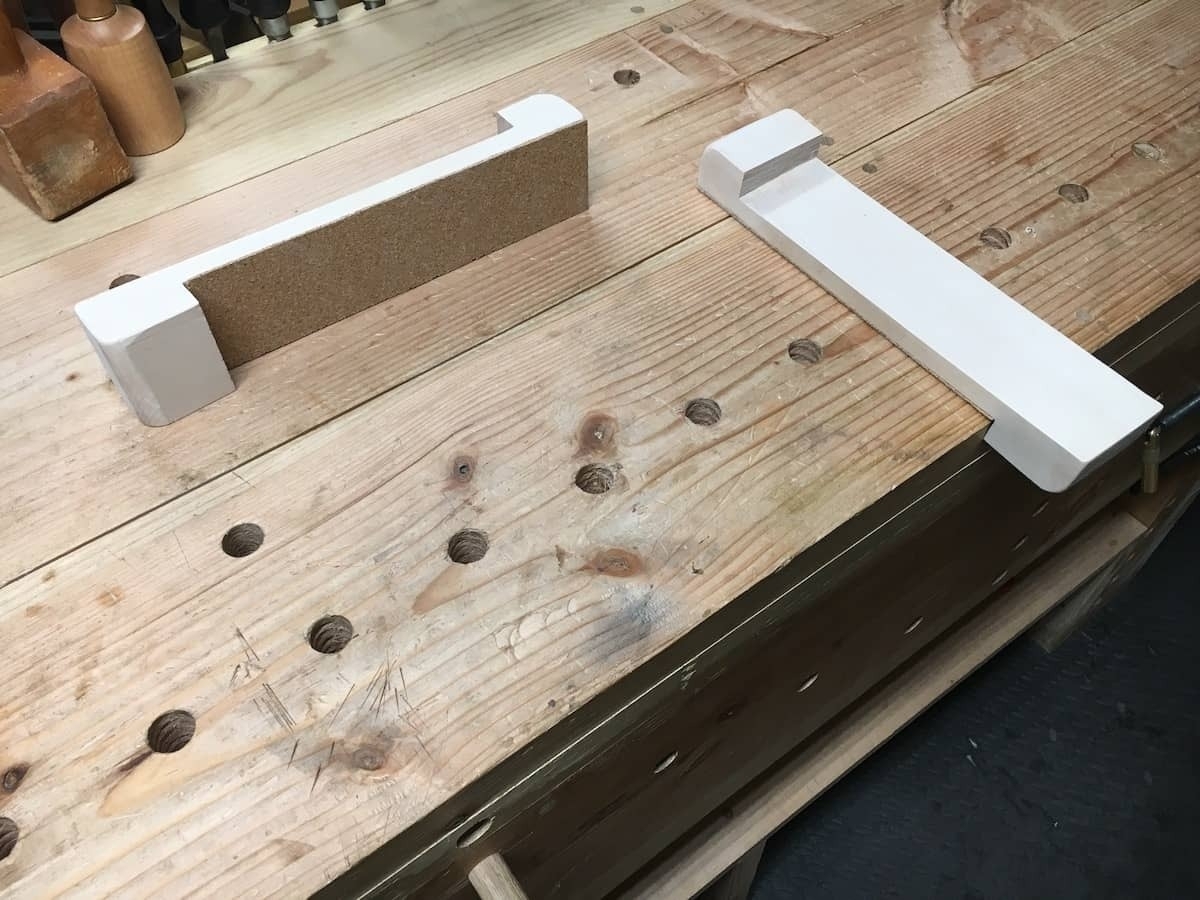
I made some handy bench hooks based upon the teachings of Sloyd (which I don't know much about, but discovered is quite an interesting thing). Actually, learning about Sloyd may be the most interesting thing about this project. Anyways, these bench hooks are really useful to hold wood of different lengths on the bench for, say, cutting dadoes, or to hold up long pieces level when crosscutting on the hook I use for sawing, or for holding wood for paring.
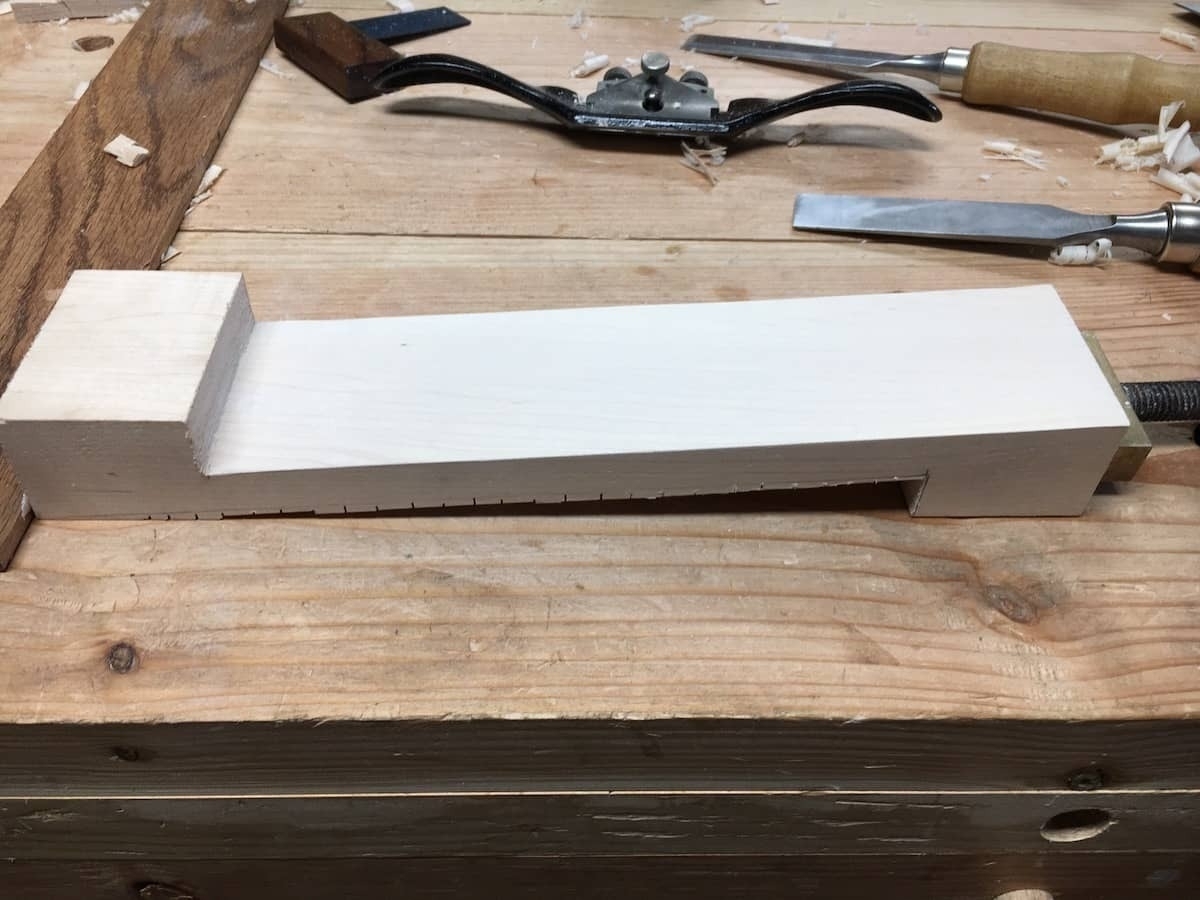
I started out with a scrap of hard maple. Bad choice. This made a quick project into a several day project, because the wood was like granite. I cut out 12" blocks and surfaced all the edges with a hand plane. Then measured 2" from each end, marking the center points, then drew a line from that point to the far corner as seen here. Once I had the layout, I sawed in a bunch of relief cuts with a carcass saw.Here's a shot of the two hooks, with the surfaces ready to be chiseled out.Here is one finished surface. To get to this point, I chopped out the sawed parts with a bevel-down chisel, then pared down to my line with chisel and block plane. You can see the unfinished bottom surface here. This is a rinse, repeat operation for the other surfaces.To finish off the hooks, I rounded the corners with rasps, so it's easy to hold with the hand. I also used a card scraper to get the show surfaces as flat and smooth as possible.The hooks seemed a bit slippery, so I lined the bottoms with cork (secured with hide glue). Now they're ready for use.