Shoe Horn with Hand Tools

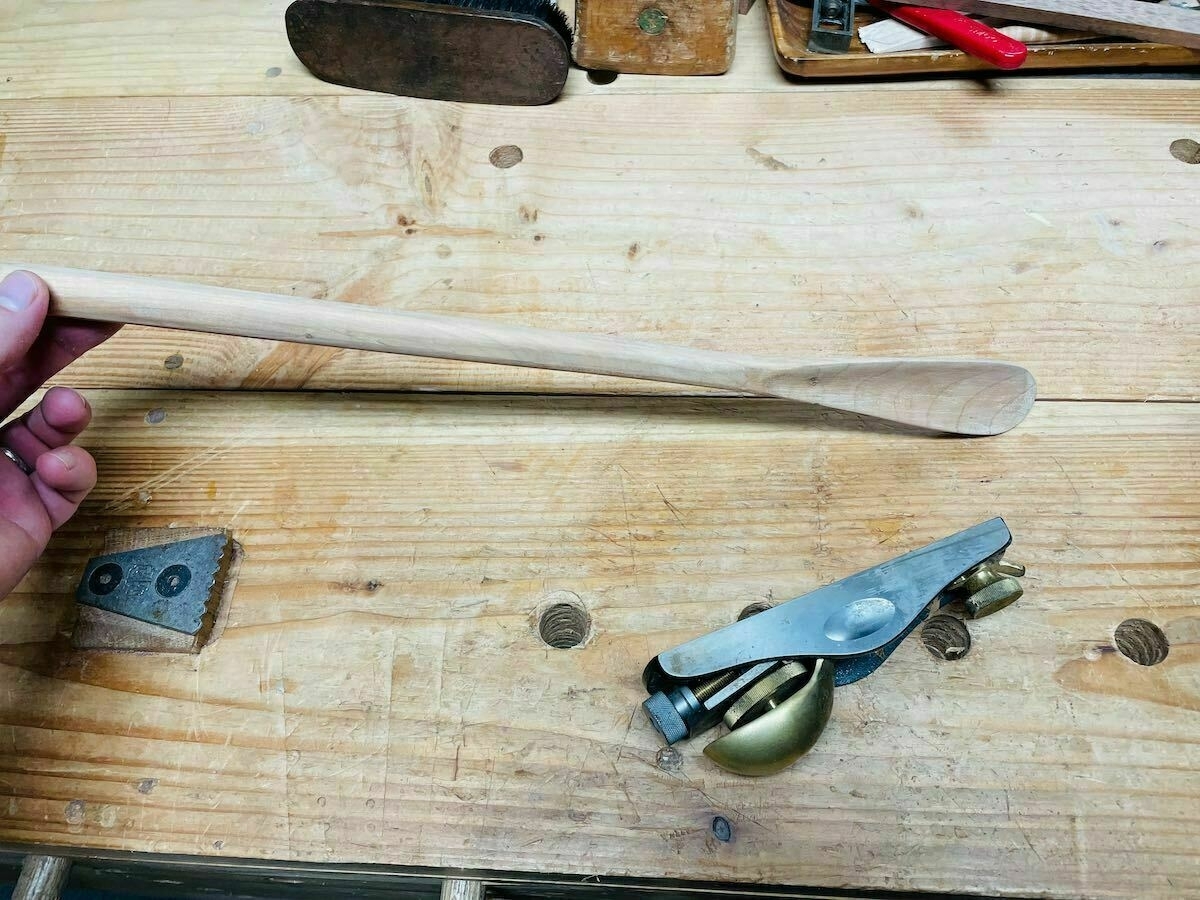
My wife asked if I could make an extra-long shoehorn because she’s having some knee trouble. So I knocked out this project in an evening and it was a lot of fun.

Shoe horn4

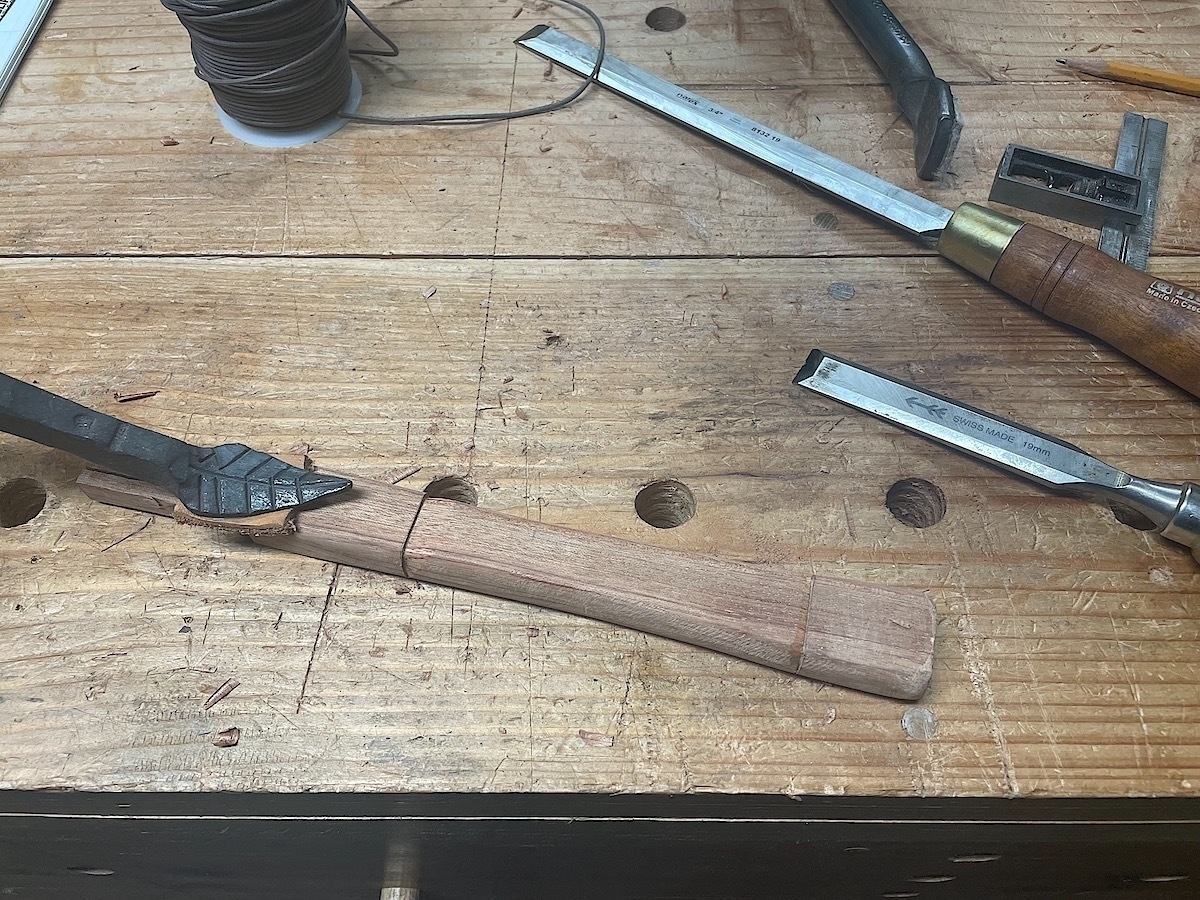
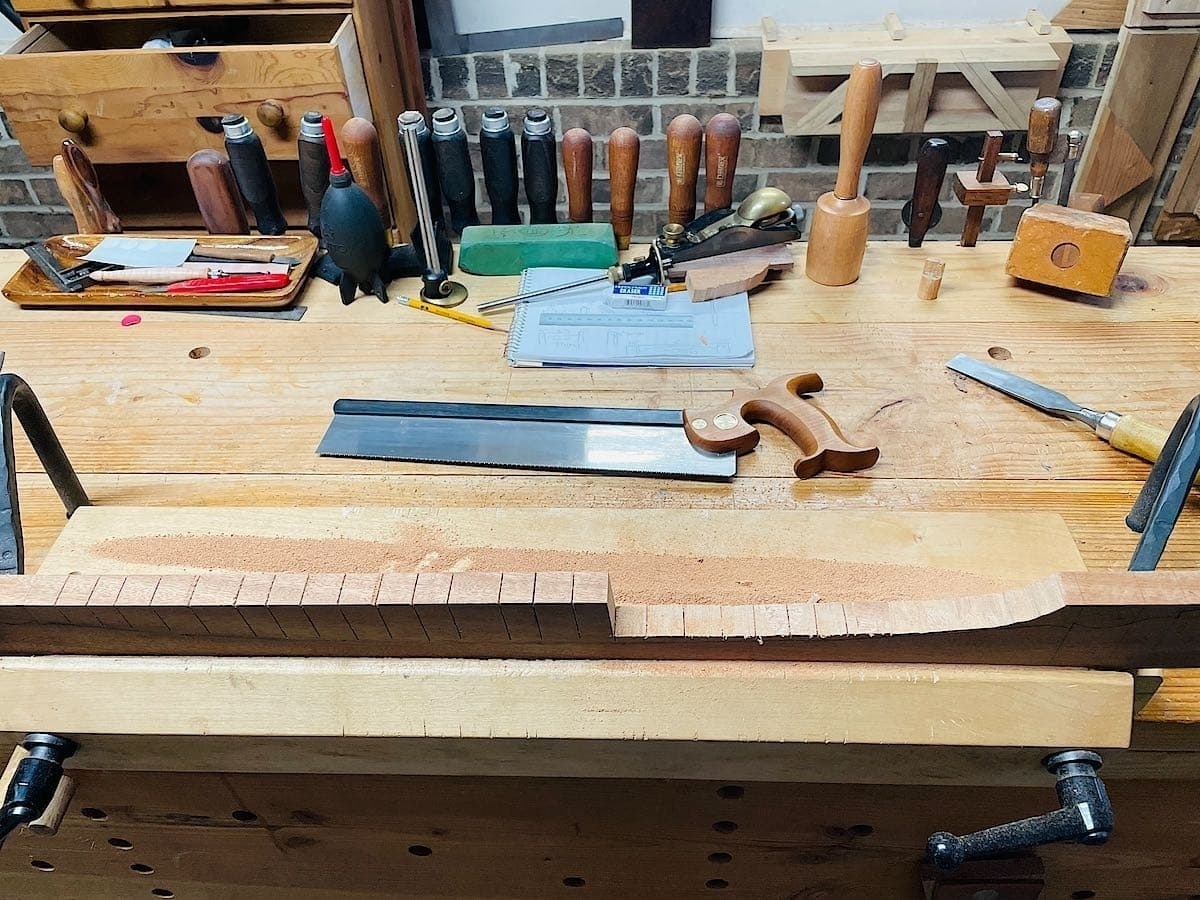
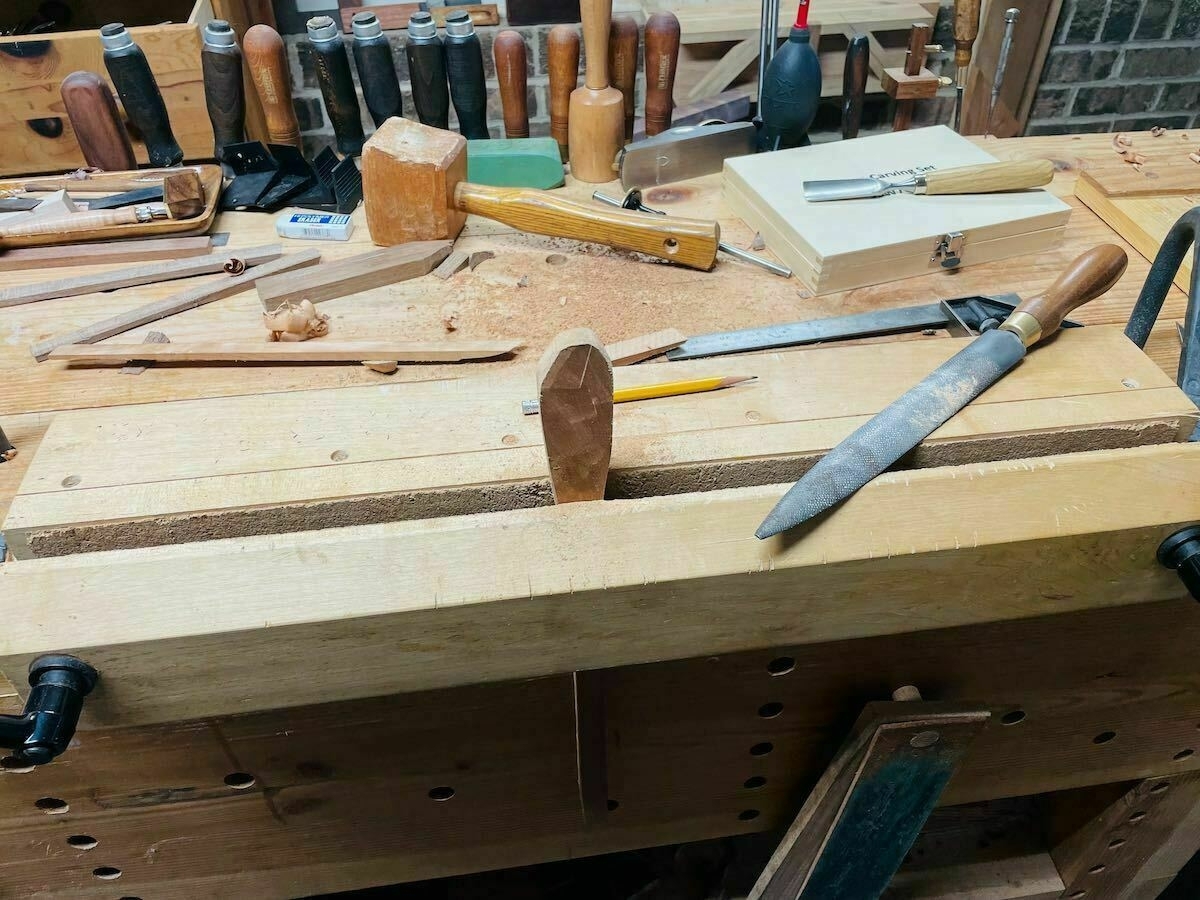
I grabbed a scrap of cherry and roughly cut it to size using a rip saw and a spokeshave. Then it was mostly an exercise in filing.

Shoe horn1

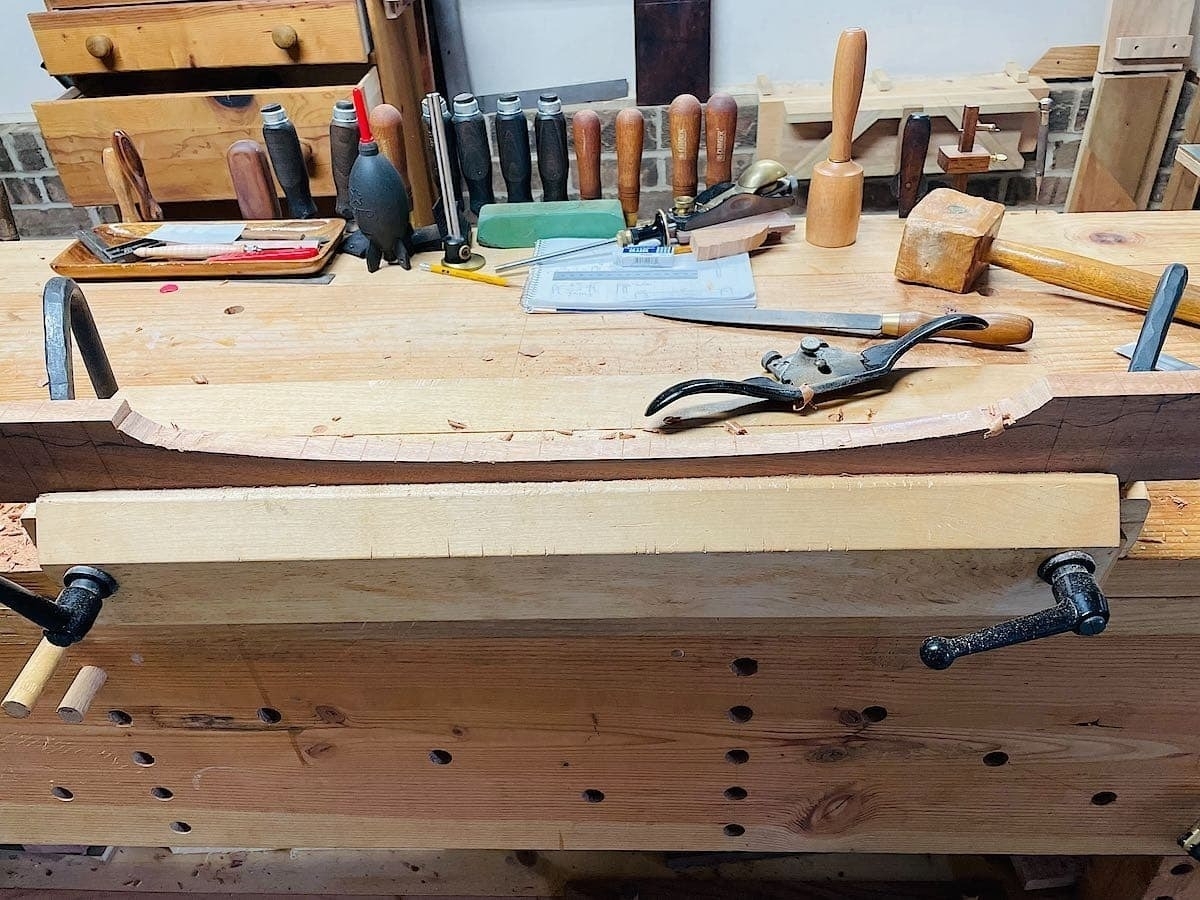
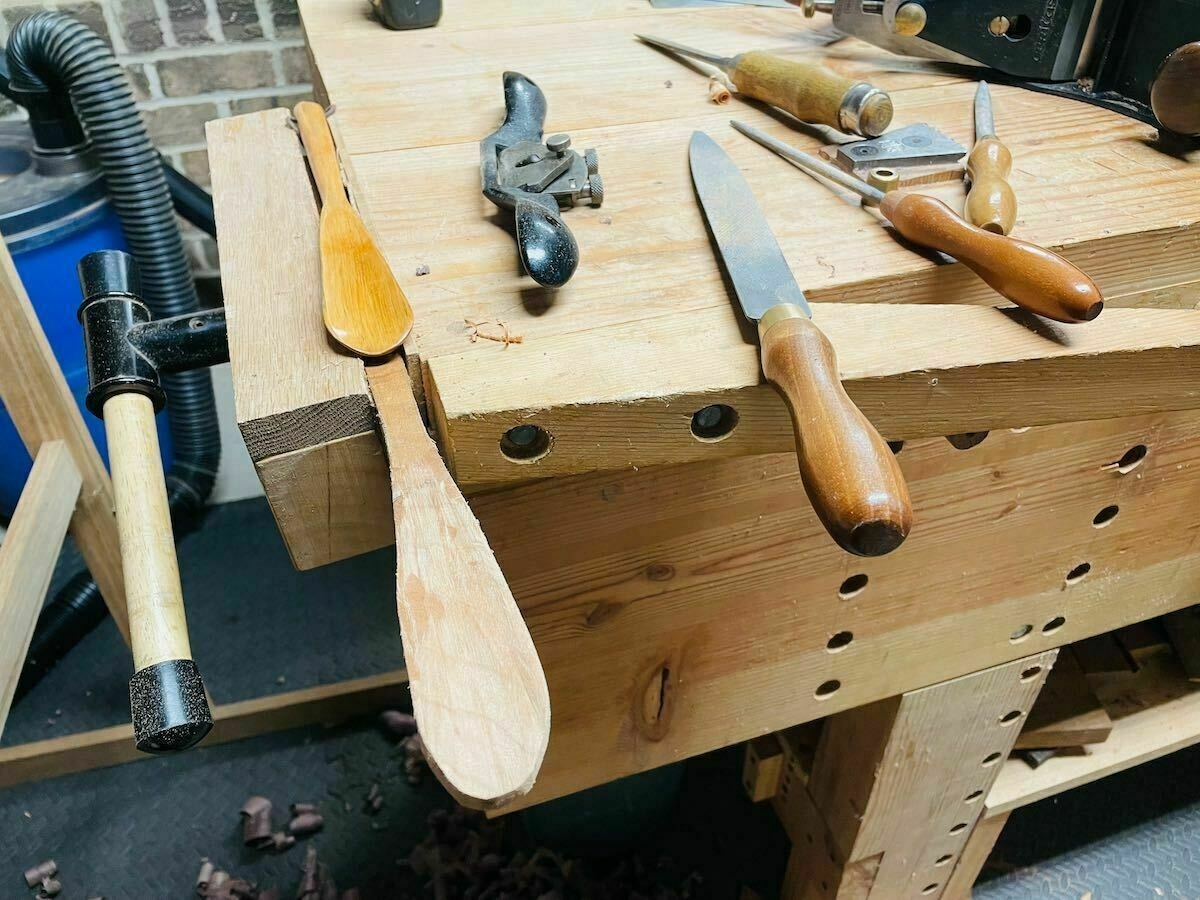
I had a small shoehorn (store bought) to use as a reference. It occurred to me that this is kind of like spoon carving, but easier because there is no “front spoon edge” (so to speak) to a shoe horn, so I could just file it right down to get the desired shape. I had my significant other test it out several times to ensure I got the shape just right. The hardest part was ensuring it was as thin as possible at the edges of the “spoon,” but still strong.

Shoe horn2

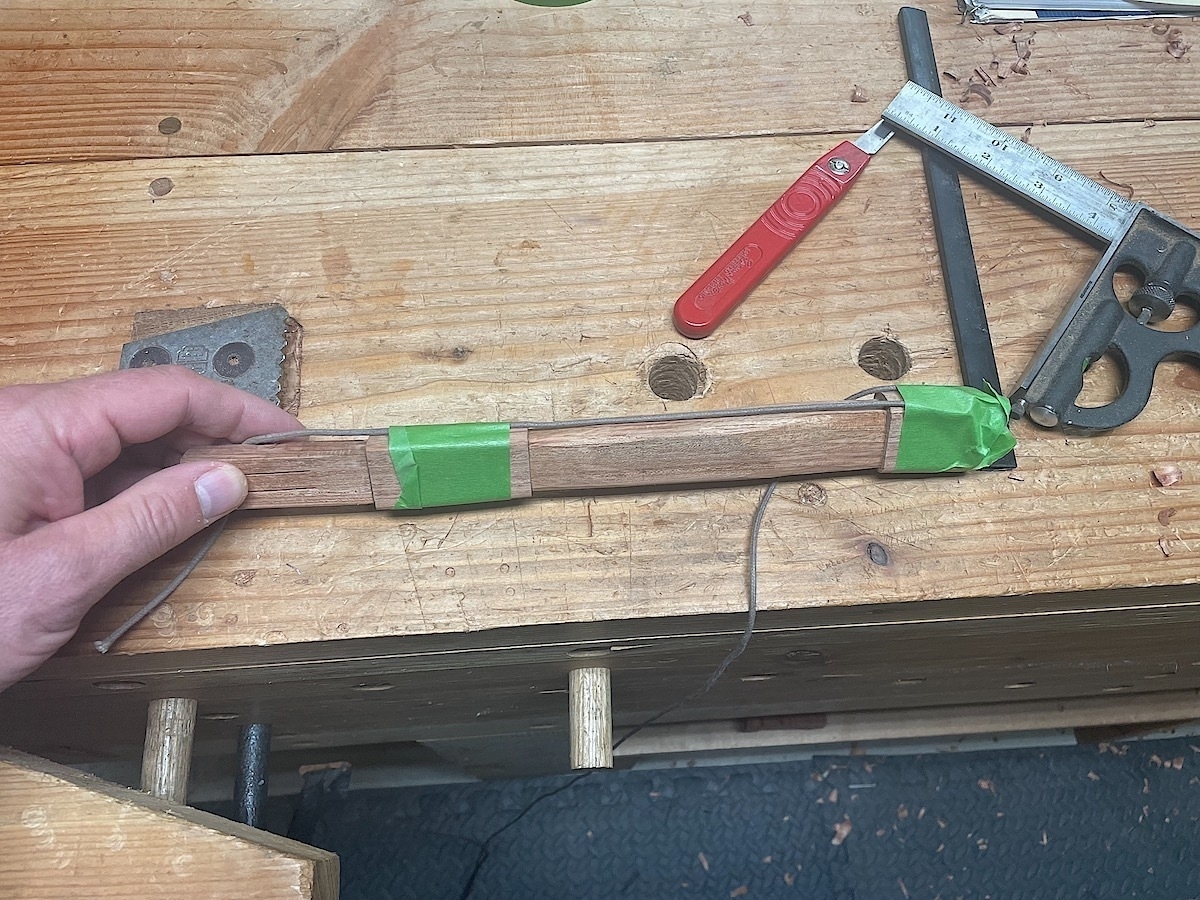
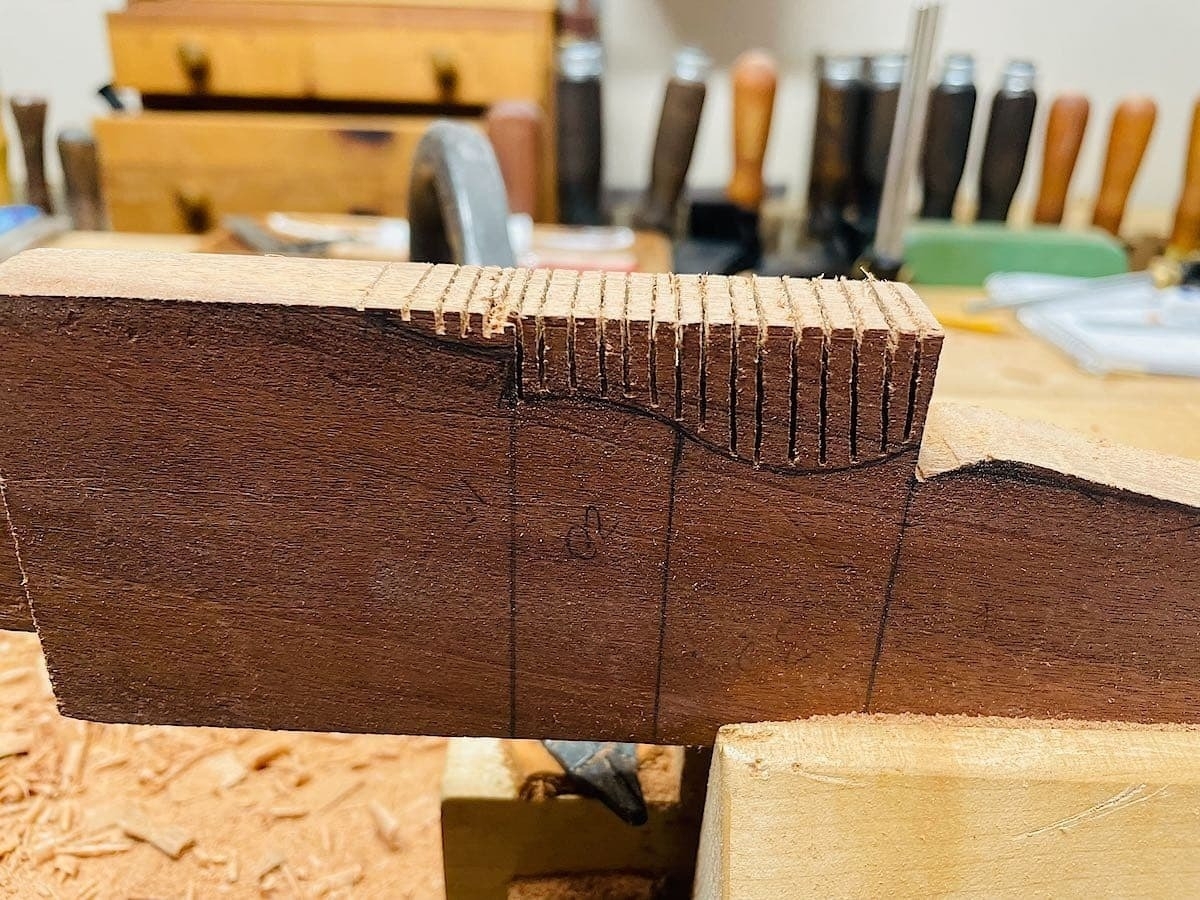
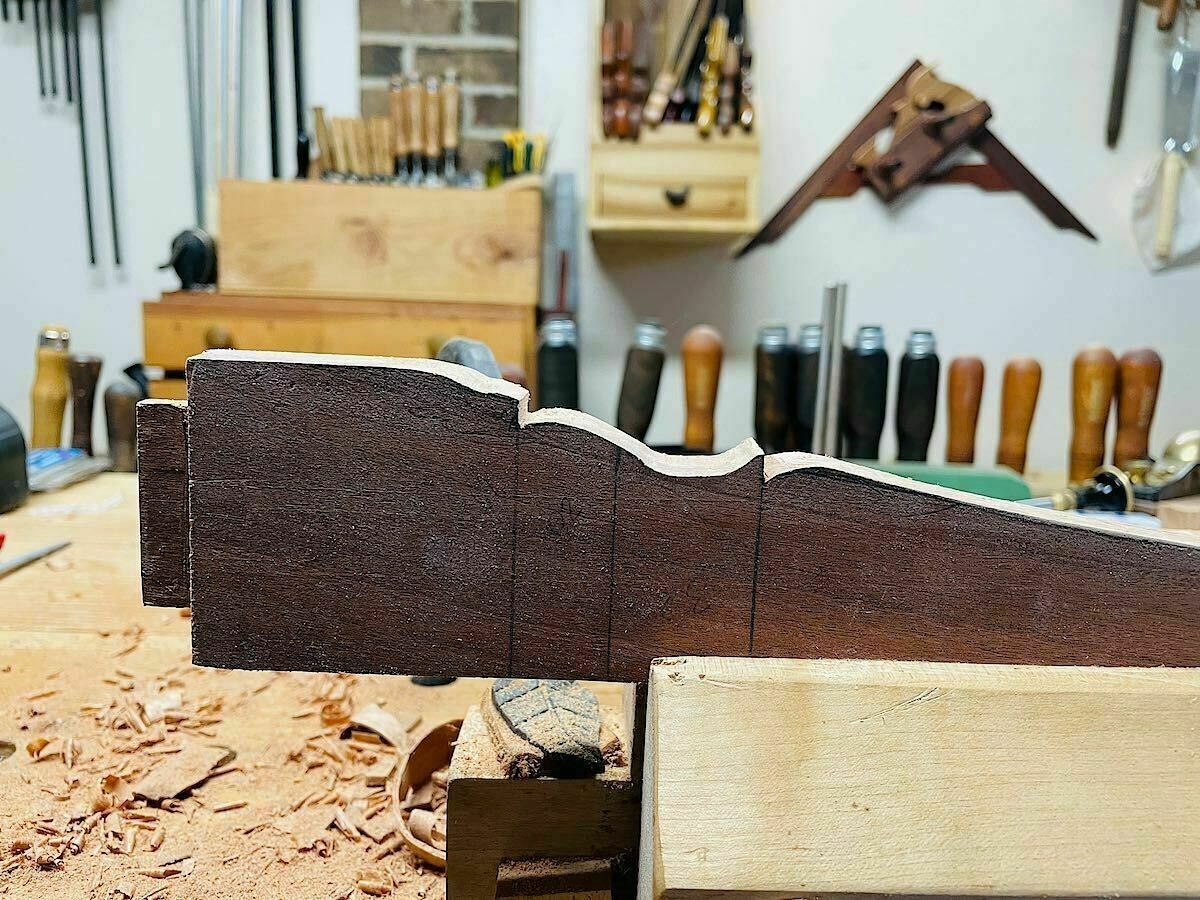
I shaped the handle with block plane.

Shoe horn3

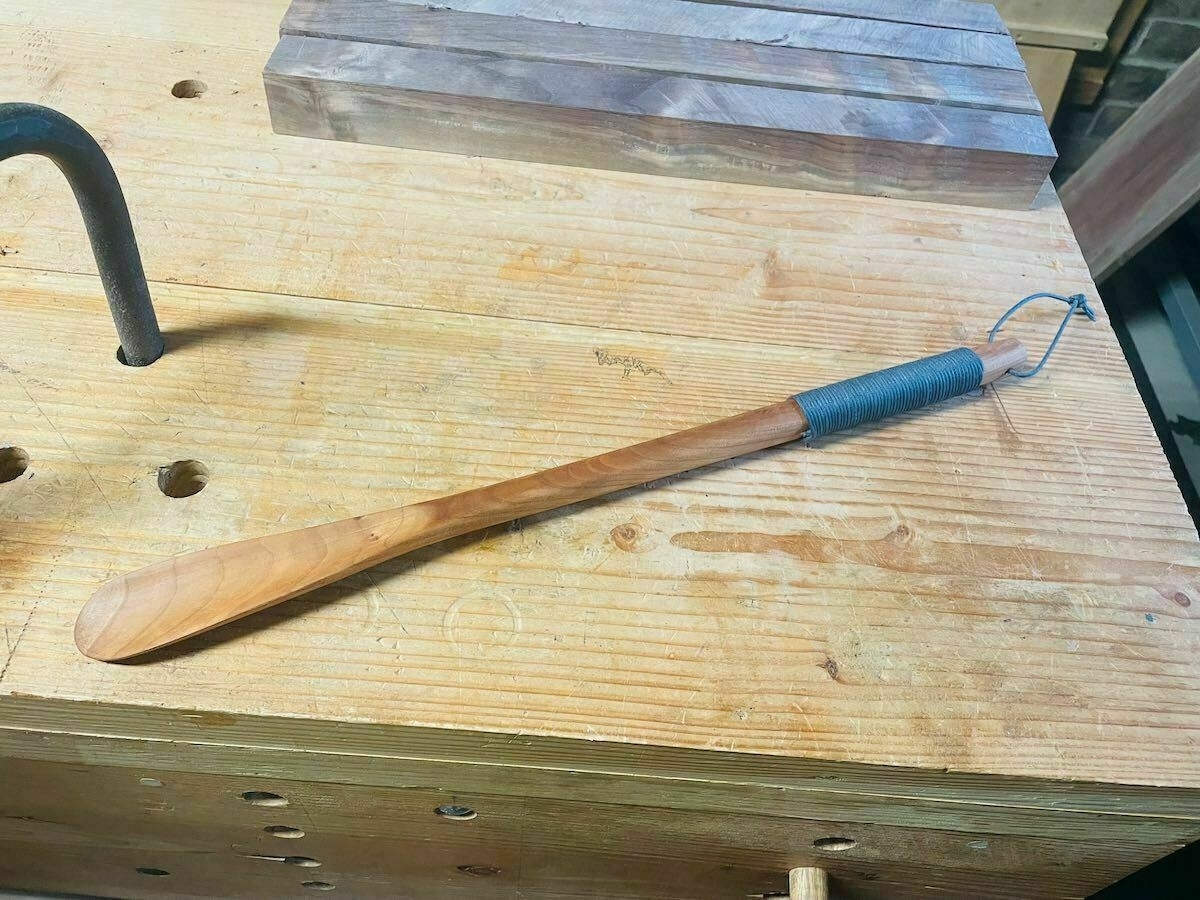
And finished it off with some Osmo wood wax, then wrapped the handle with blue waxed cord. I also added a loop to the end to hang it up out of the way. The lovely cherry wood grain was a happy accident. I had no idea that beautiful grain was hidden in that scrap of wood.

Wading up a river while fly fishing offers up interesting views. Imagine the raging waters over the years that led to this pile-up.

Bench Build, The Flattening

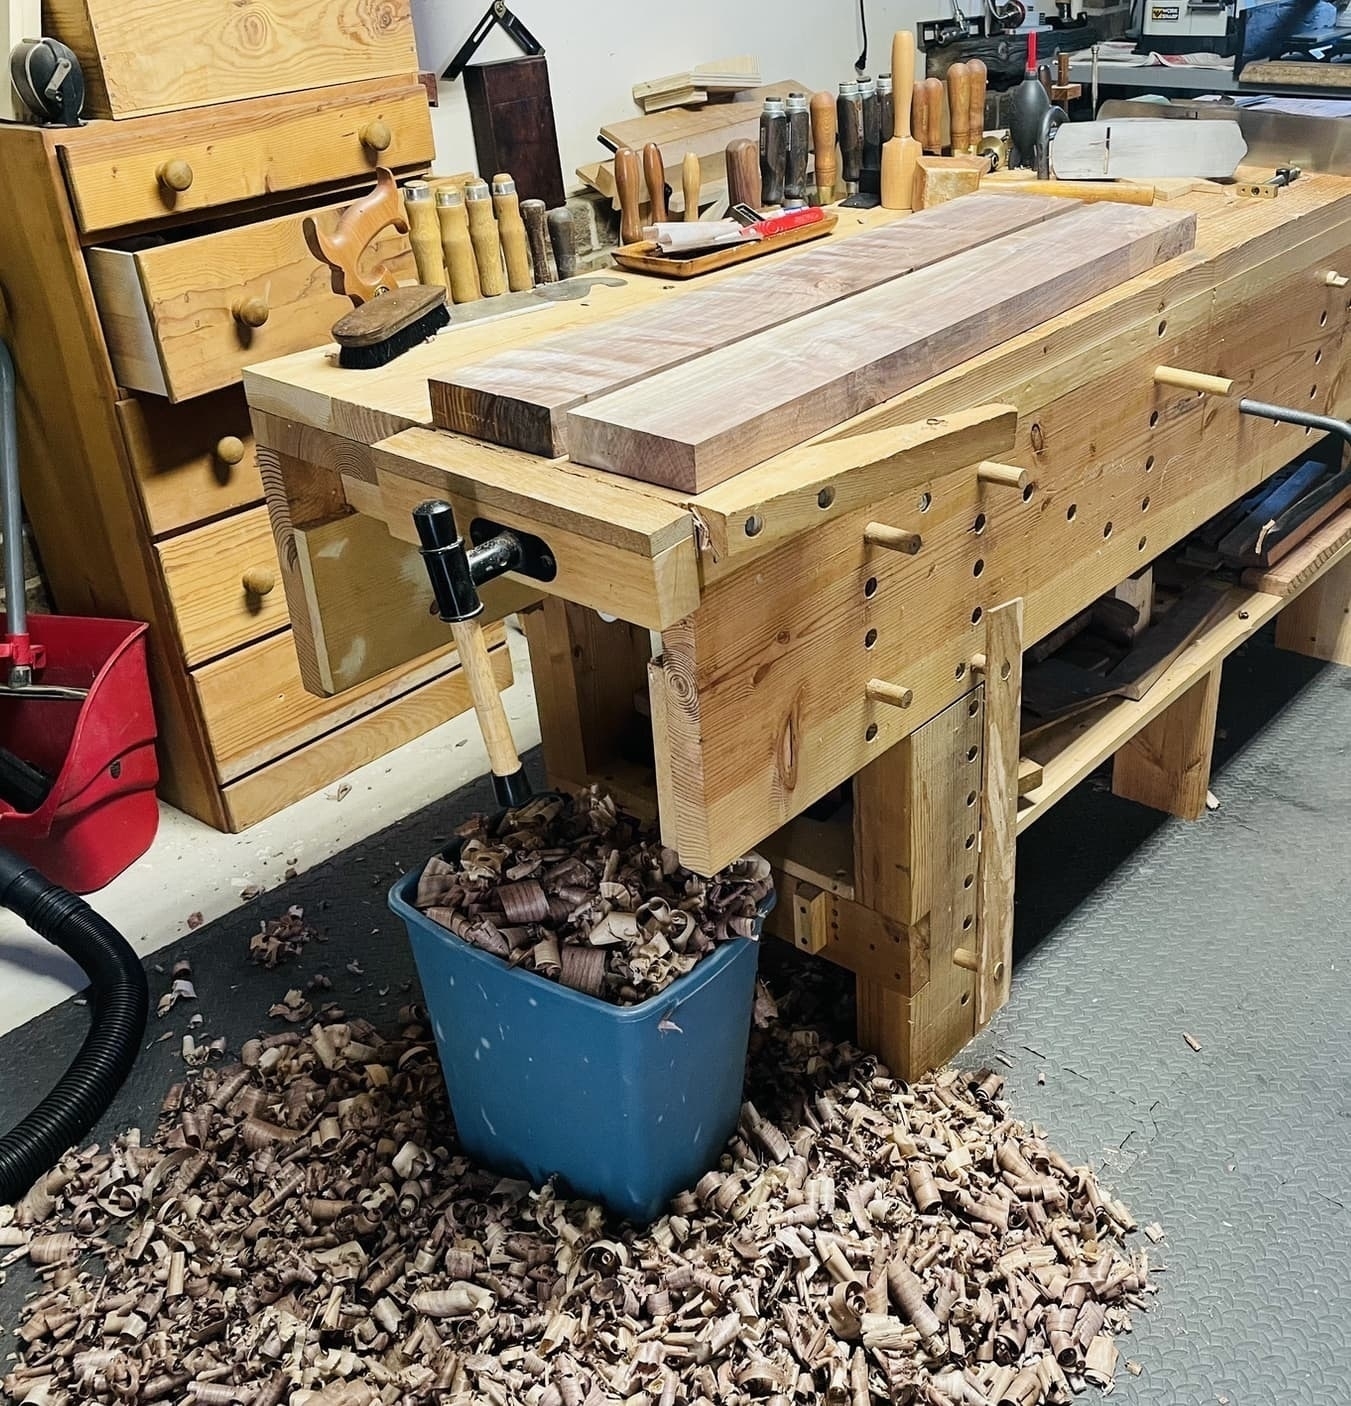
So I went on vacation after my last post about the bench build, and this weekend I finally got around to flattening the funky boards. I used my scrub plane for the rough work, which made it bearable. Next step: come up with an actual plan to make a bench…

IMG 0477

Bench Build, Phase One

I’m starting a new project to do something interesting with two warped and oddly cut walnut slabs I acquired … of unknown age and provenance. They must have been rejects from some long ago project and then shelved in a barn?

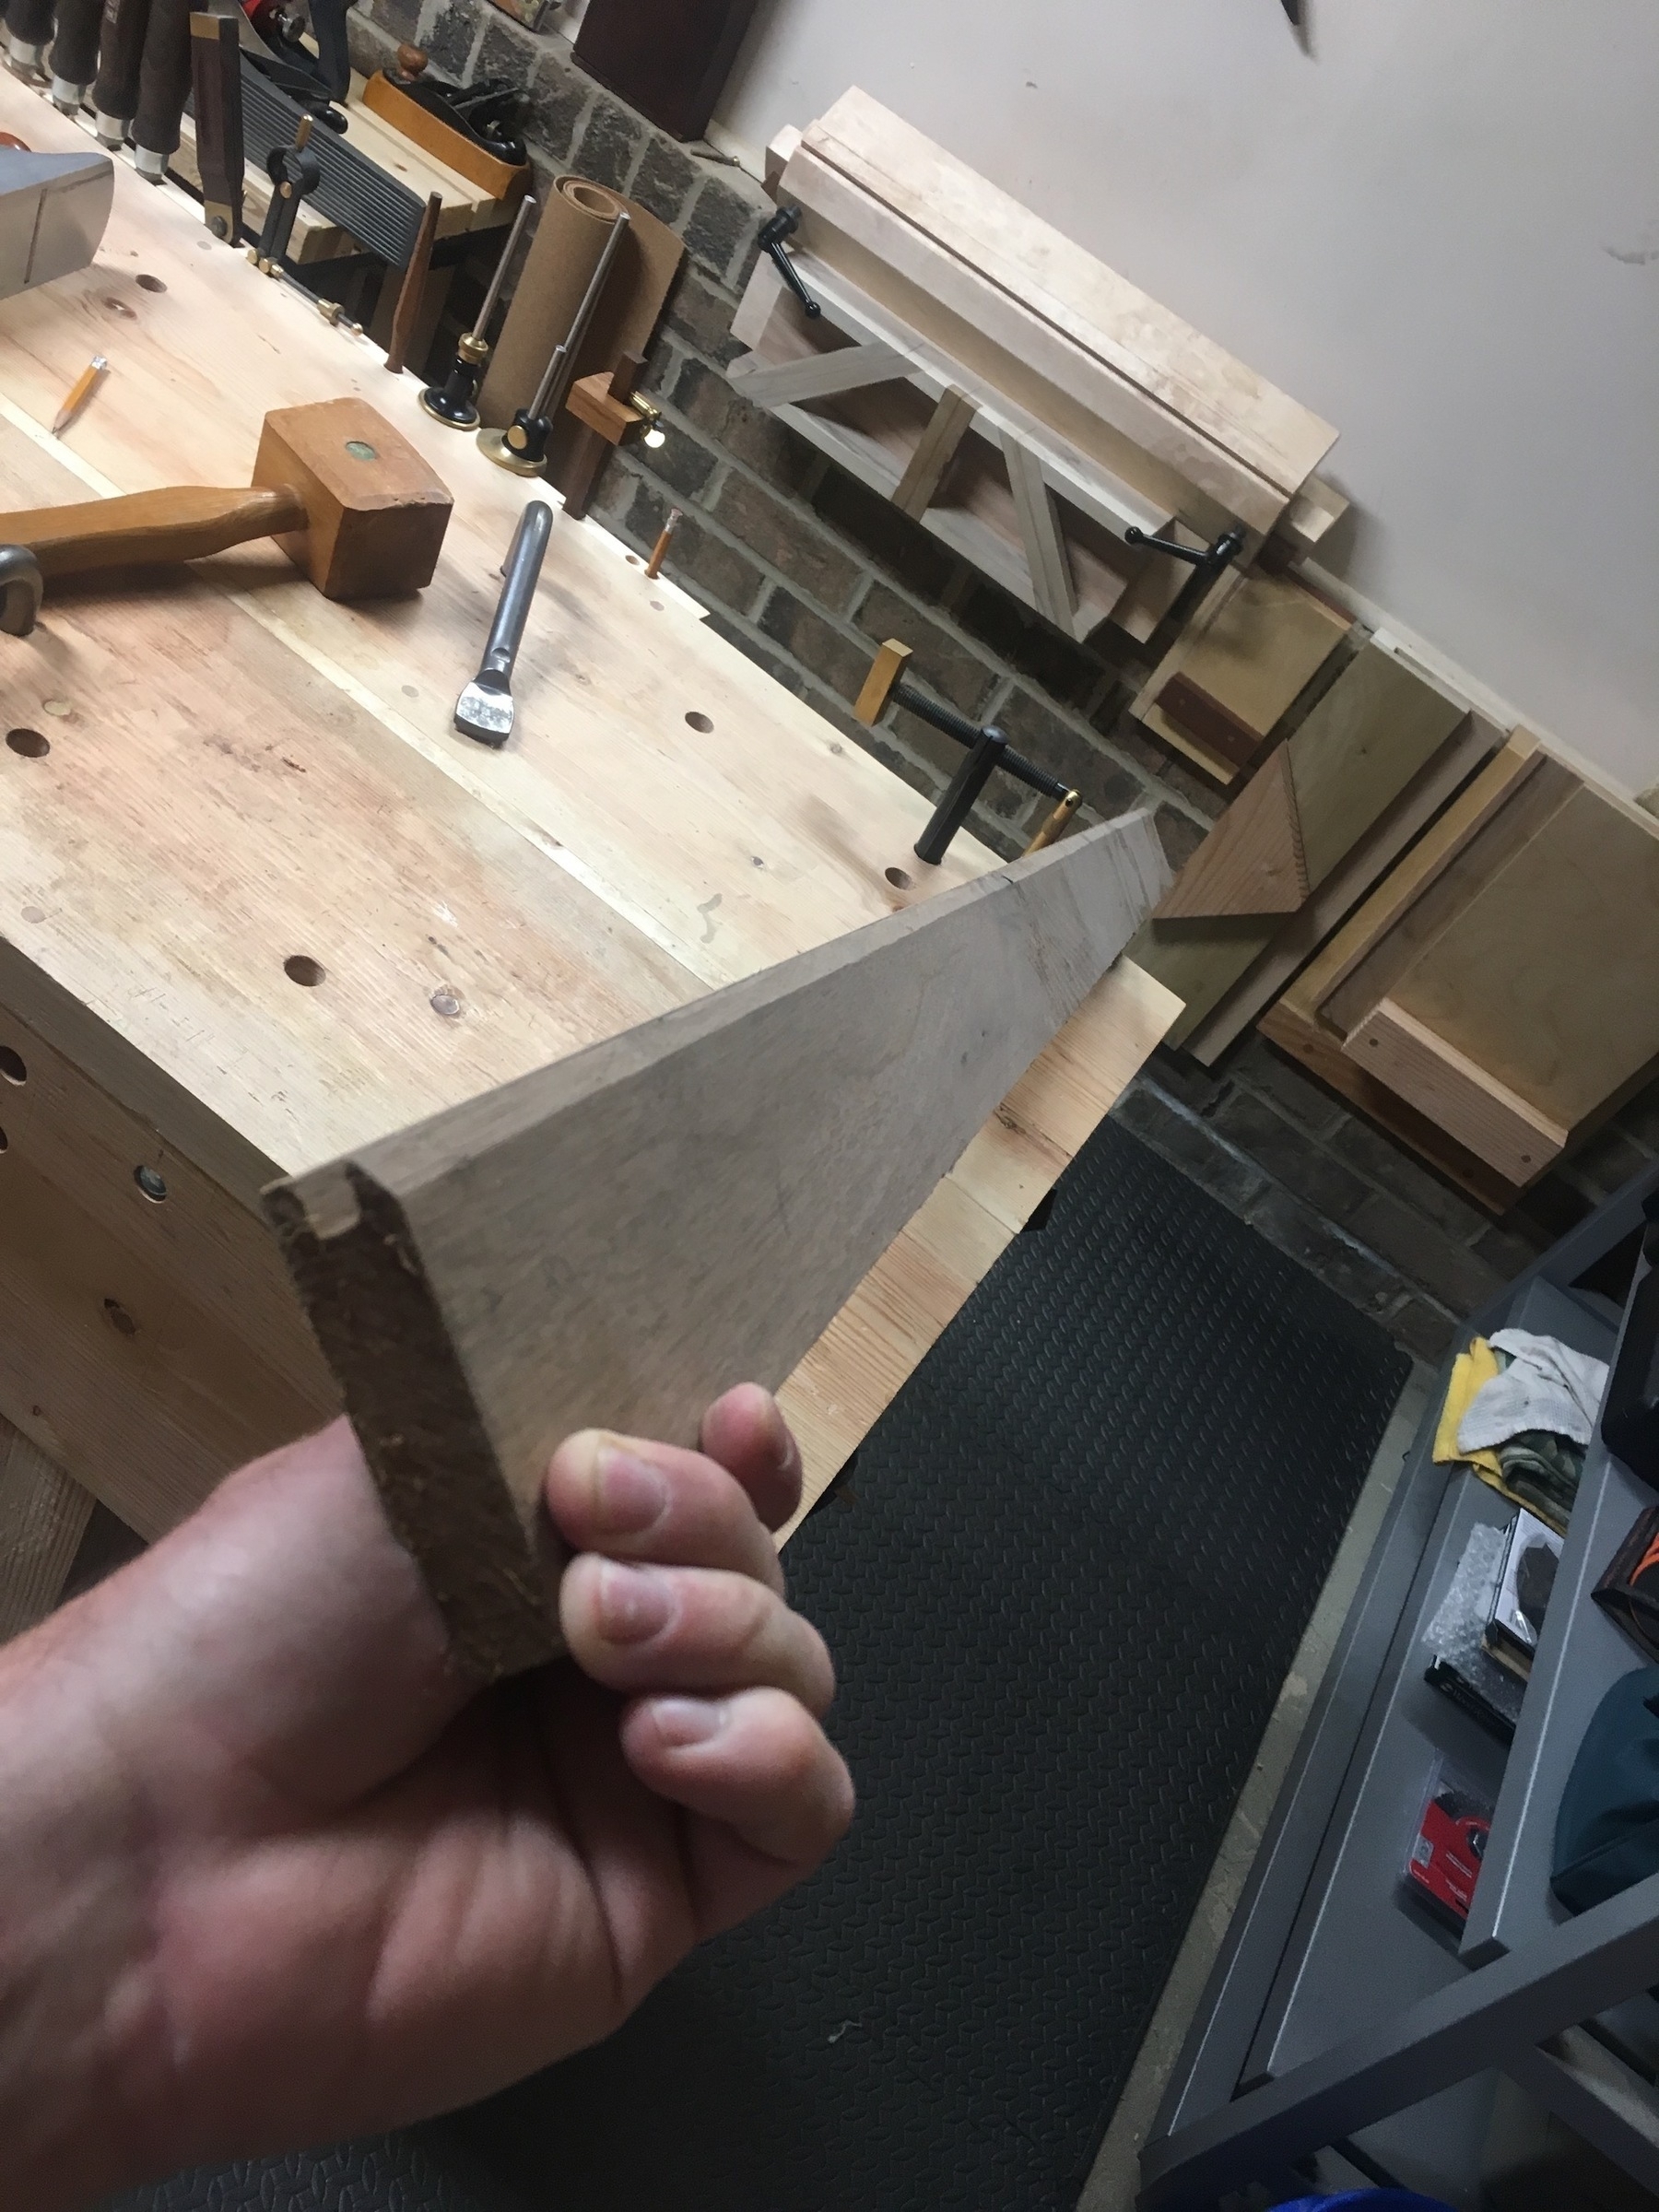
Here’s an edge-view:

IMG 0430

And laid flat to get a sense of how NOT FLAT these boards are:

IMG 0429

I have never worked with wood that is this funky, so it’s going to be a challenge to flatten them. So far, I have cut each to length, getting rid of the worst (most warped) parts of each slab. I have started flattening one of them. It’s going to take time, clearly.

I started with a scrub plane to get rid of the worst of the peaks:

IMG 0432

And moved on to a #6 fore plane:

IMG 0436

That’s as far as I got this evening. Time to sharpen blades before I continue. I plan to have two flattened boards and a plan to make a bench within the next couple of days. Details are still being worked out.
I am often amazed with the image quality that a casual photographer like myself can get from a pocket computer. This was shot with a 12 mini. The bee and echinacea reside in Frederick, Maryland.

echinacea with bee

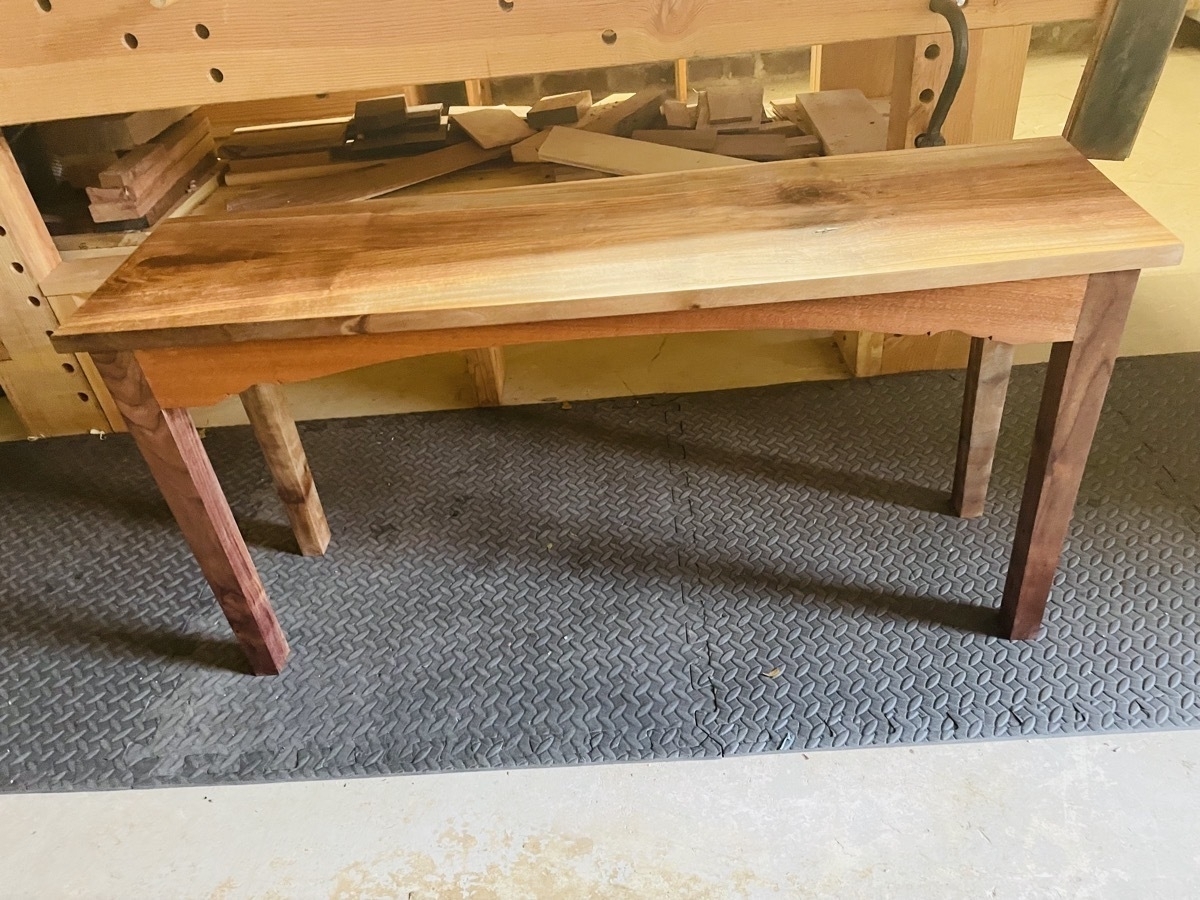
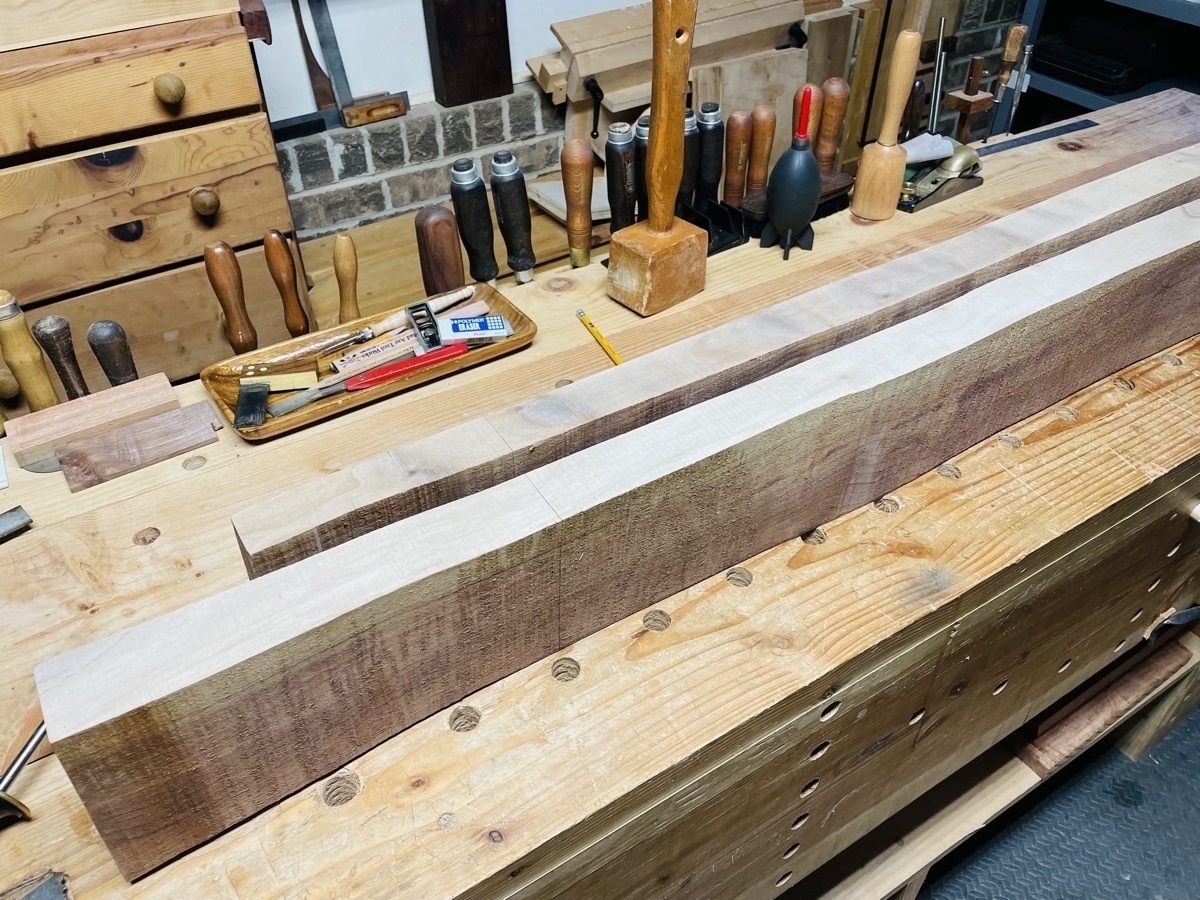
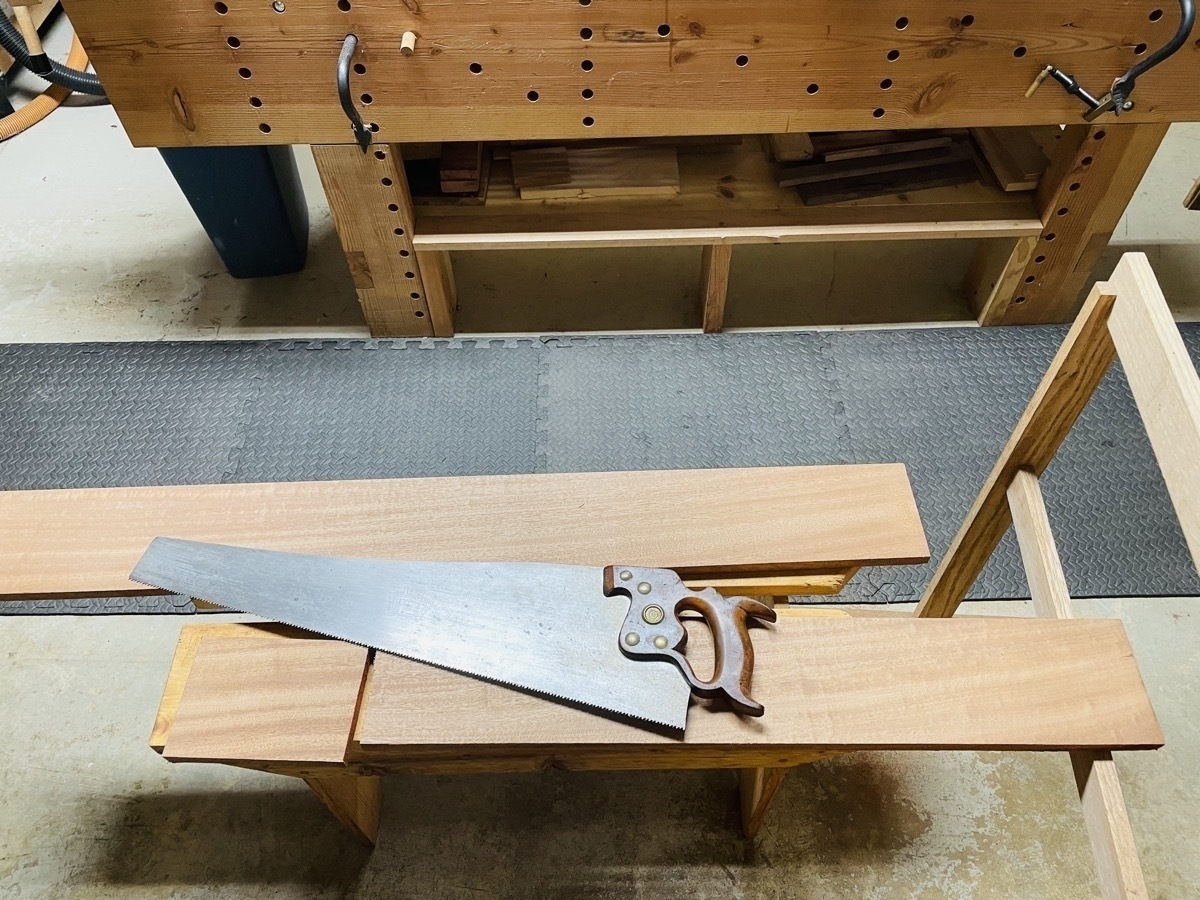
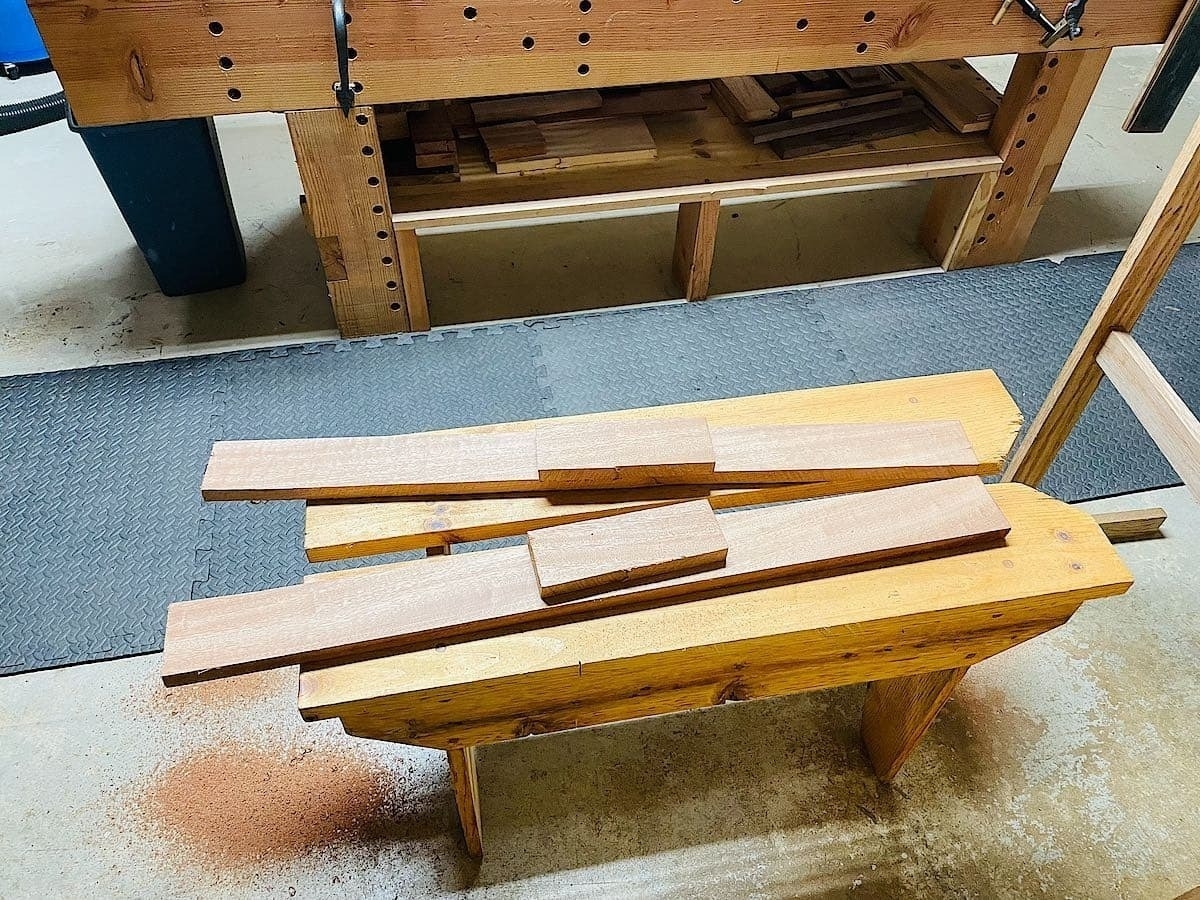
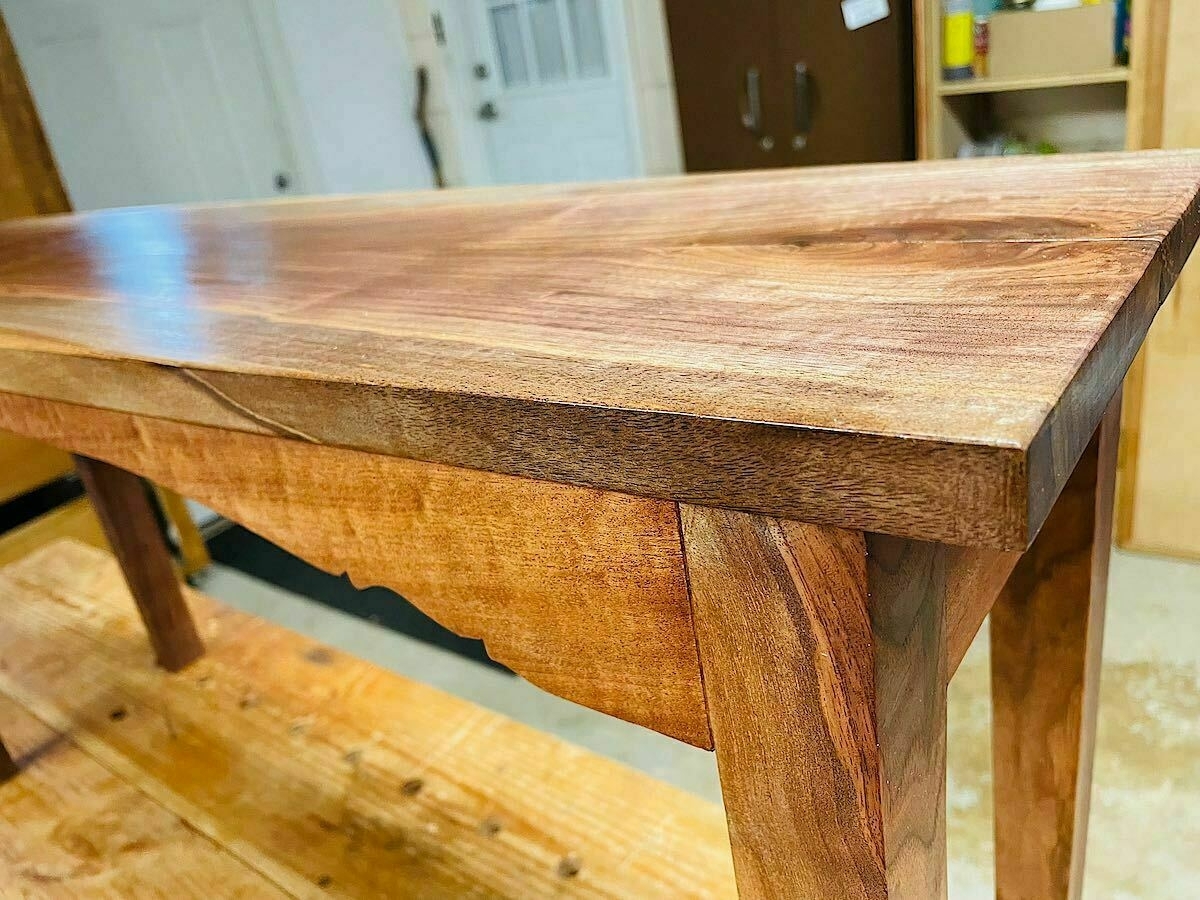
200+ board feet of sapele and cherry and I’m ready for some new projects. First up: a new end table.

Look at all of these nice cicadas a friend gave to me. Looking forward to trying them out.
Split Keyboard Base with Trackpad Rest

My new keyboard set-up:

C0832e647f

Here's a weird little project that took only a few hours and solved a unique problem. Here's what my computer keyboard set-up looked like before my project:
D8bf9746b2

Backstory: I use an ErgoDox EZ split keyboard with an Apple trackpad in between (yes ... I use a trackpad and a mouse, for reasons). One problem: I'm pretty particular about my keyboard layout, so I like to have the angle of each side of the keyboard and the wrist rests just so. But each wrist rest and each keyboard half are free floating so they are always moving around. This is especially annoying when I need to move this stuff out of the way to clean underneath, or to use my secondary mechanical keyboard. Another problem: the trackpad in the center is too low, weirdly placed, and is just not great. So I came up with this odd thing:

2ab01a01c2

This was an interesting little challenge to create using hand tools. But it was worth the effort. Now when I need to move my rather elaborate keyboard set up out of the way to clean underneath, or when I want more desk space for a non-computer task, or to switch keyboards, I can quickly set things back up with the exact spacing and angling I want. I start by placing the wrist rests:

478afbdc0f

And then place each keyboard half against the wrist rests:

2b61e56ca5

And then place the trackpad on the raised, angled stand in the middle. The cable that connects the two keyboard parts tucks neatly under the trackpad. I wanted to keep this as minimalist as possible, so I made it so that the trackpad front edge rests on the stand, but it's angled so that the trackpad back edge rests perfectly on the keyboard edges. This is the minimal width to fit the trackpad and the spacing is just right (for me) for typing. It is very stable and feels solid.

6ac1991e44

So I'm going to use this for a few days and make sure I like it, then I'll finalize everything, glue it up, give it a coat of Osmo. Based on a few hours of usage, I think this will be a good solution. Everything lines up just so and it just takes a few seconds to get all assembled. It also looks much neater.