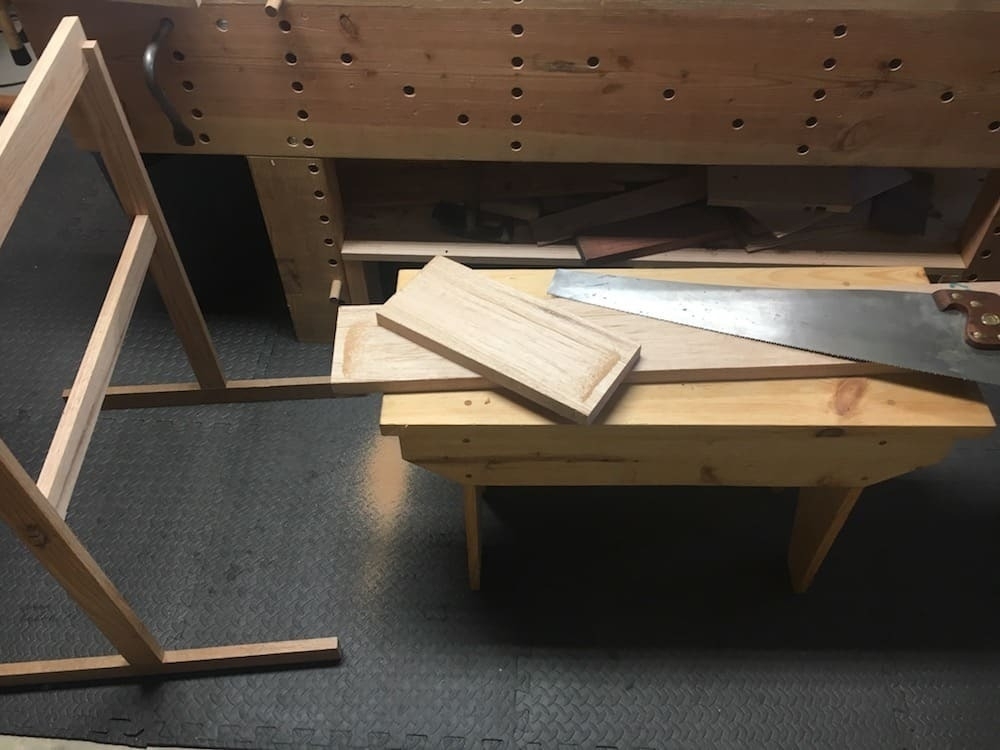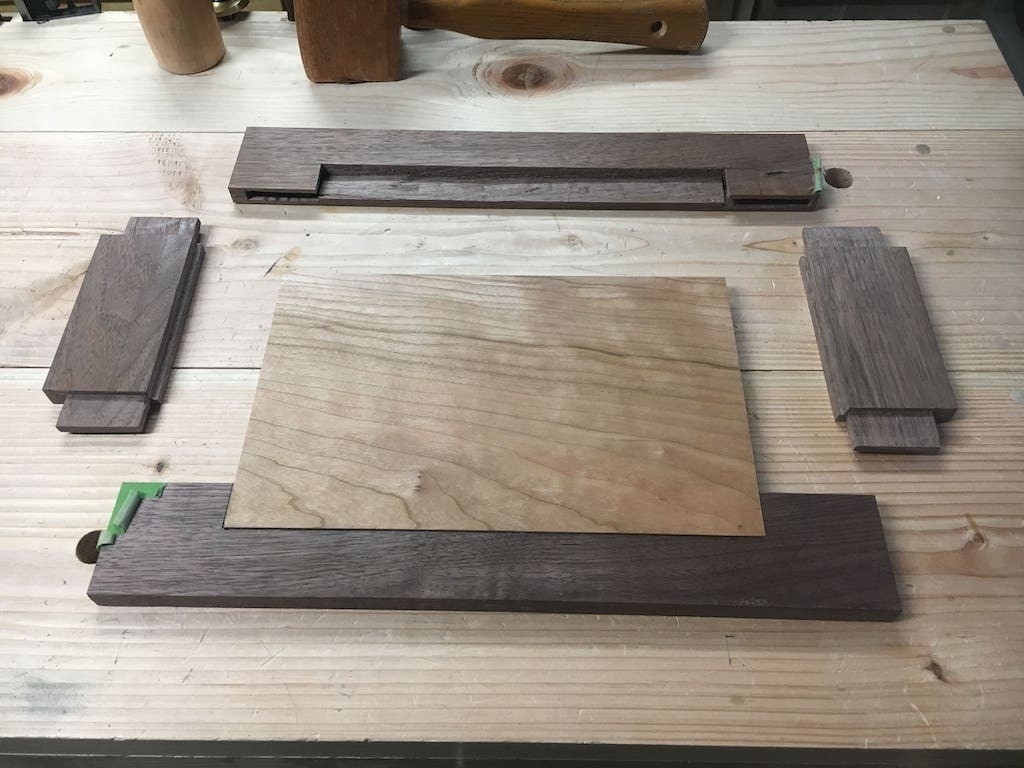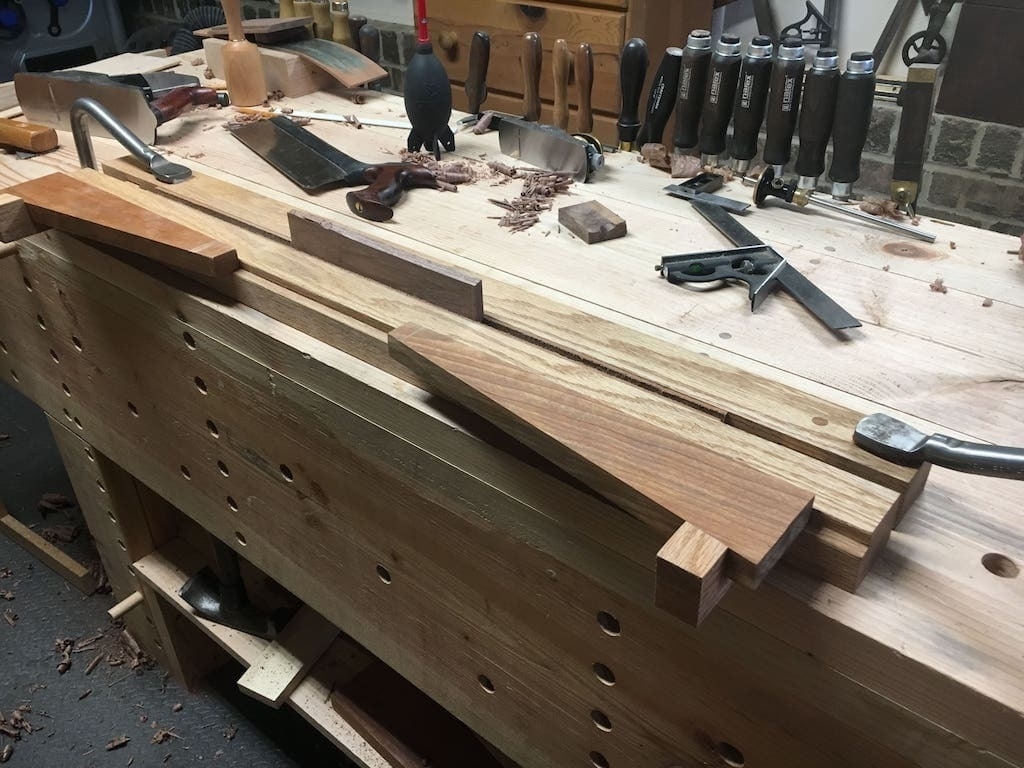
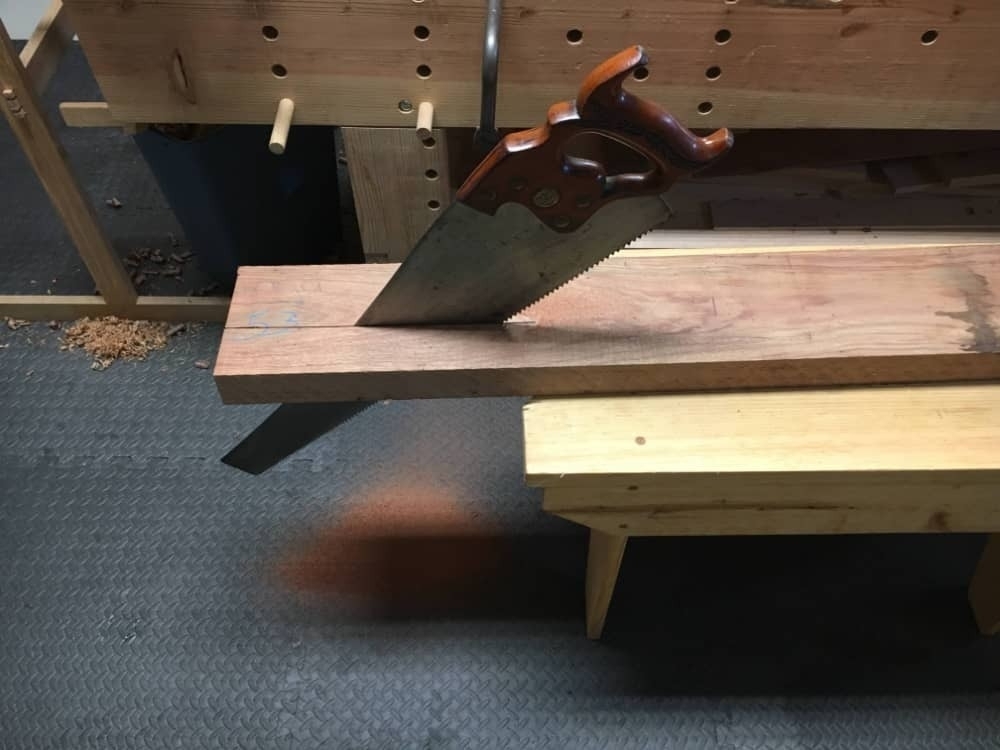
I finished my large panel gauge project. It’s the first build I’ve done that incorporates other-than-wood materials (in this case, lots of brass). I cut the boom arm and body of the gauge out of a giant chunk of 8/4 bubinga. I cut two arms and two bodies so I have the parts ready to go to also make a smaller version later.
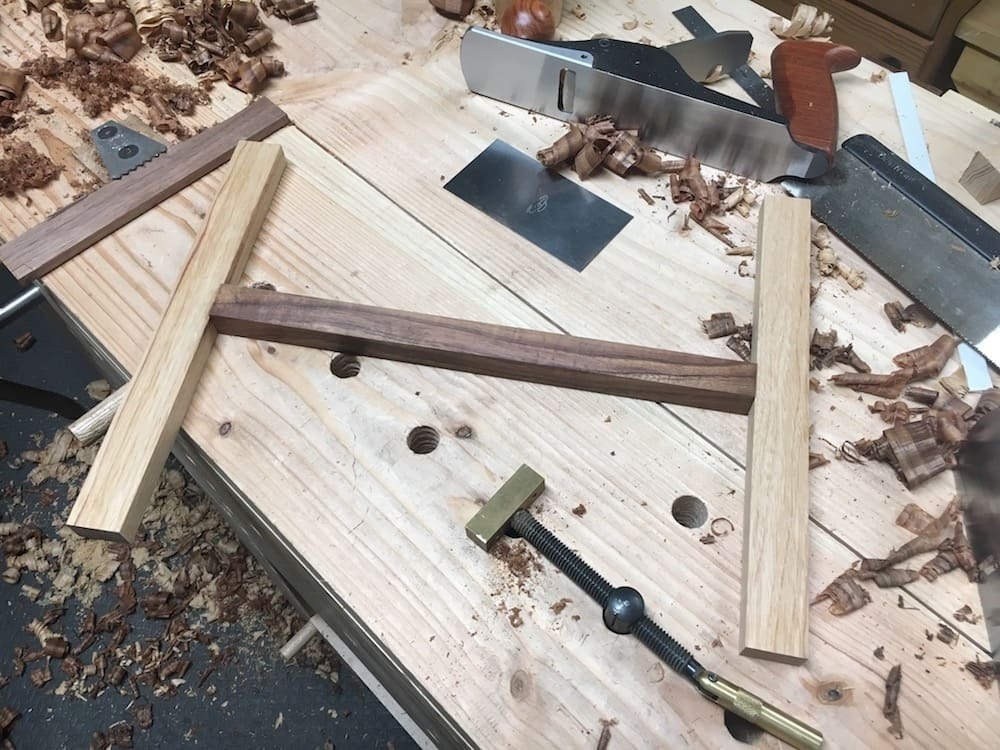
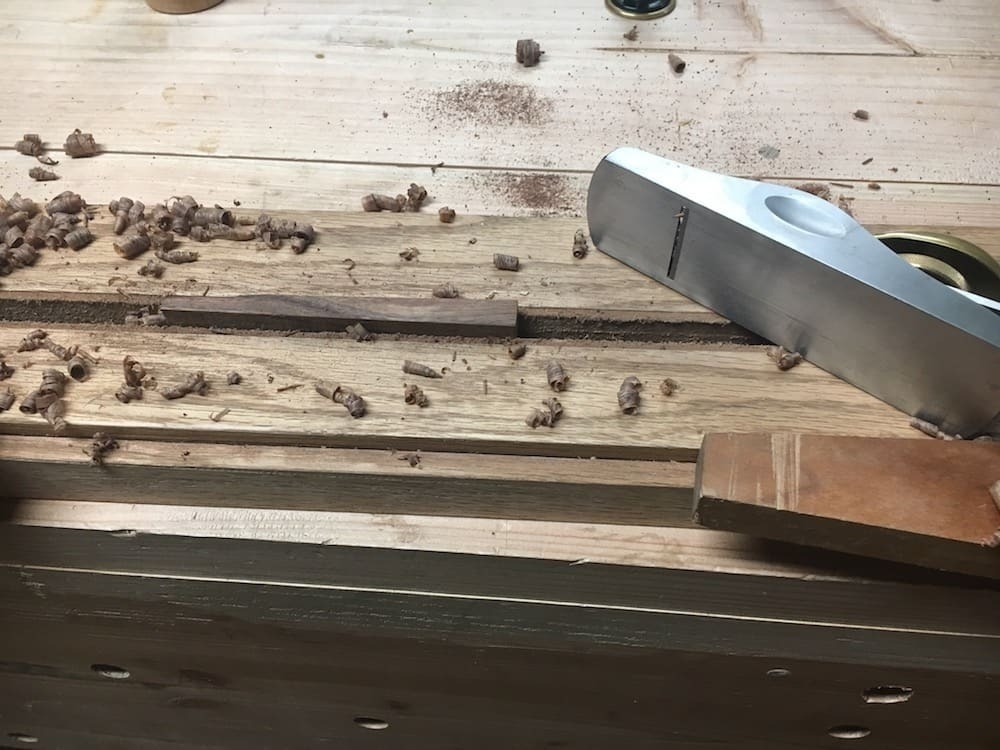
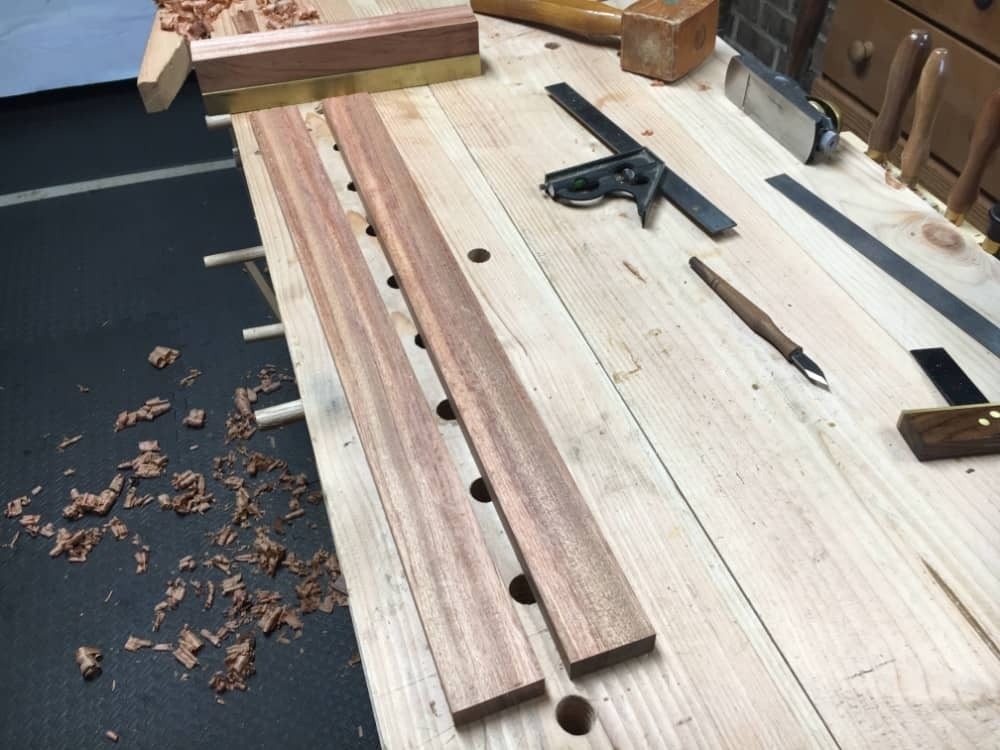
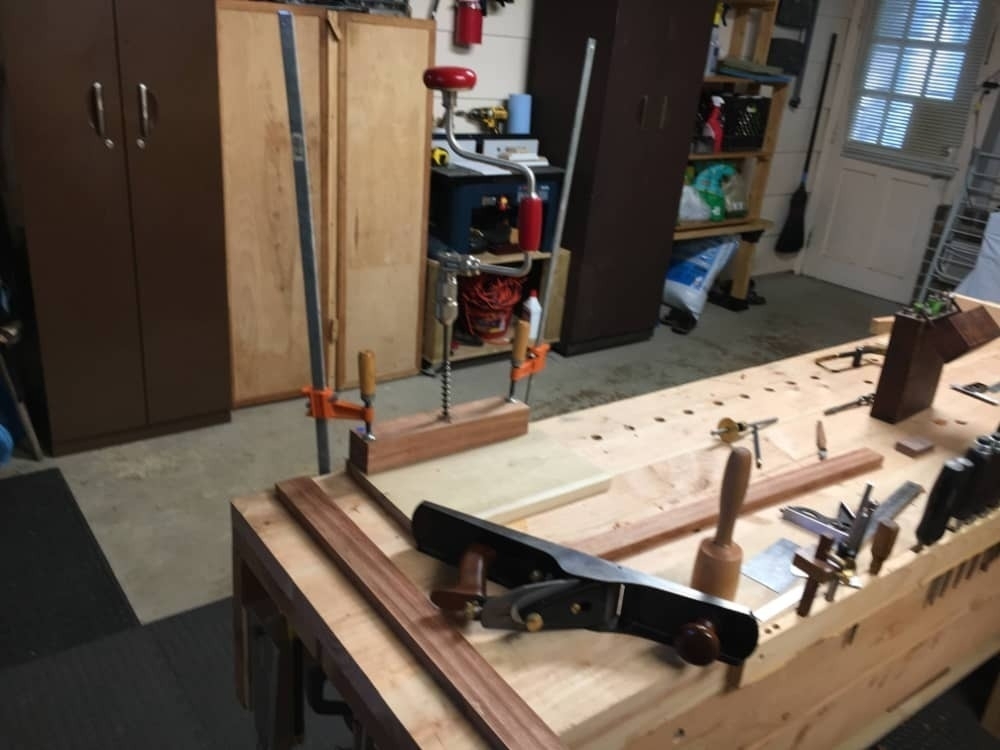
 I had some issues with tear out on the boom arms, but a card scraper got me the rest of the way. Moral of the story here is that I need to do better at taking the time to sharpen my hand planes.
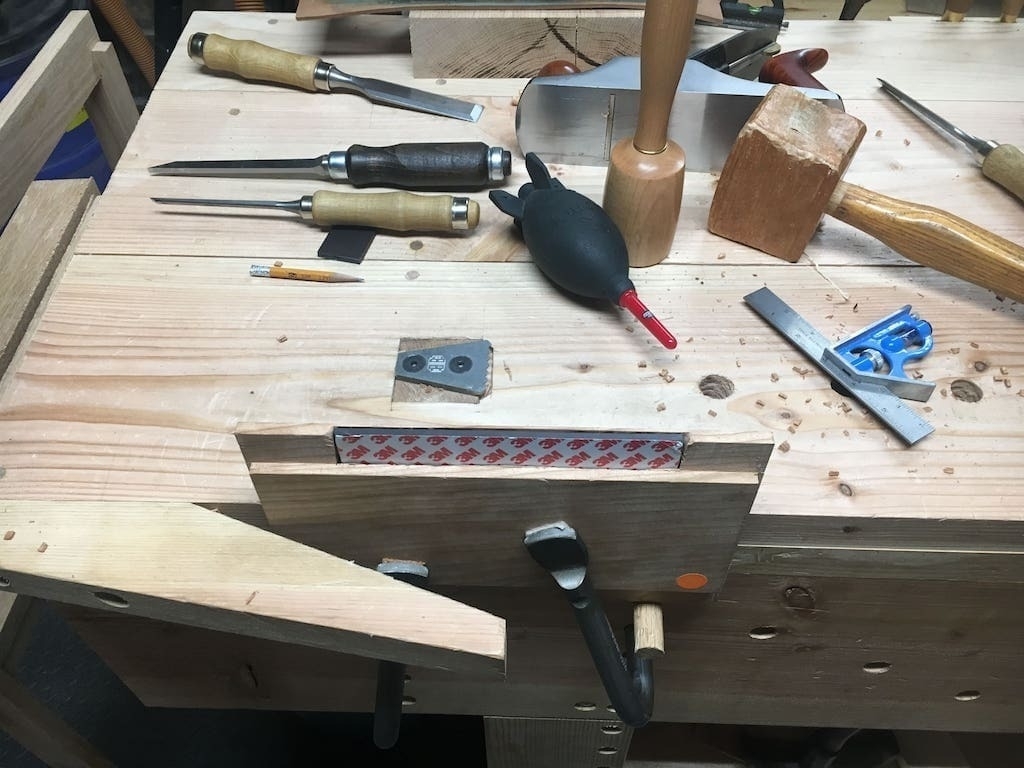
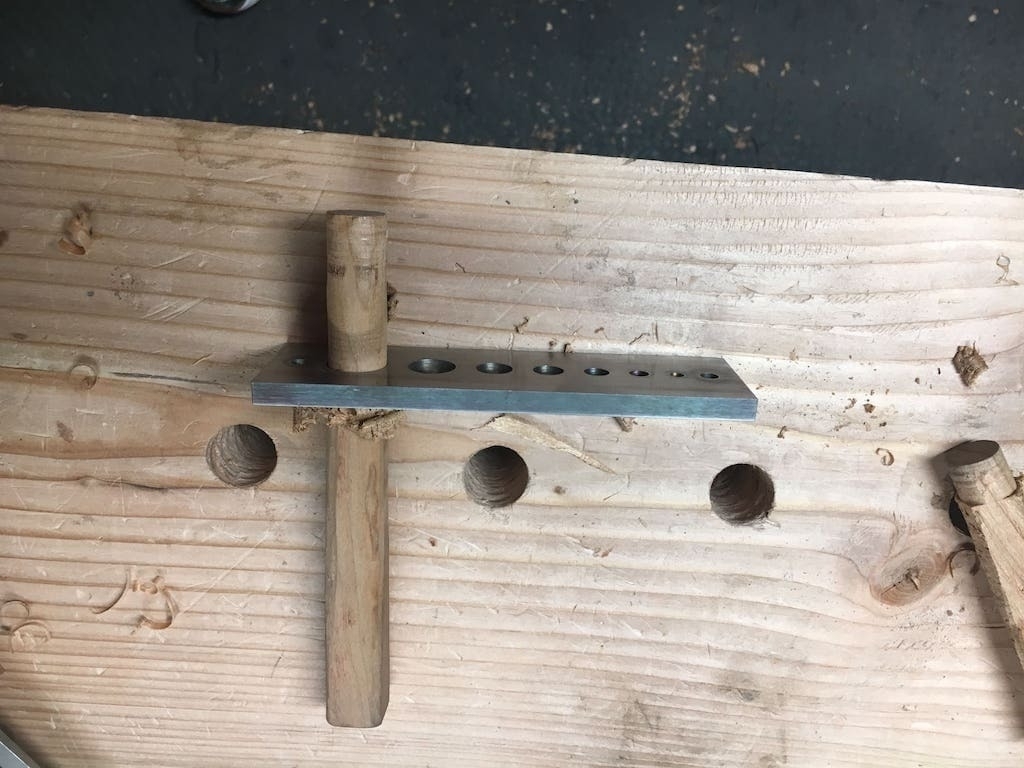
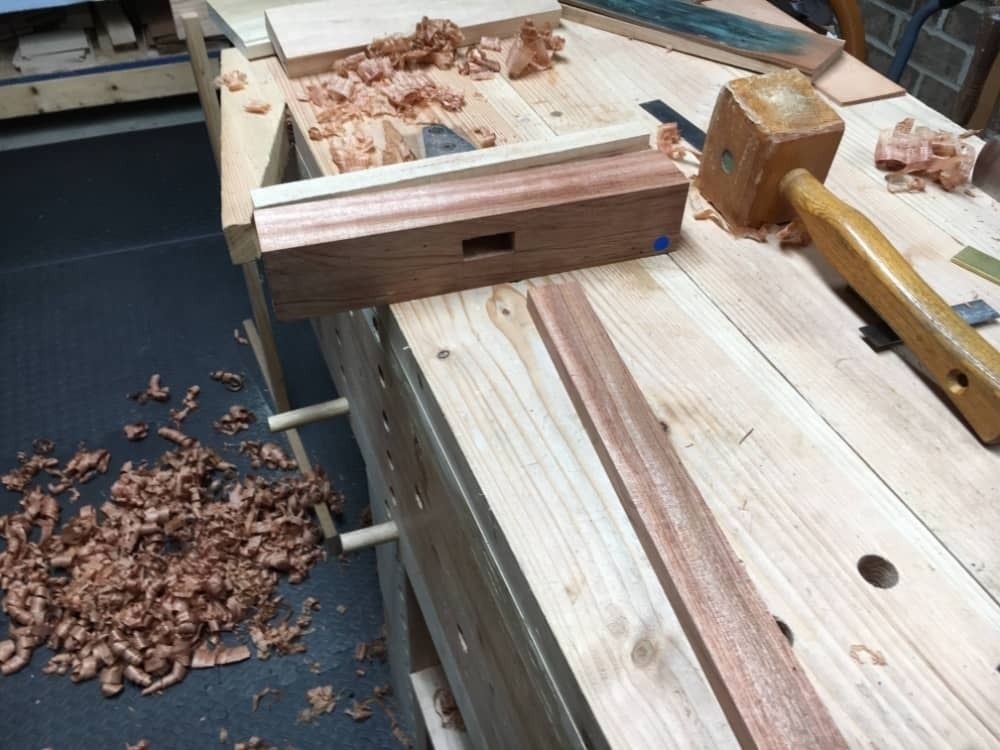
 For this build, the boom arm slides through the body via a deep mortise. I decided to drill out as much waste as possible for the mortise, but ended up drilling the holes too close together and had a situation where the outer holes didn’t hold and “collapsed” back in to the previous holes I had cut. This meant I had to chop out quite a bit, so I ended up using a mortise chisel in addition to paring chisels to get it to the lines.
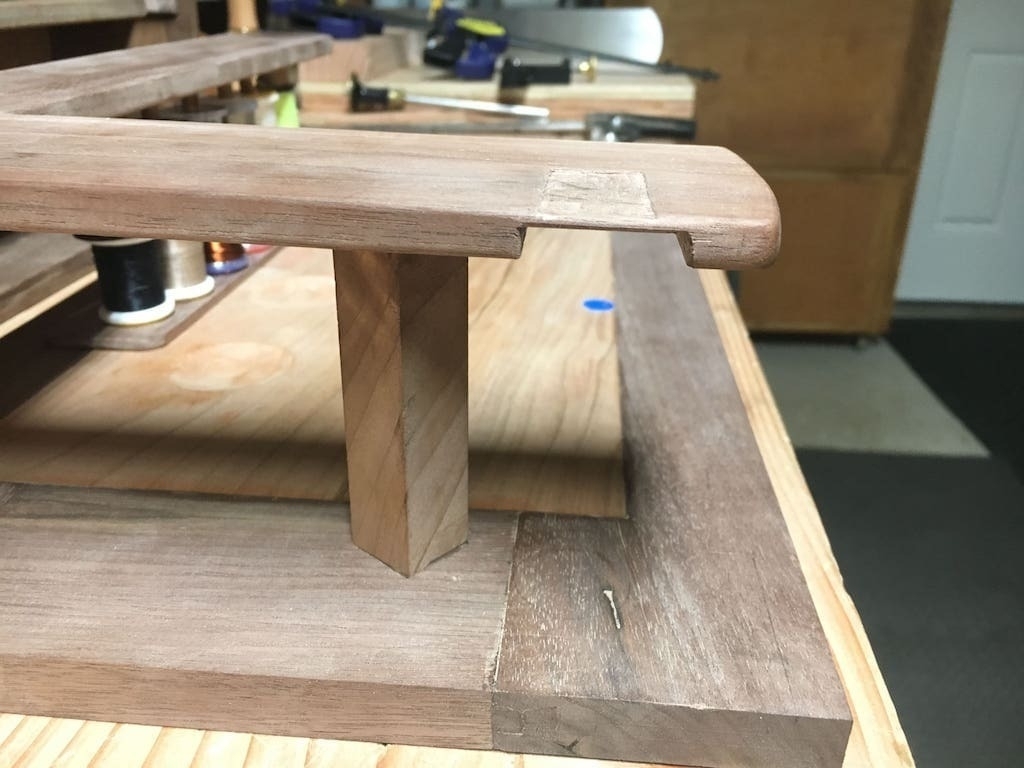
Still, the ending mortise came out crisp and fit the boom arm well.
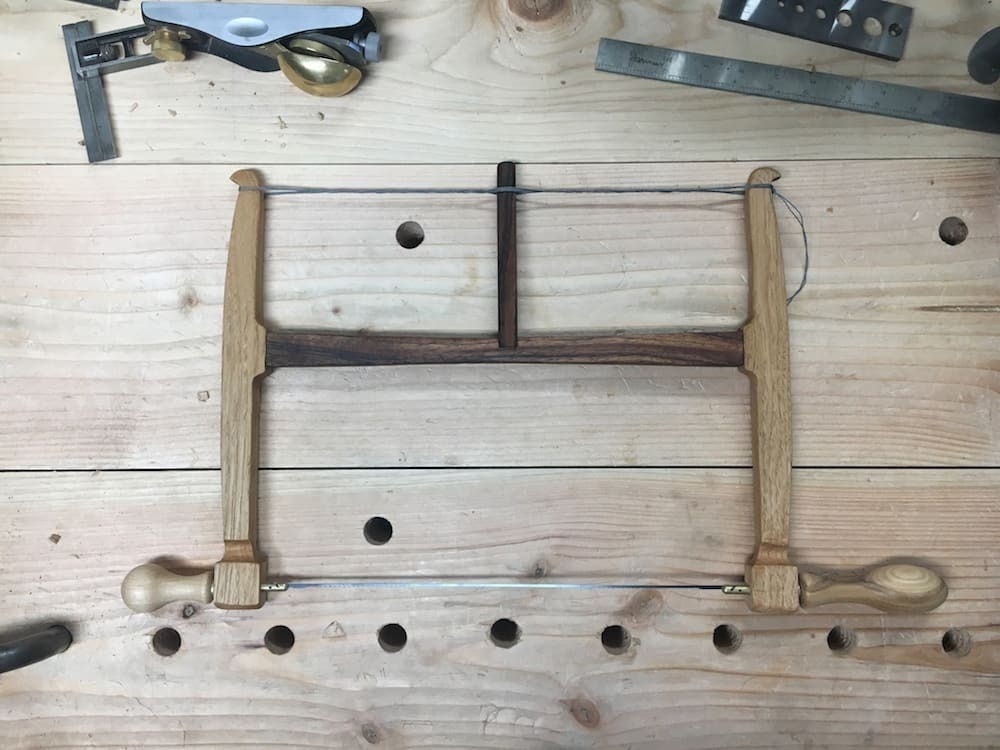
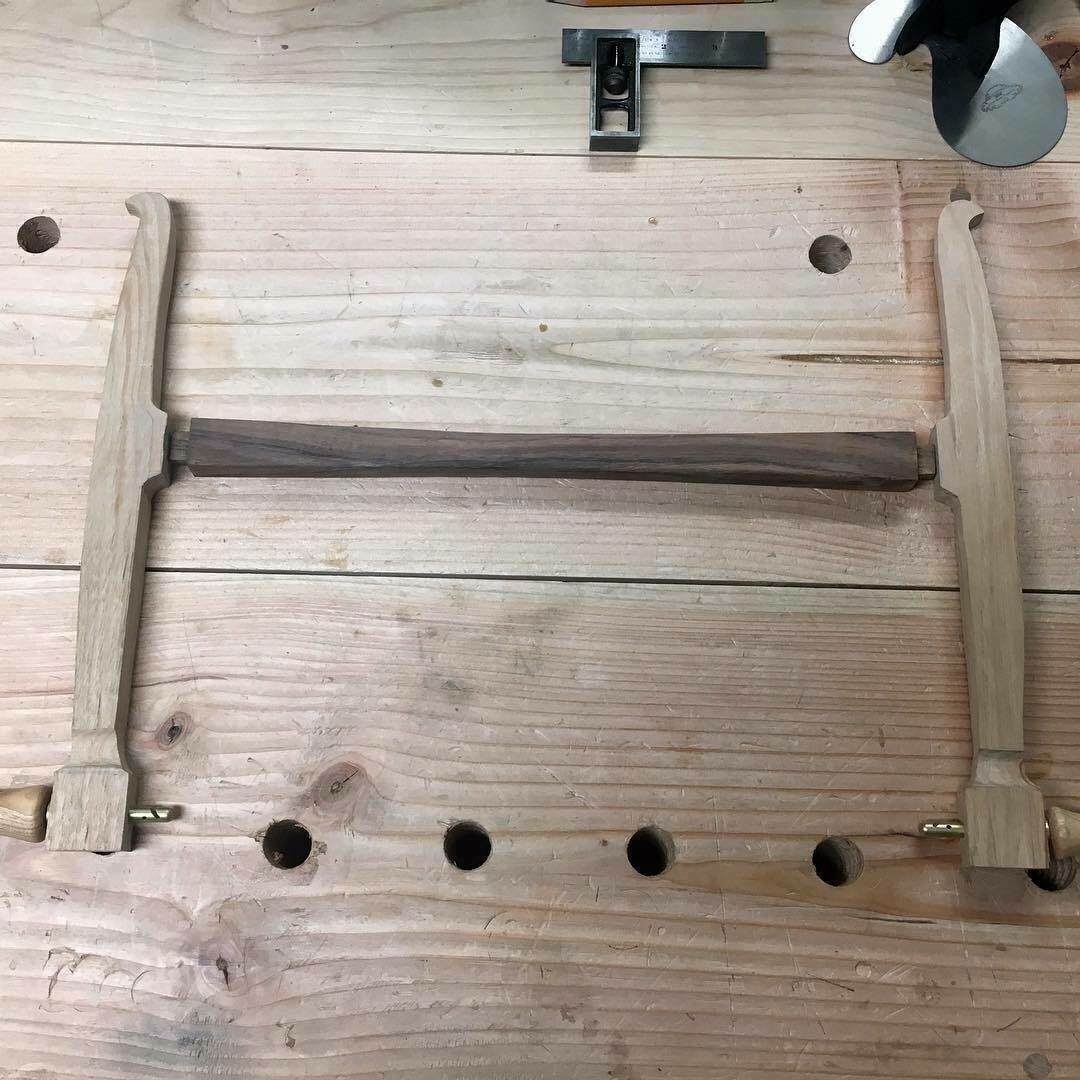
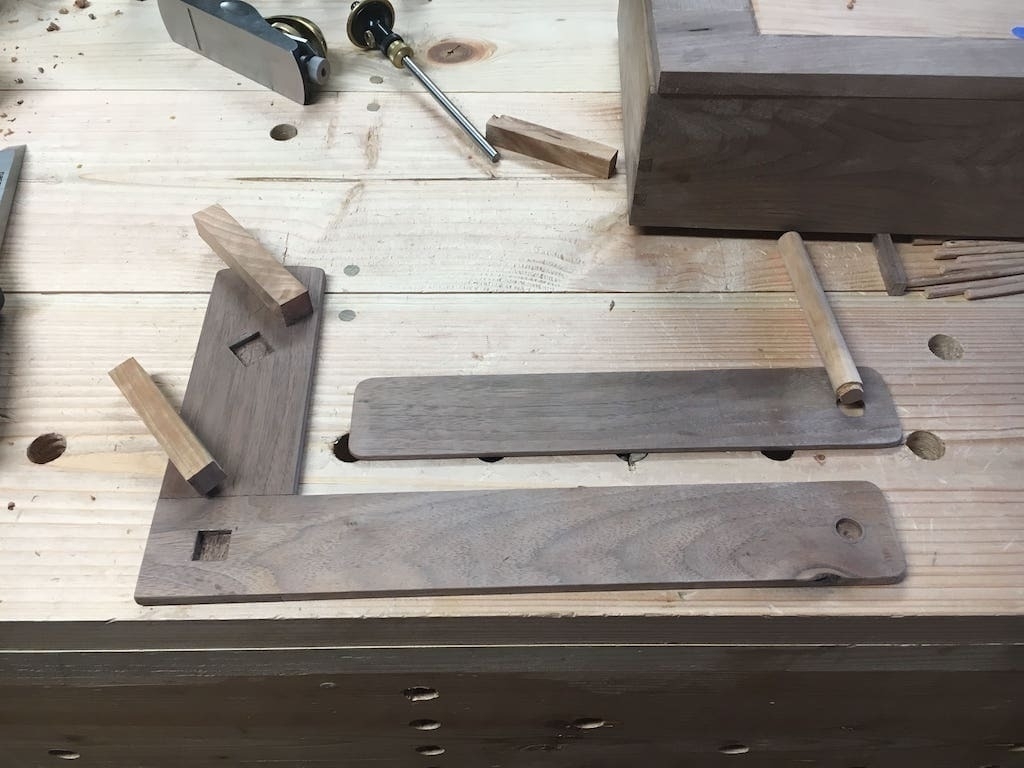
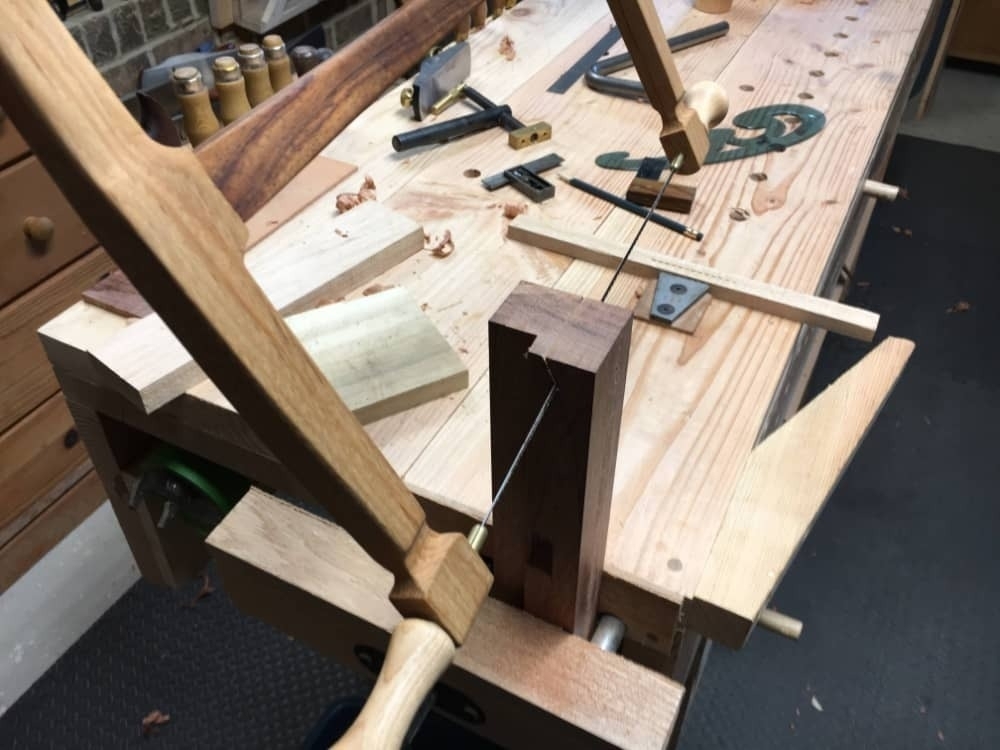
Next up, I had to shape the head of the gauge to not only look nice, but to shave off some waste to cut the weight down while also shaping to fit my hand. This provided me the first opportunity to use my new bow saw to cut the curves out for the body. I used a French curve to get a shape I liked.
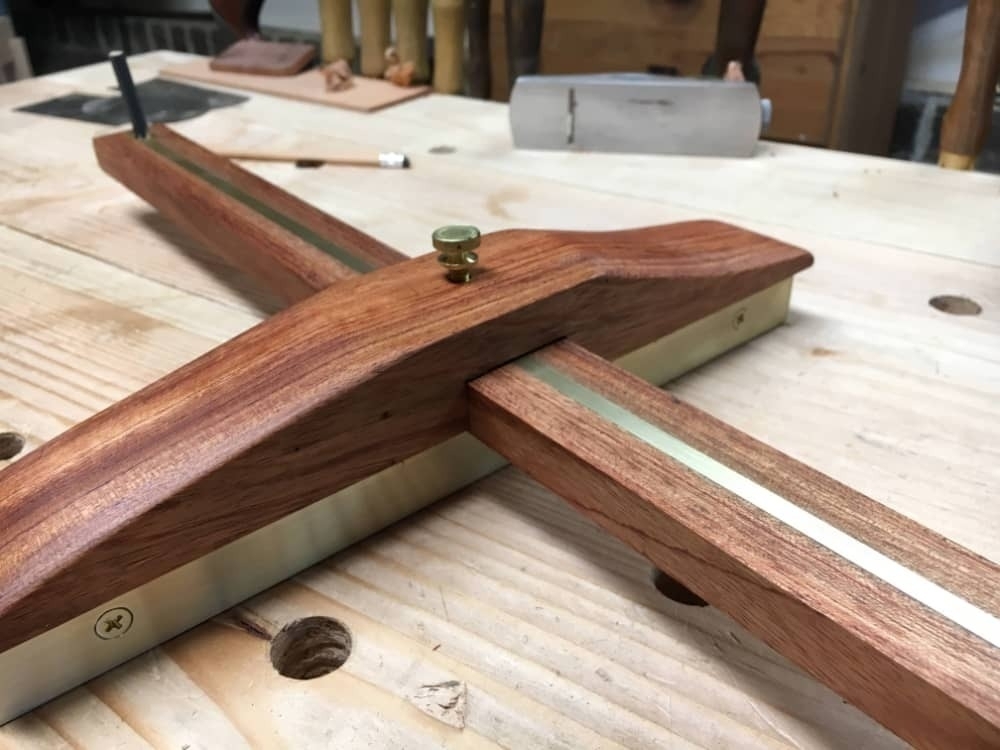
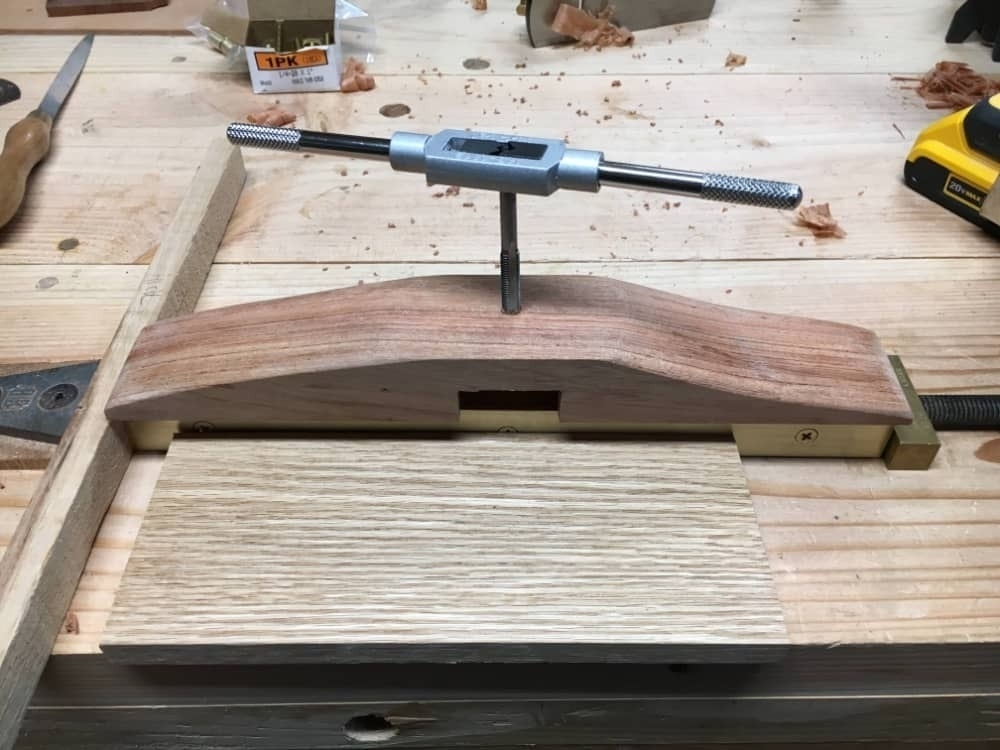
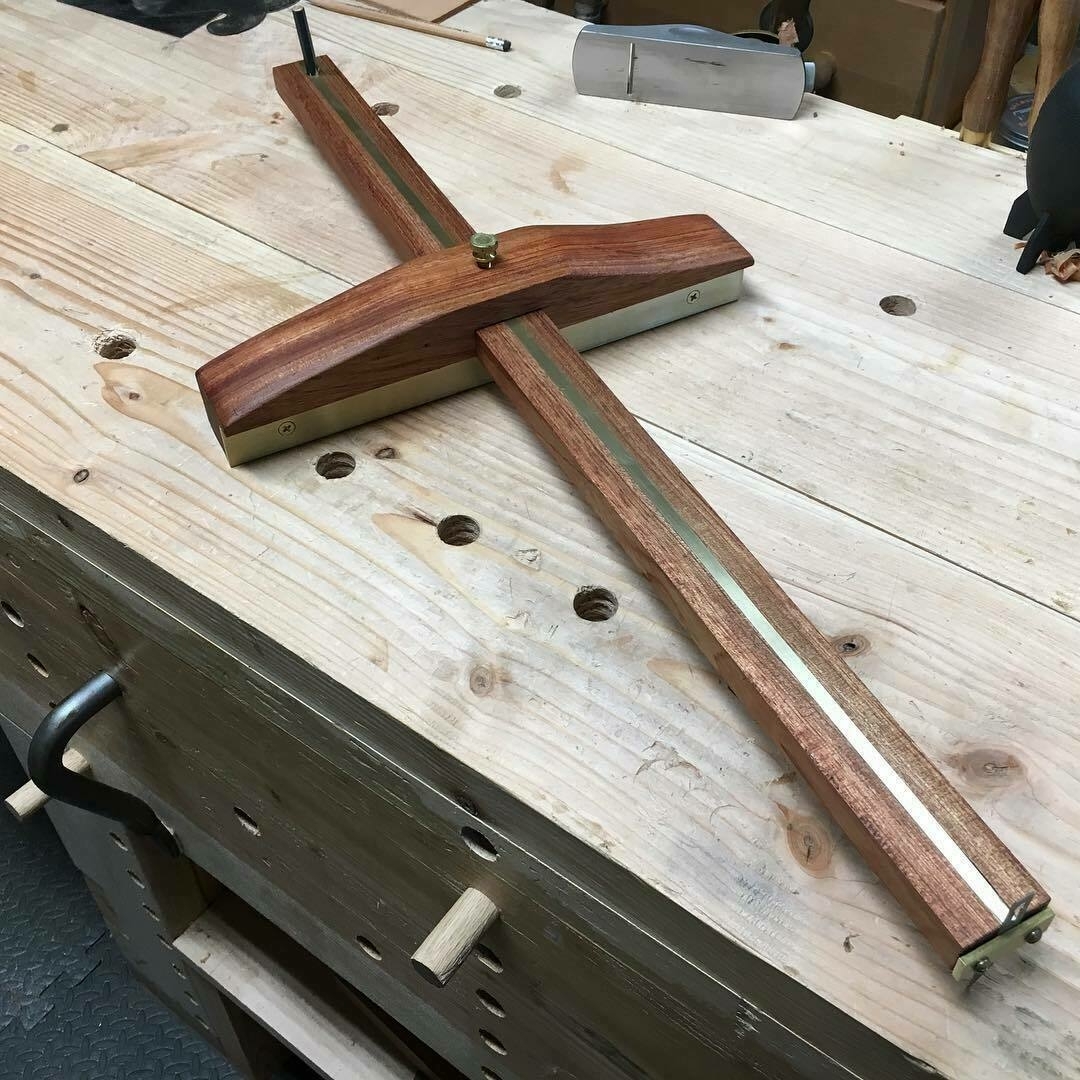
 I smoothed it with rasps and card scrapers. Then used a tap to cut out a screw hole in the wood to fit a brass screw. This screw tightly holds the boom arm at different lengths. The brass screw I had was a bit long so I shortened it with the hack saw. Also shown here: a brass fence on the underside of the gauge to register against the wood I’m marking. This is held in place with three brass screws fit flush by countersinking holes in the brass.
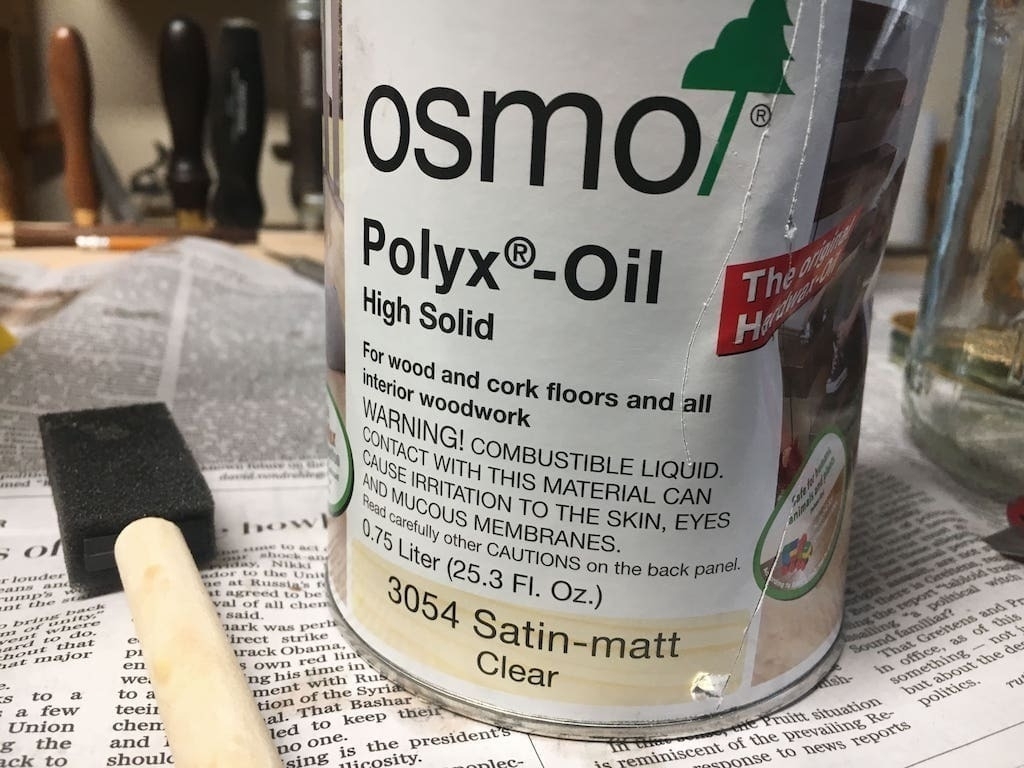
 I finished it with Osmo poly-wax. And here it is. One other detail I haven’t mentioned: I installed a 1/4" brass bar in the boom arm so that the screw can tighten on it without damaging the wood.
On one end of the boom arm, I drilled a hole to fit a pencil. On the other end, I capped it with a small brass bar that serves to hold a marking knife. So I can use either side depending on my needs.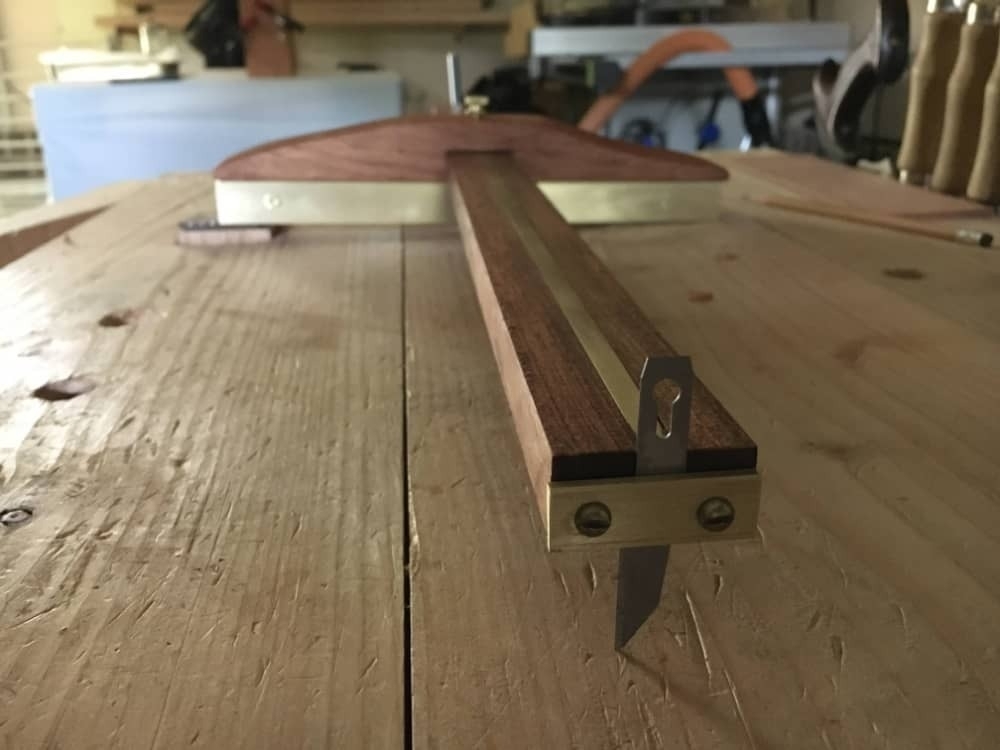
 One thing that I discovered during this build is that a card scraper works great on brass. My brass bar on the boom arm was a bit proud, so I scraped it right down with little effort. It’s also worth noting that the brass screws are so soft that you have to first set with regular screws and then take those out and swap in the brass. And that’s it. This project is another step in Semester One of the great Hand Tool School run by Shannon Rogers. Joining up with Shannon’s Apprenticeship program has transformed my woodworking. Going on my second year and I’m finally almost done with the first semester.