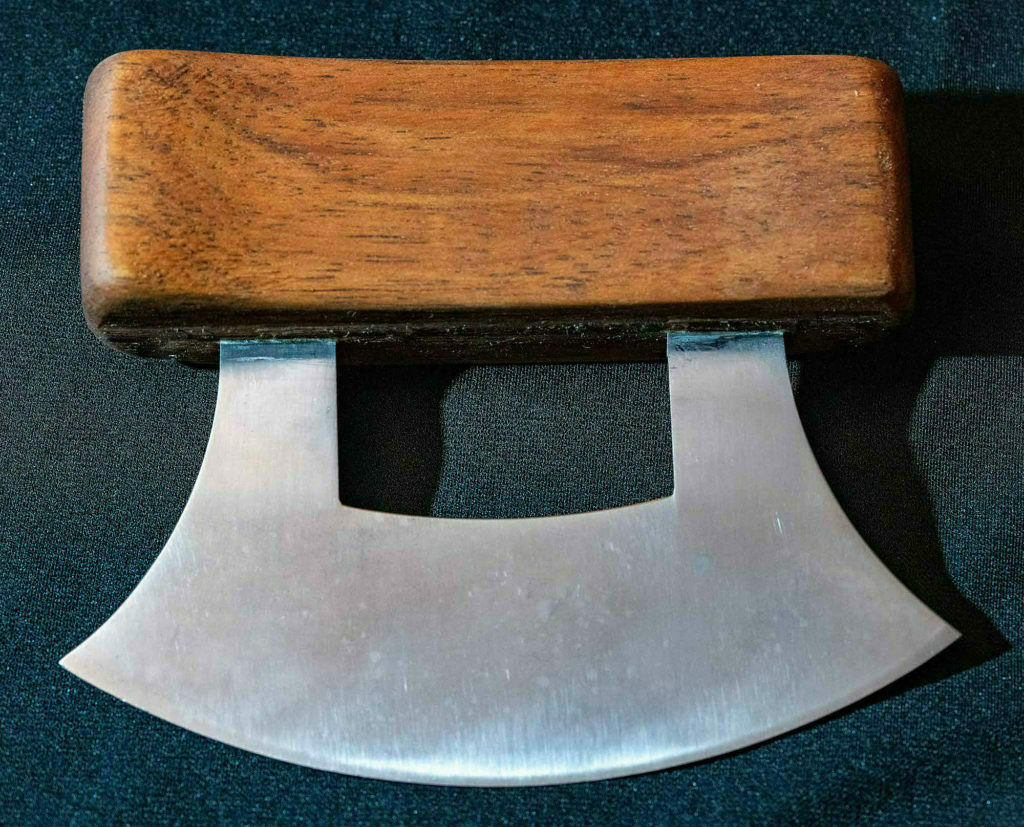
Here’s a small project designed to hold a utility knife, presented as a going-away gift for a work colleague. It’s the smallest box I’ve ever made and was an interesting challenge.

Here’s the documentation:

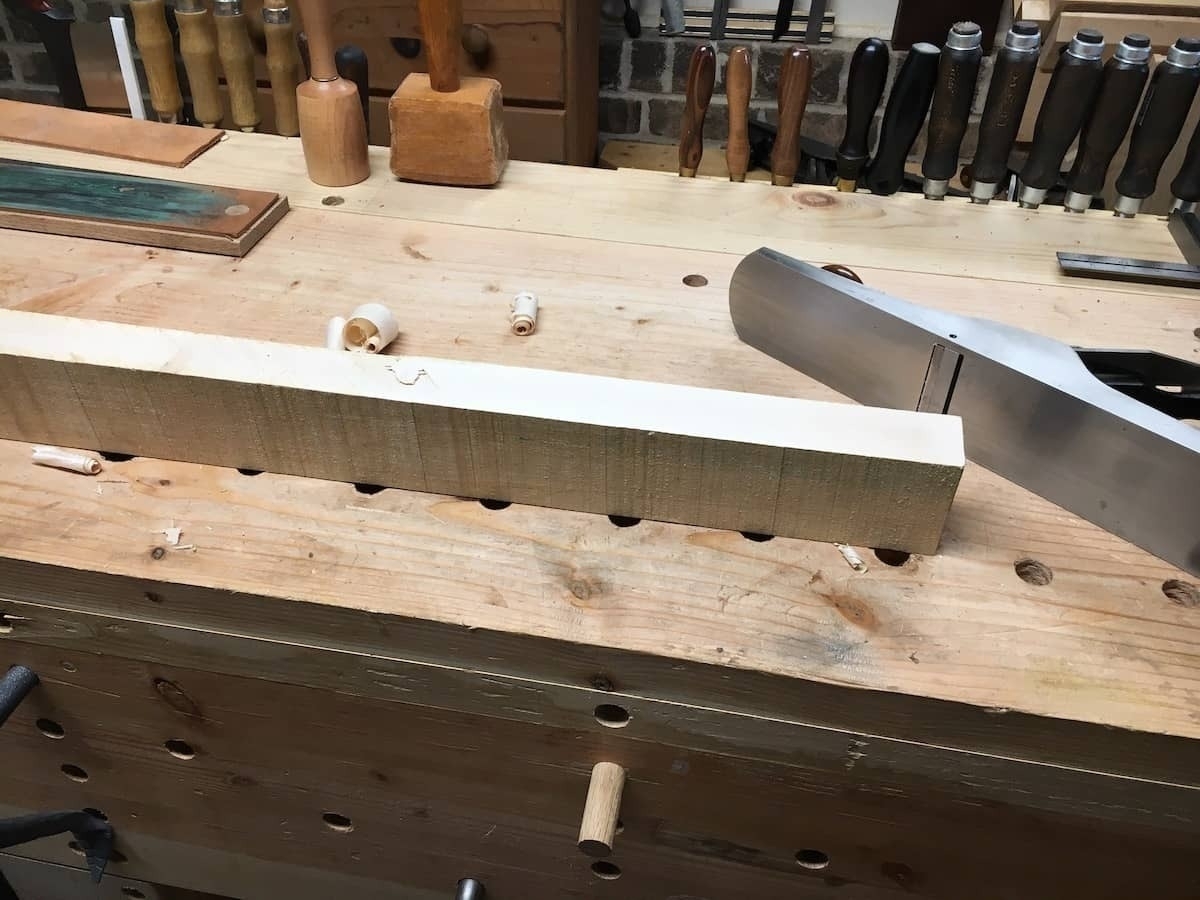
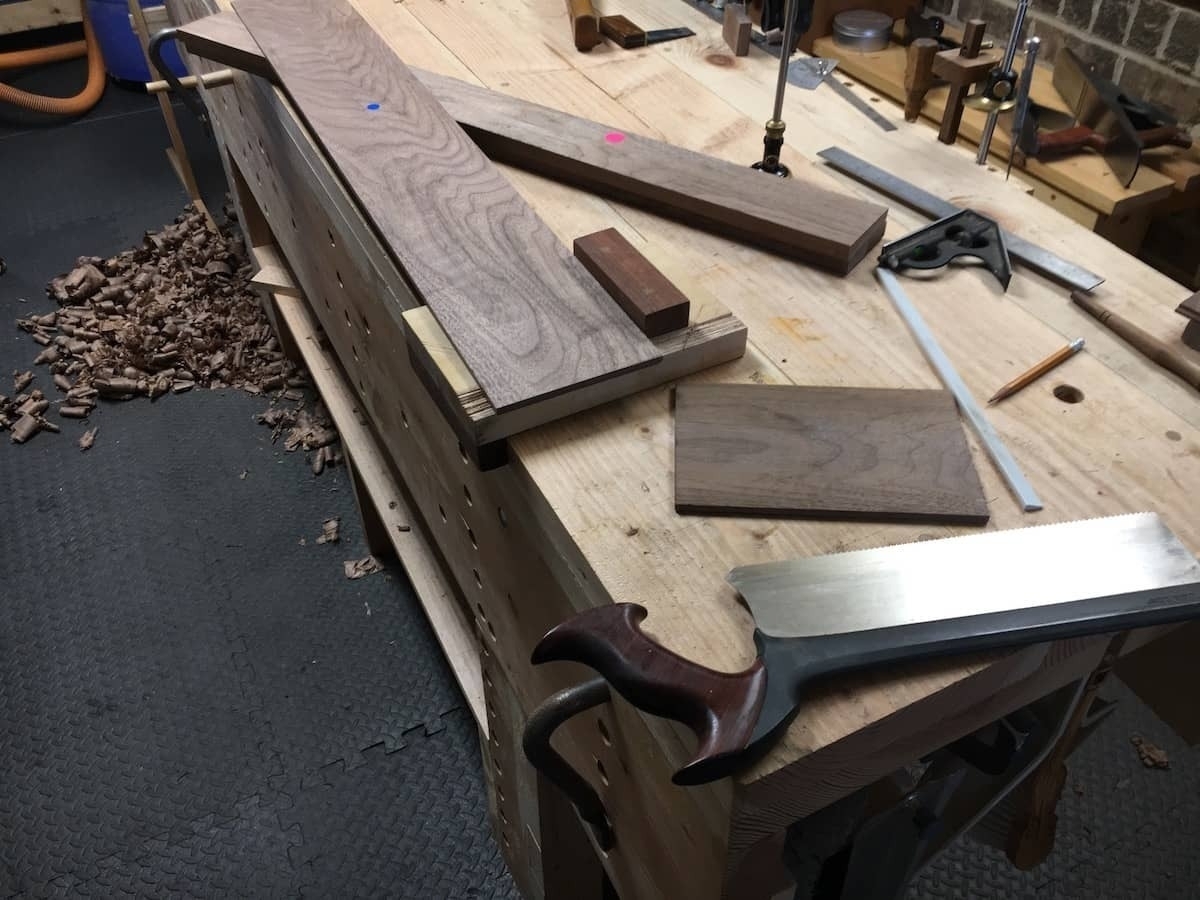
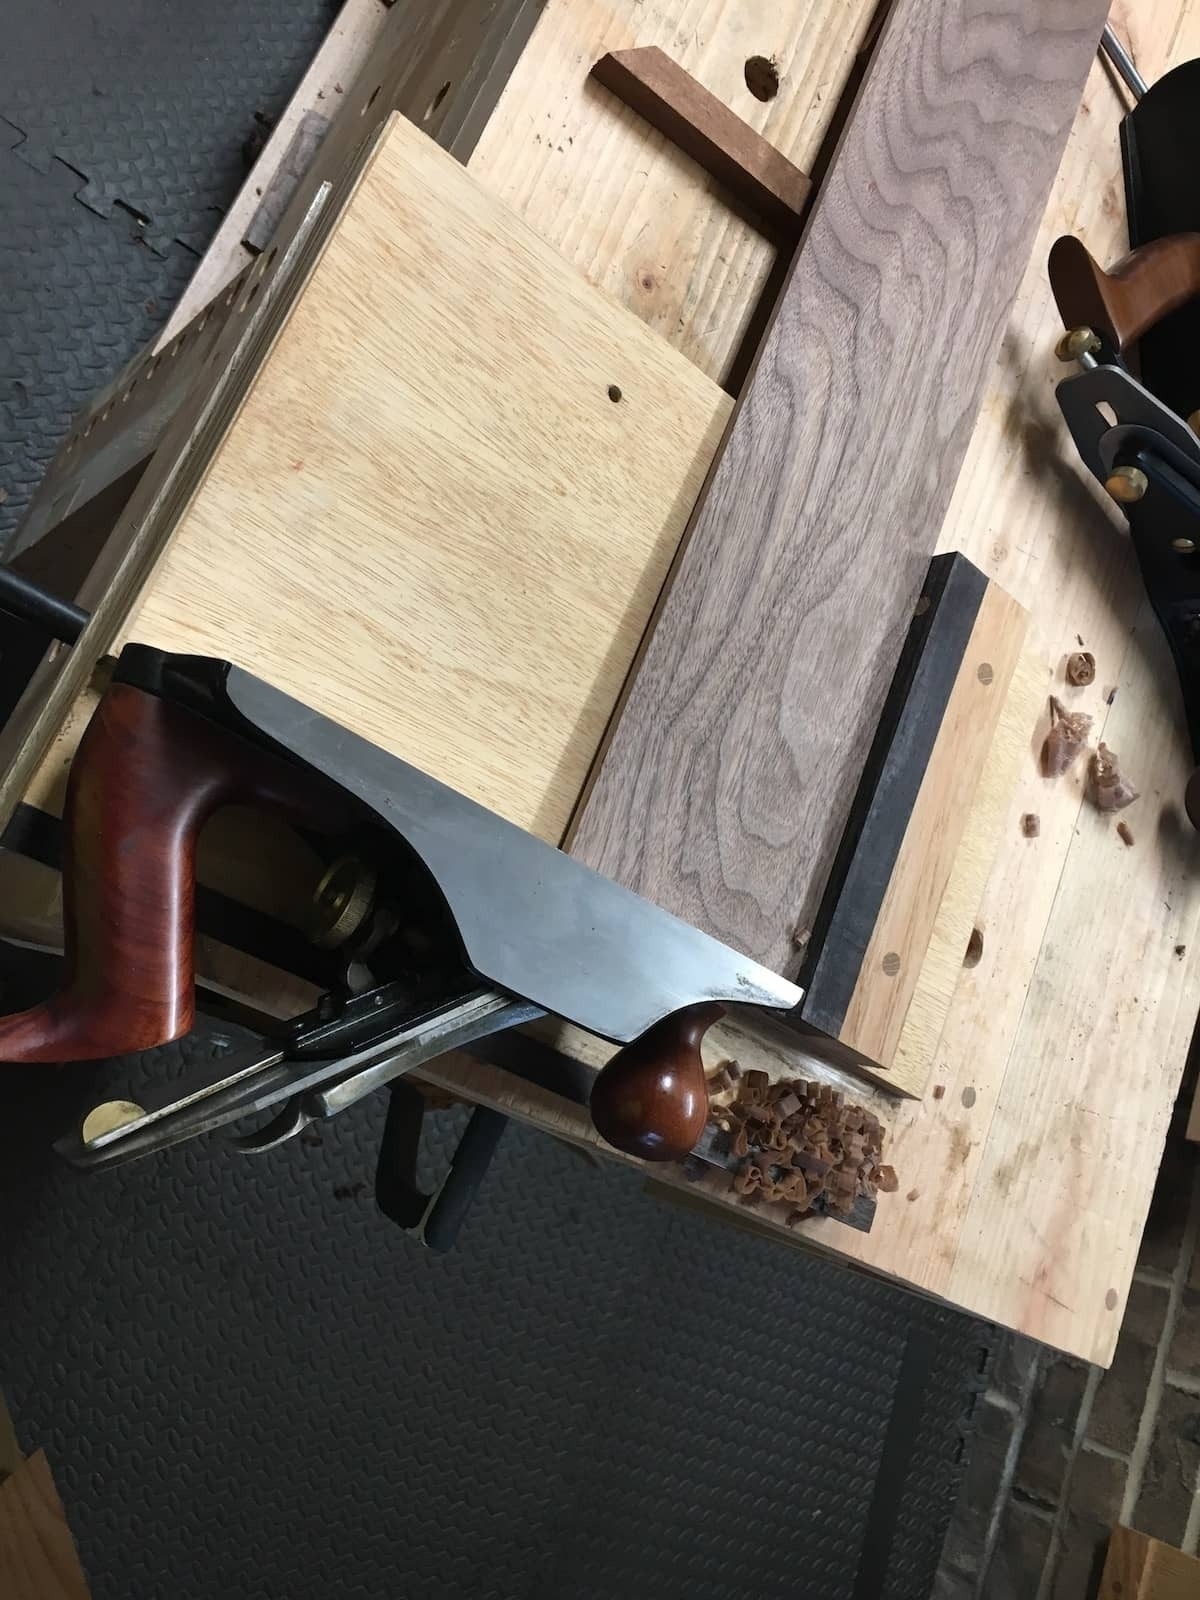
I started with some ¼ inch walnut I had leftover from other projects. I used my combination plane to rabbit an edge, which will hold the base and the lid.

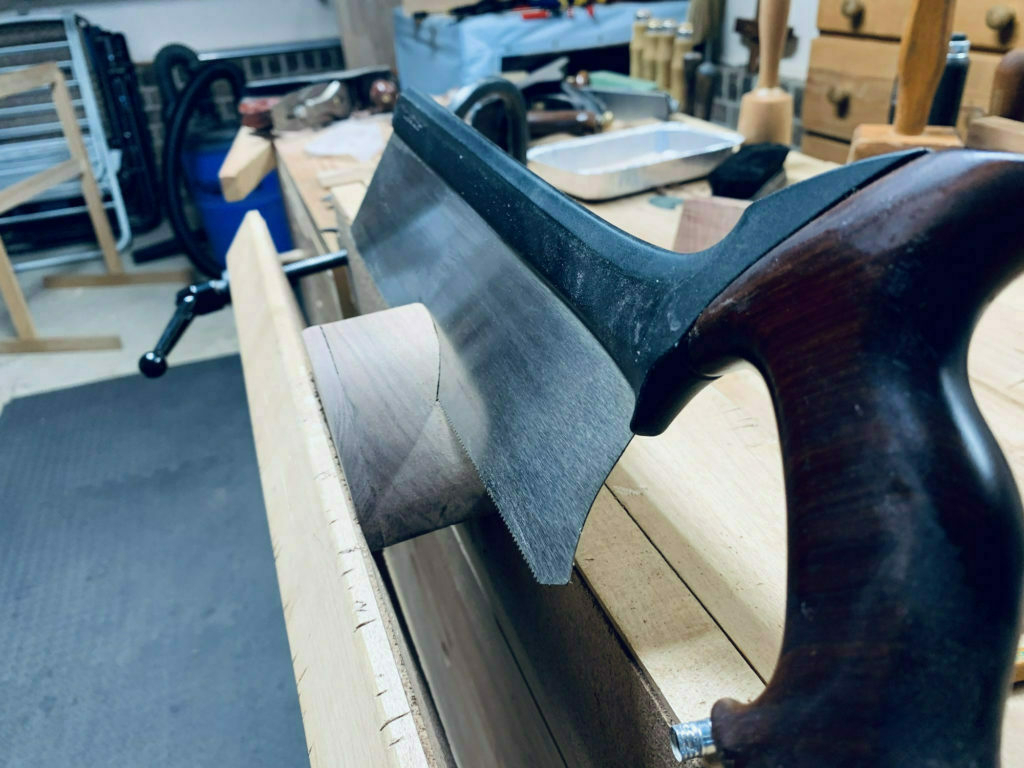
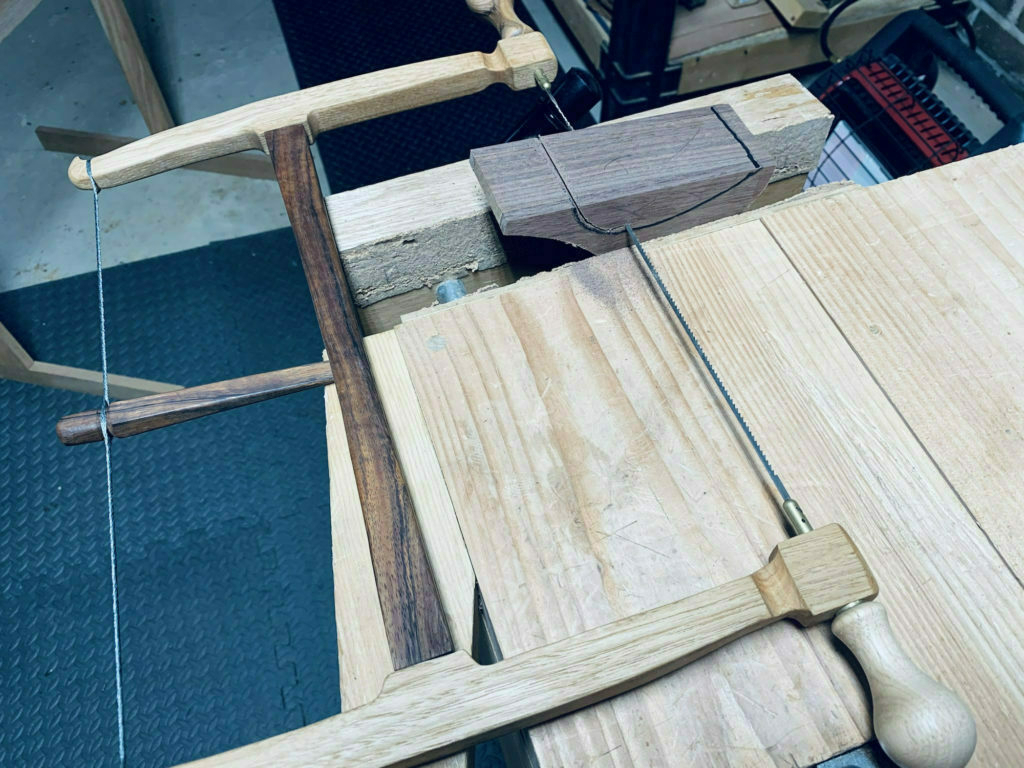
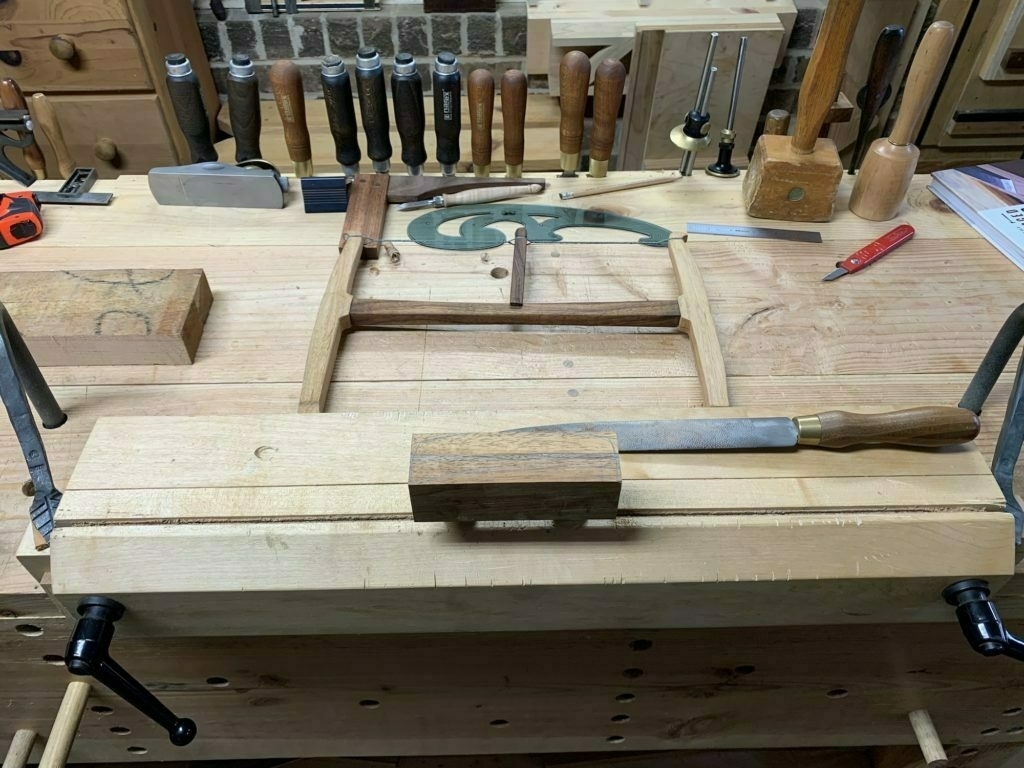
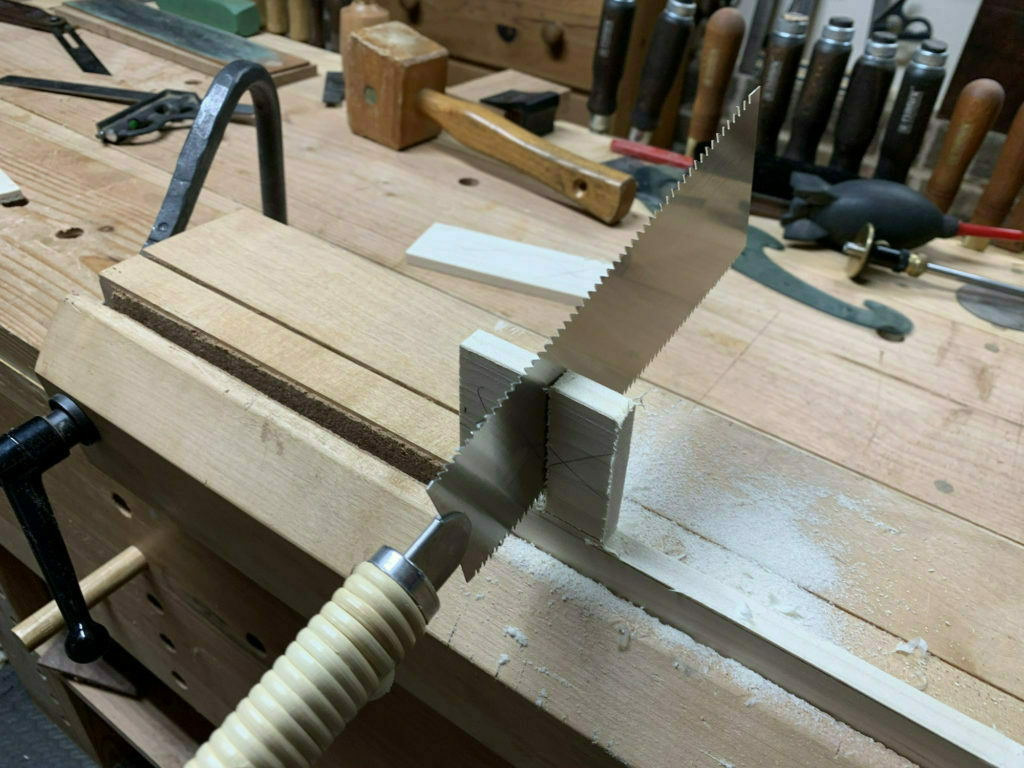
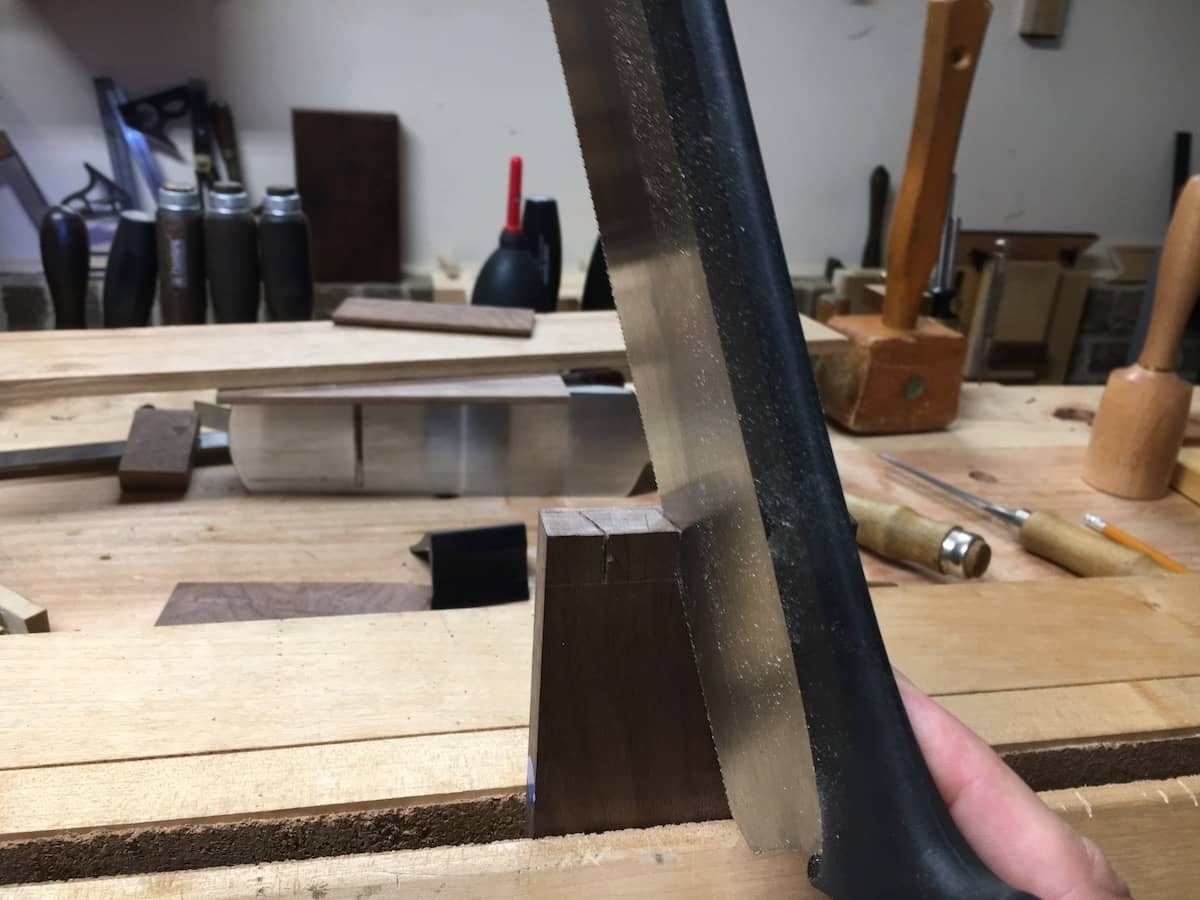
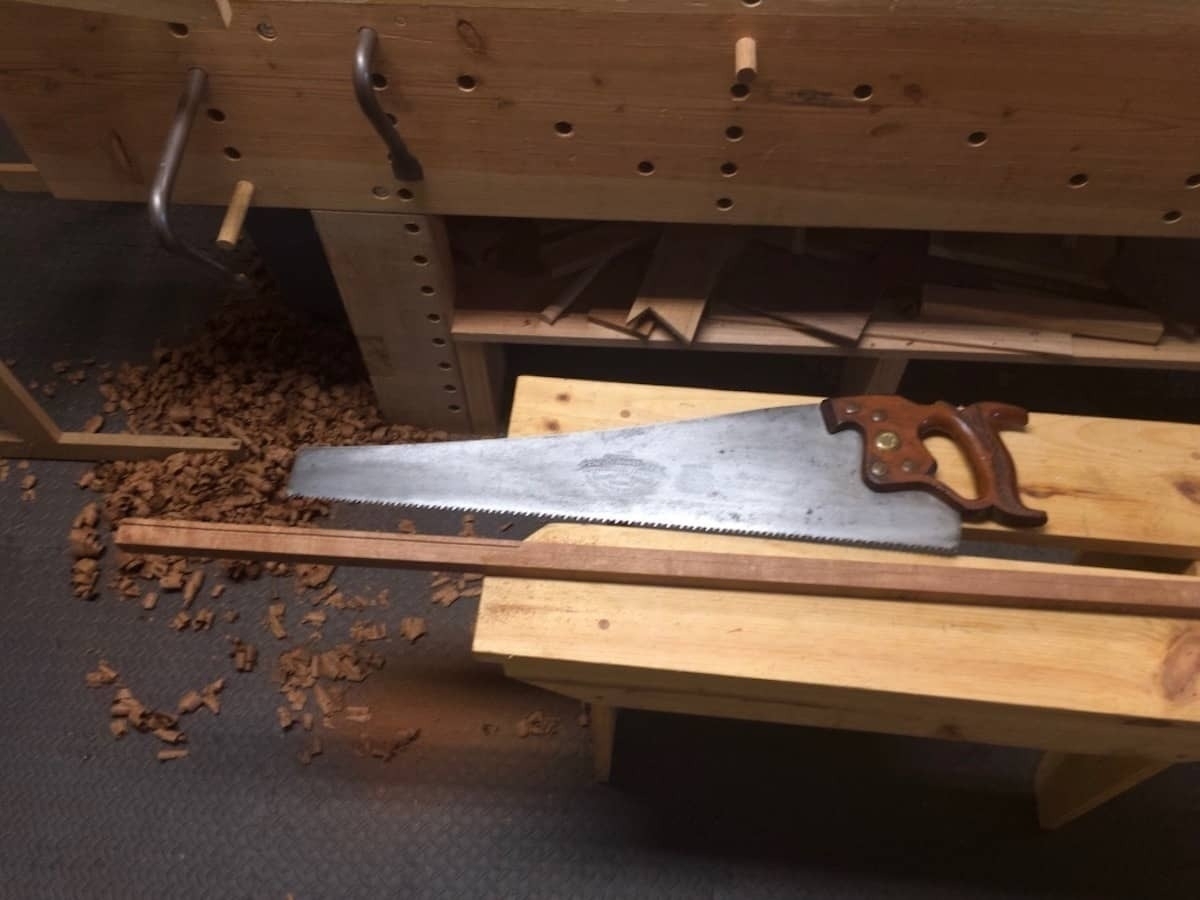
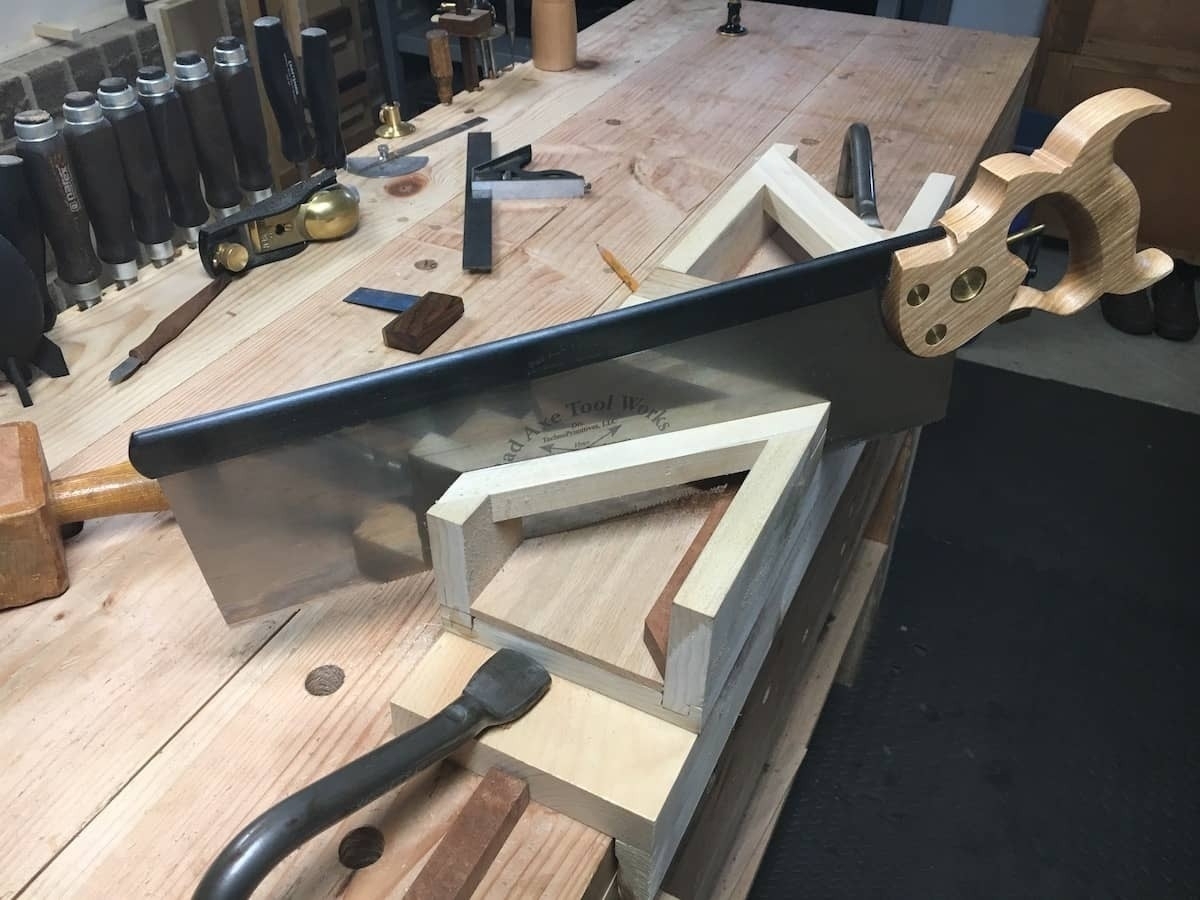
I cut the pieces to size with my carcass saw and then squared up the cut edges.

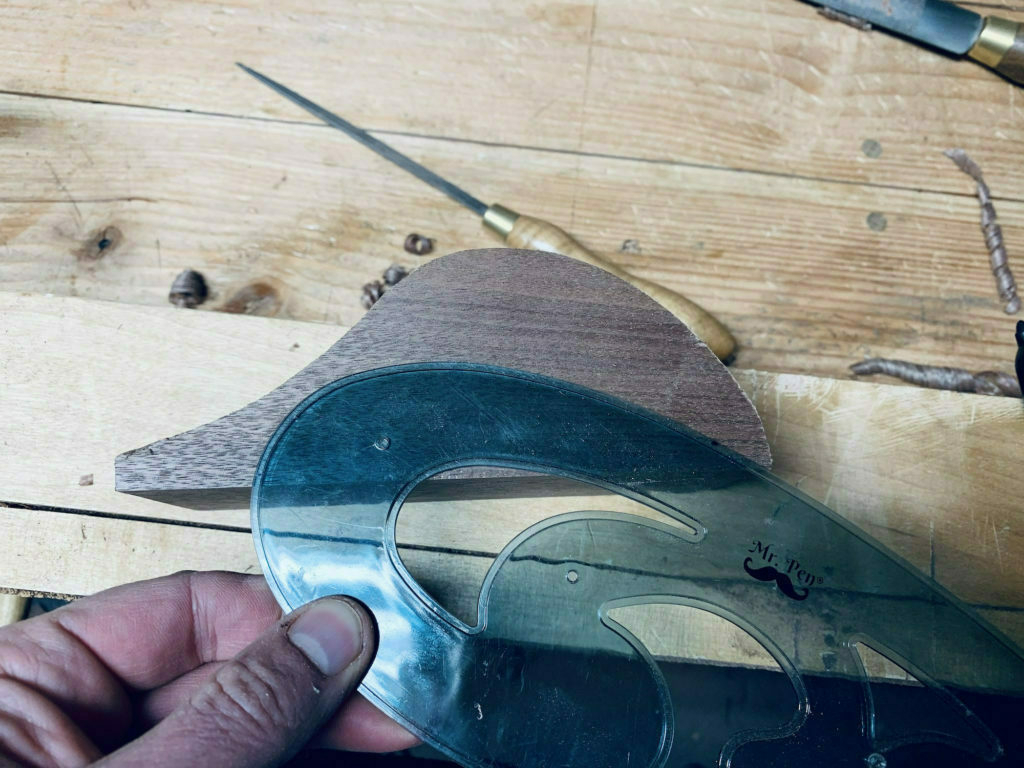
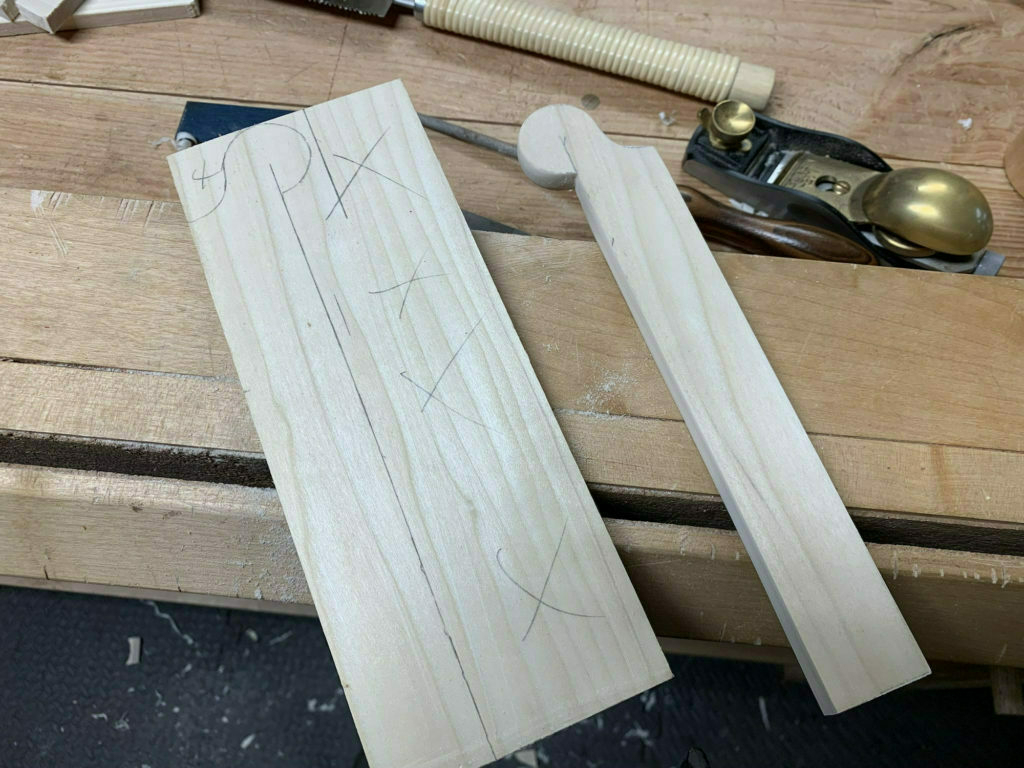
The dimensioning was all done by sight, using the knife case as a guide.

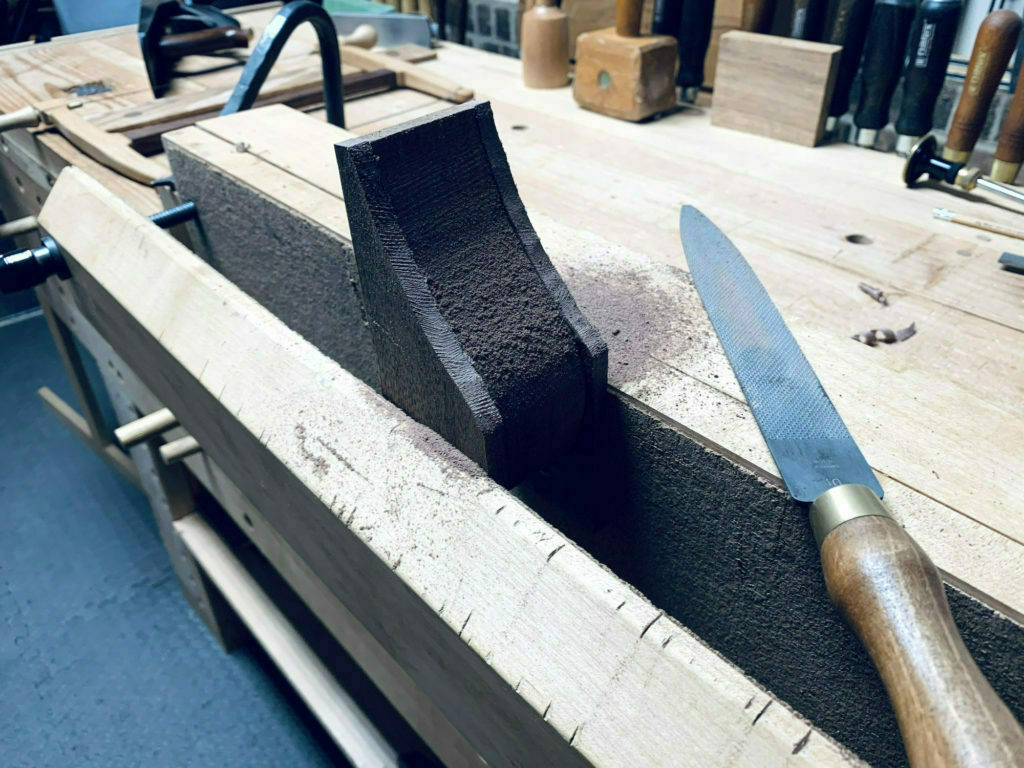
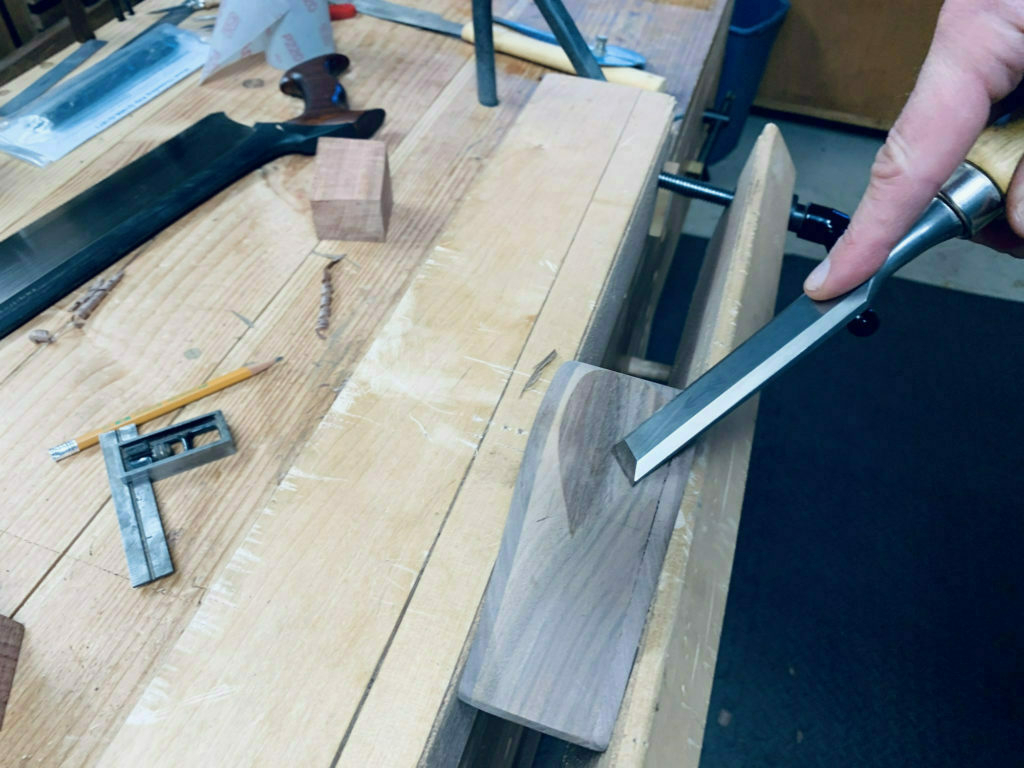
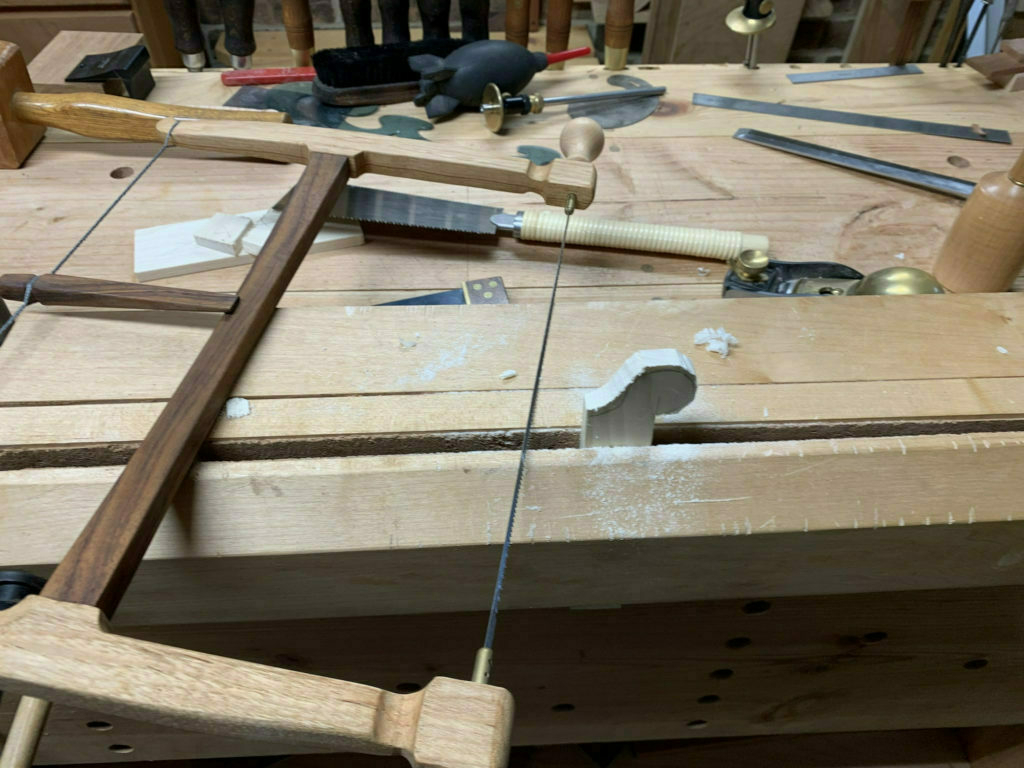
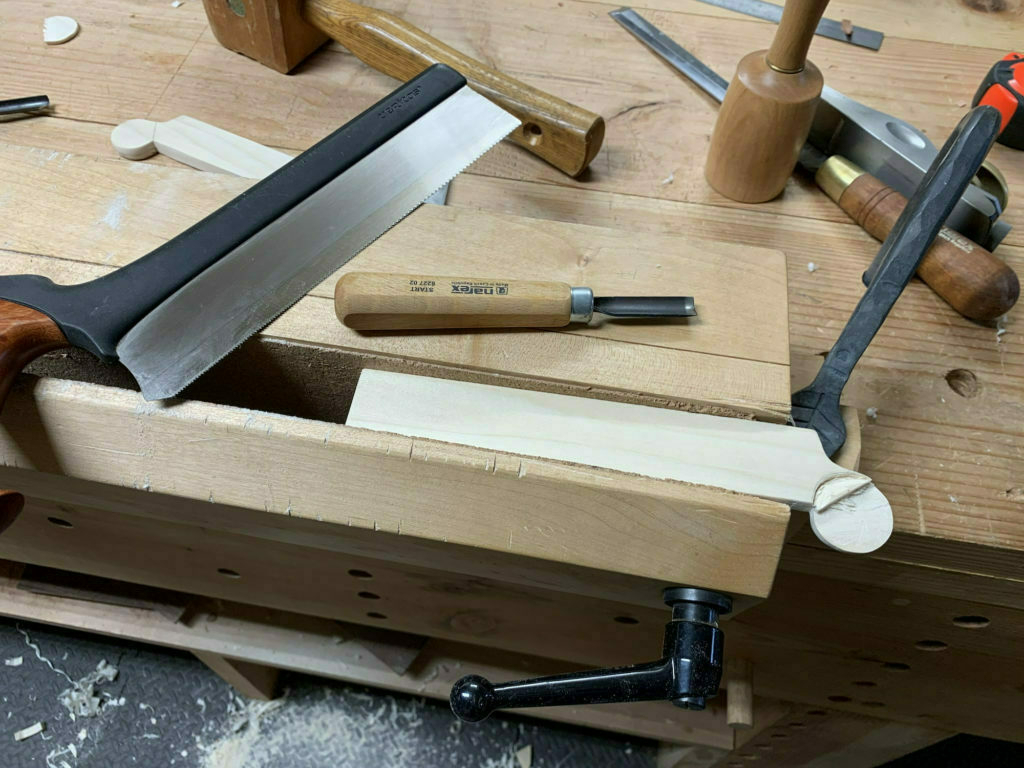
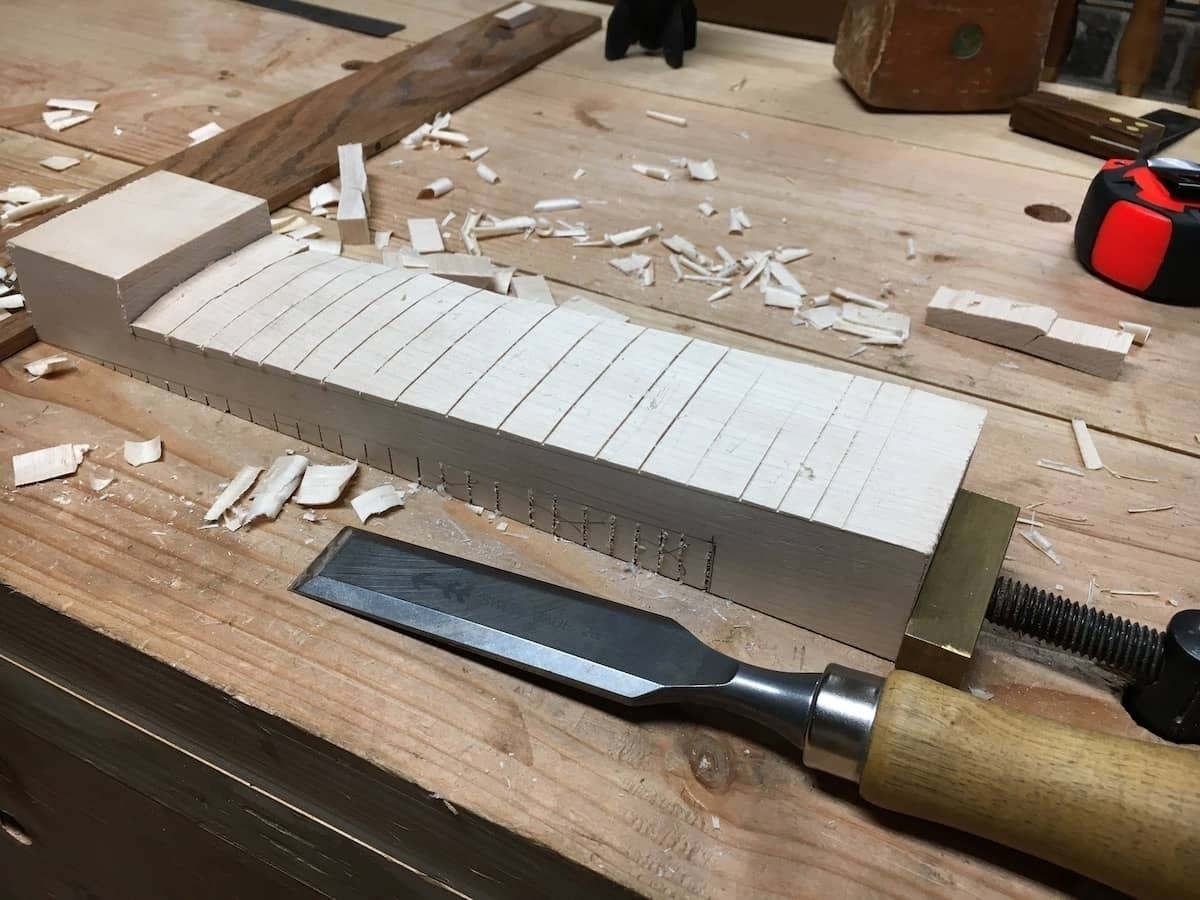
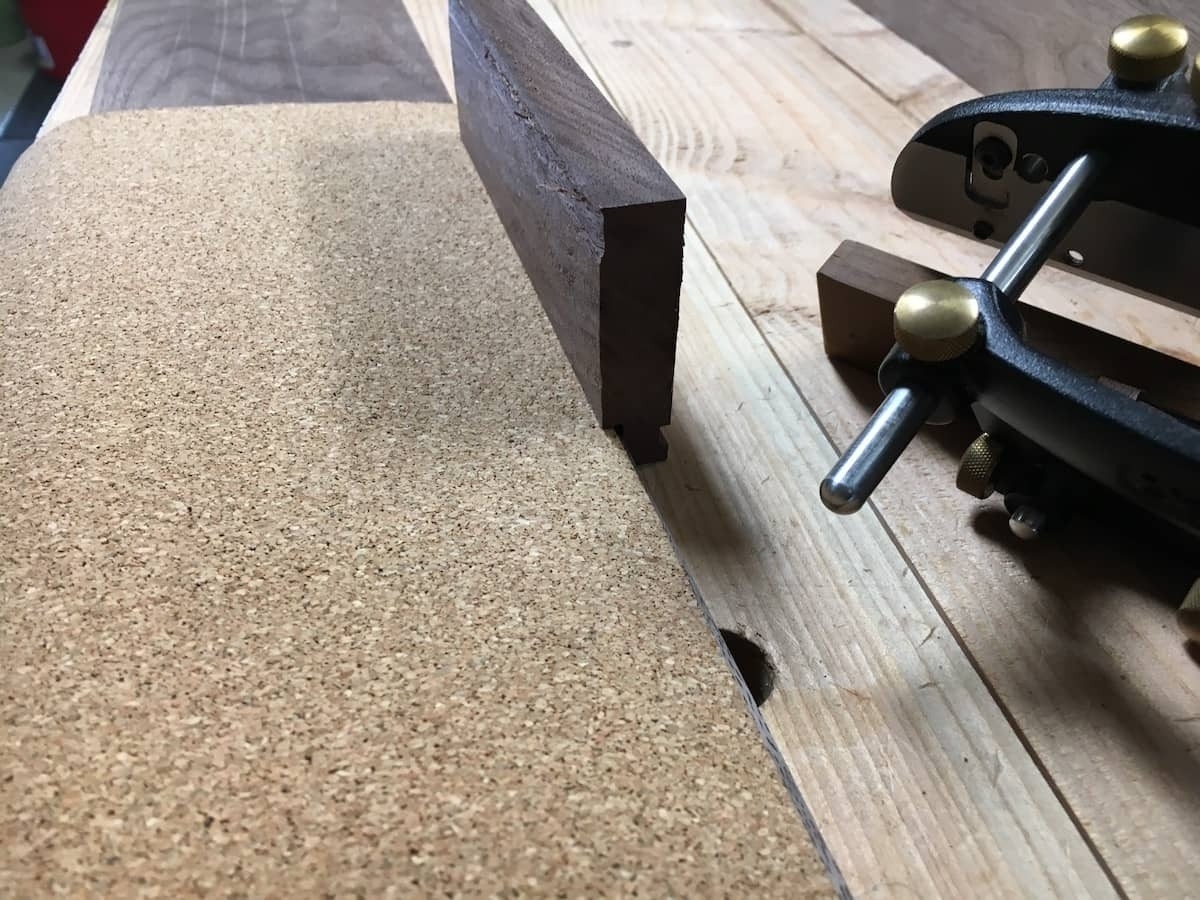
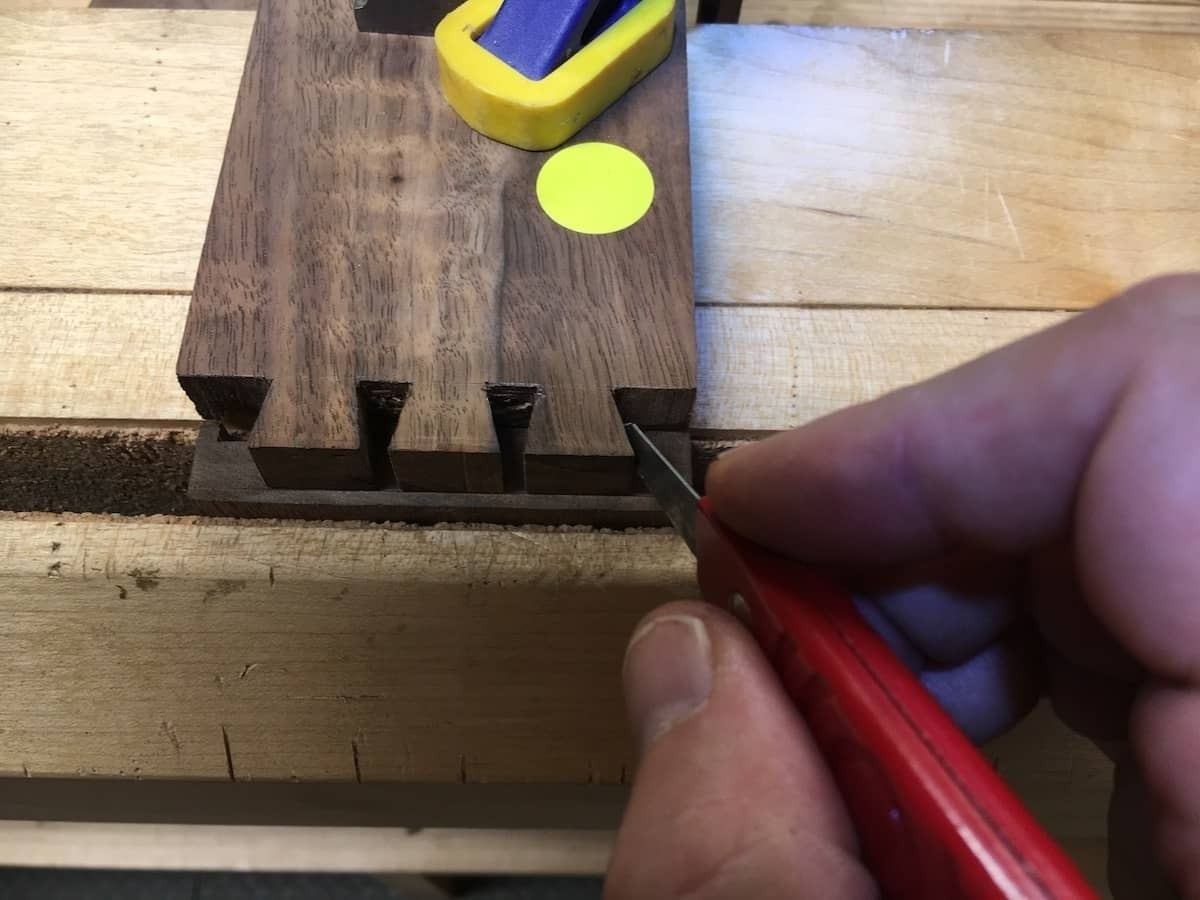
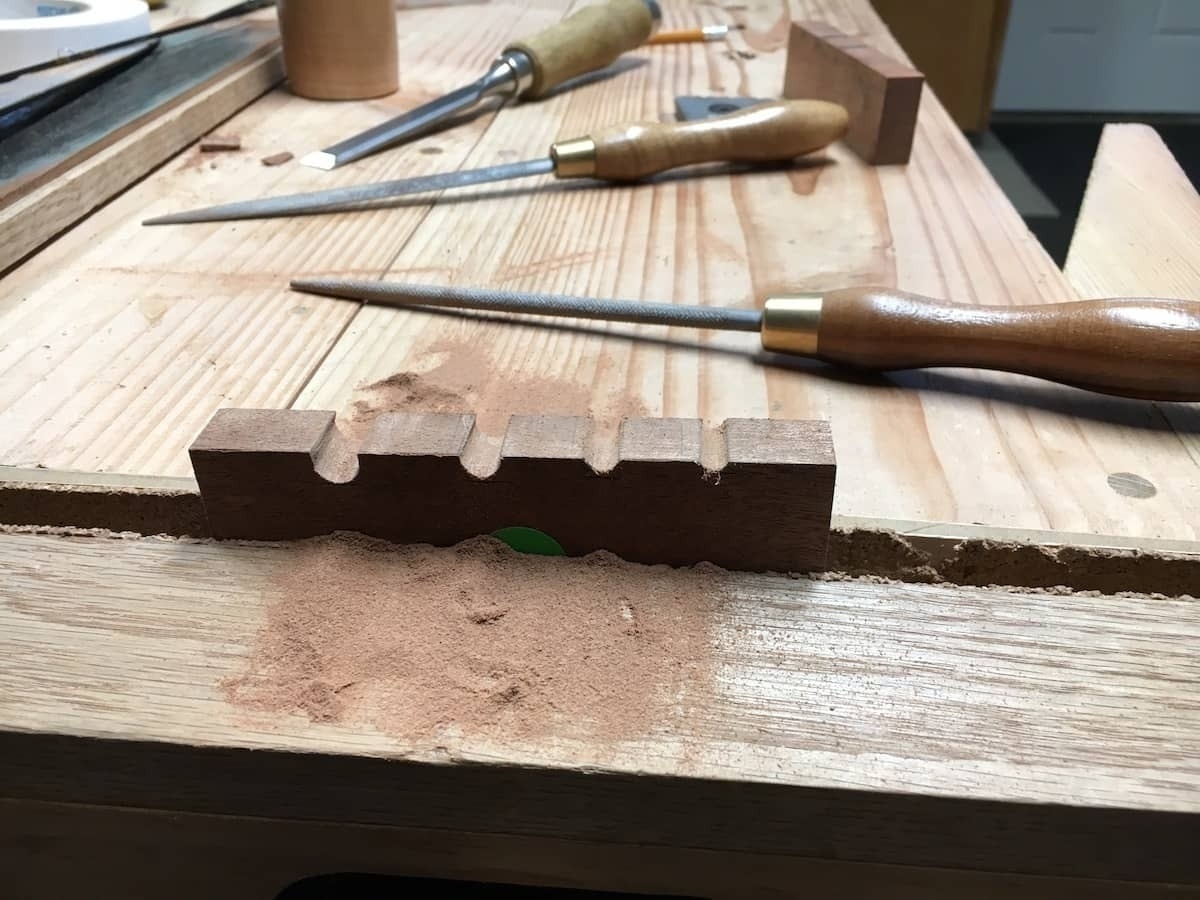
While I used the combo plane where I could, I still ended up doing a lot of fine chiseling, especially on the crossgrain little pieces.

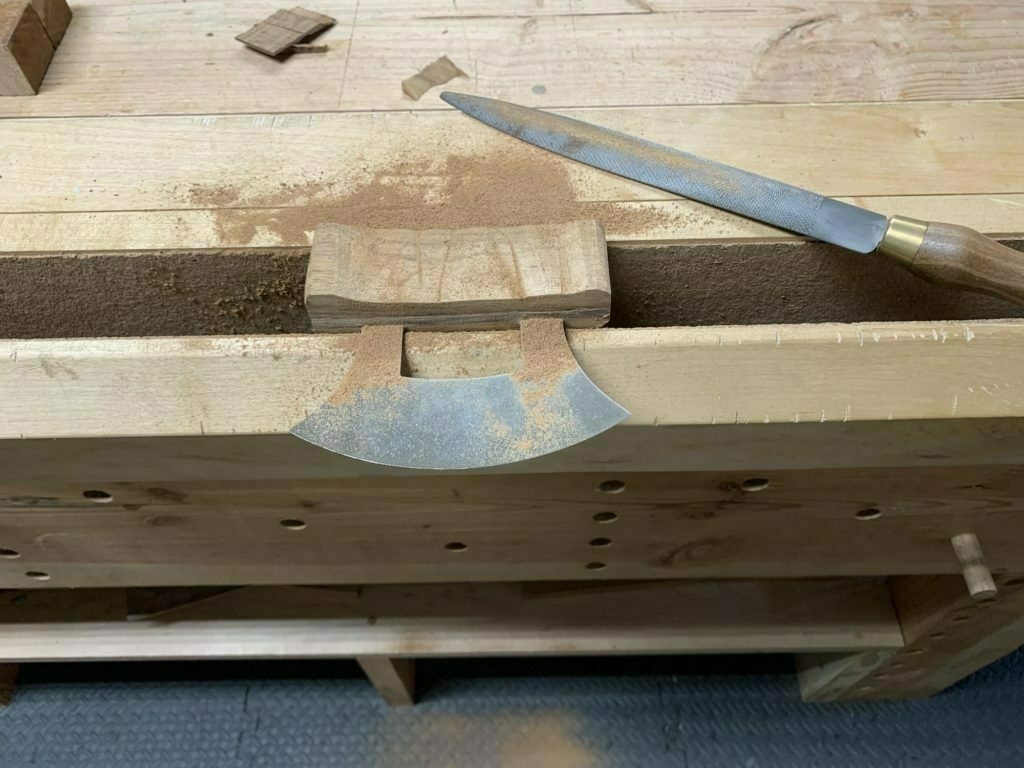
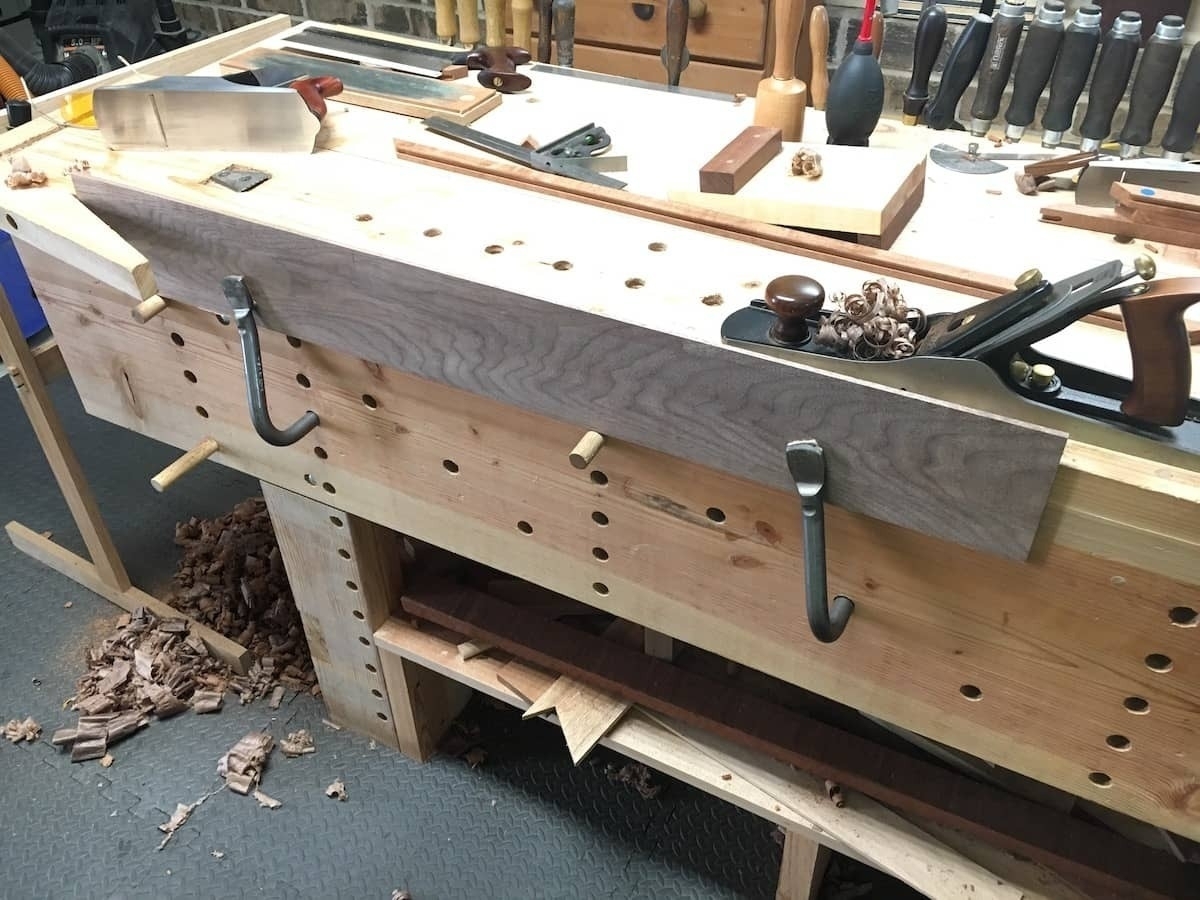
Using the combo plane on such a small piece was a real challenge for figuring out how to hold the work. Here, I use the birds mouth and holdfasts.

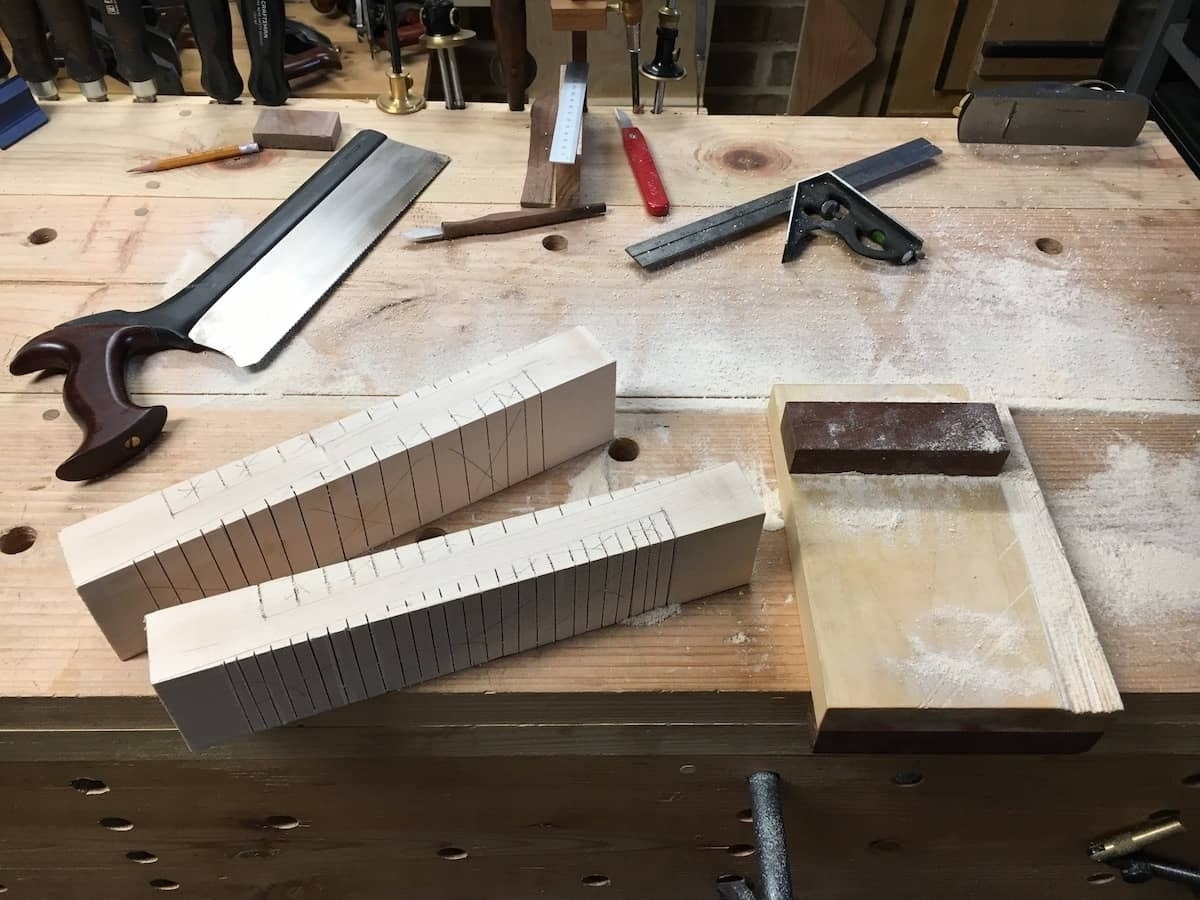
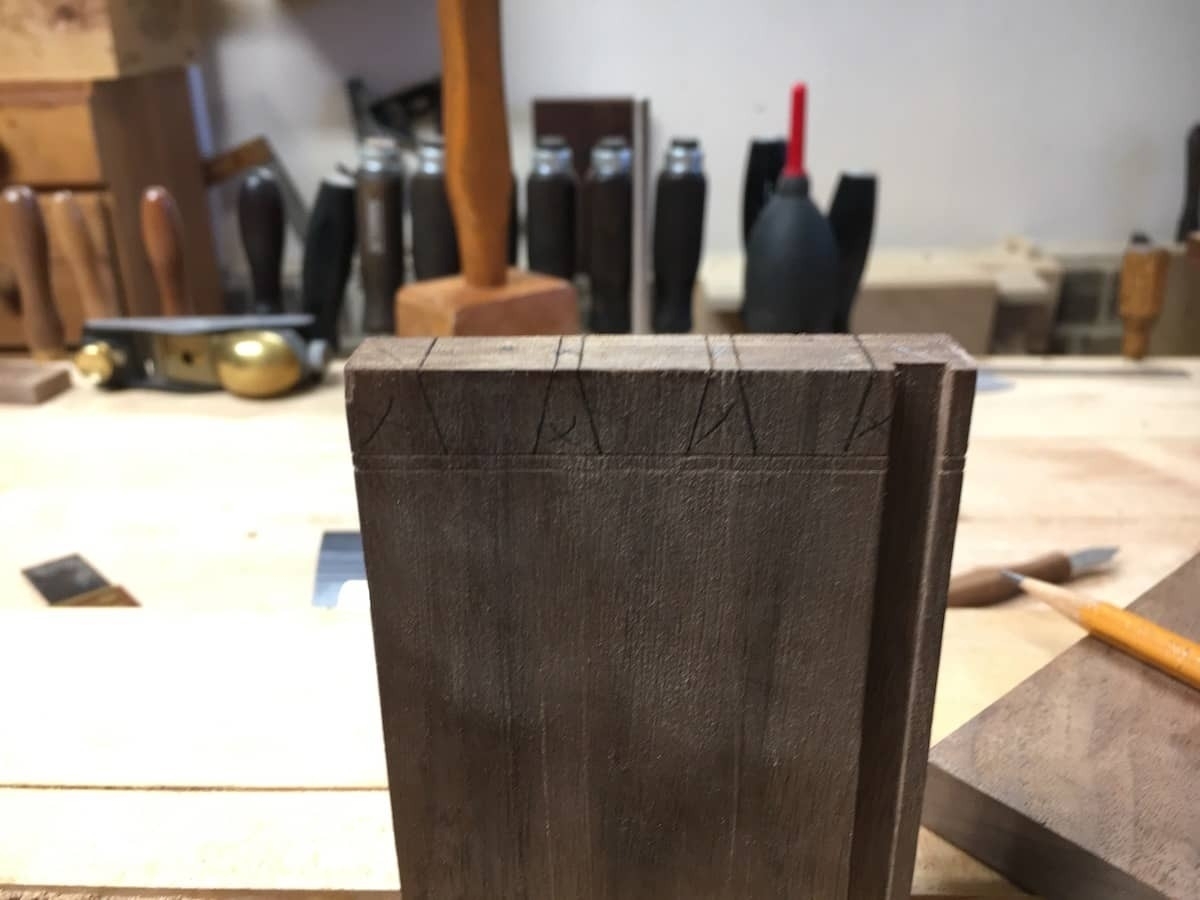
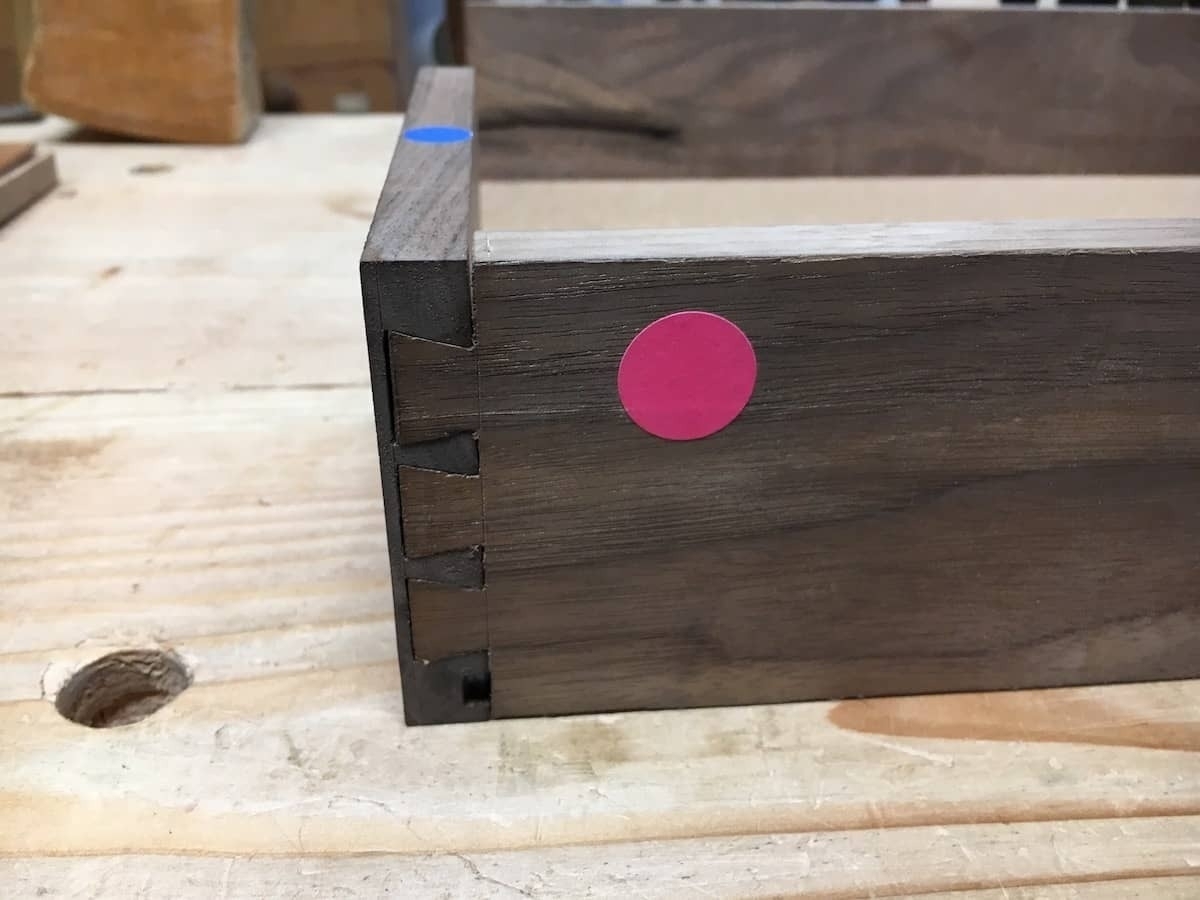
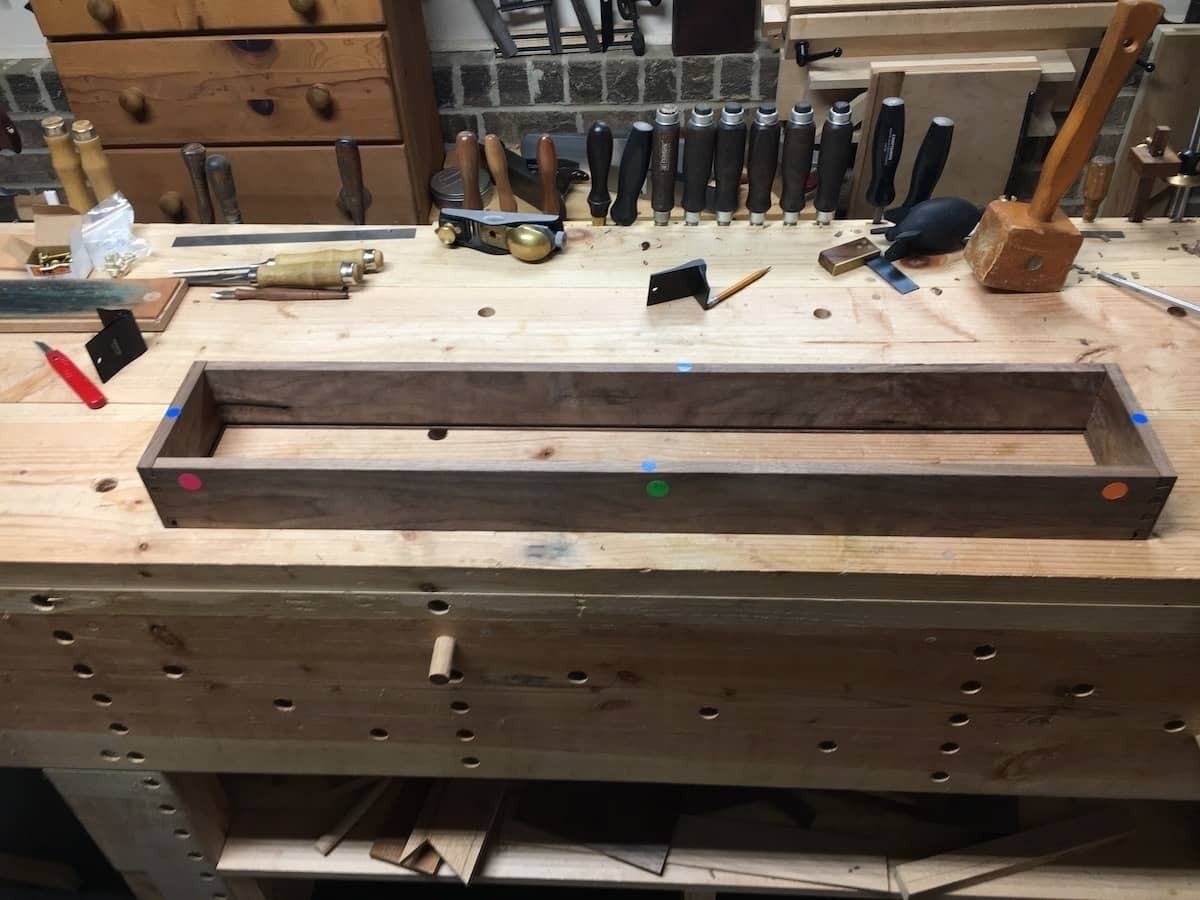
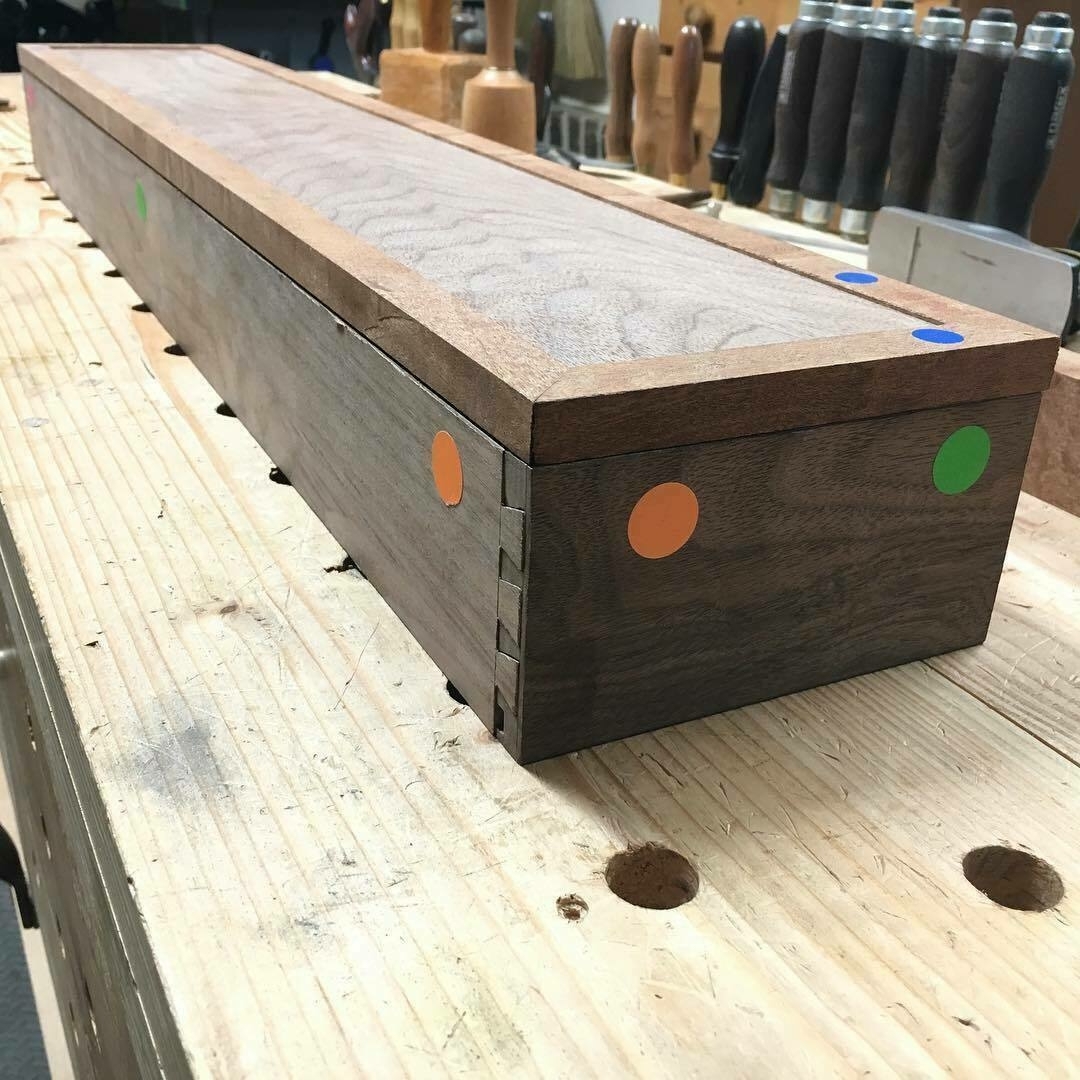
Here are all the sides of the box. I didn’t do any fancy joinery, just rabbets and grooves.
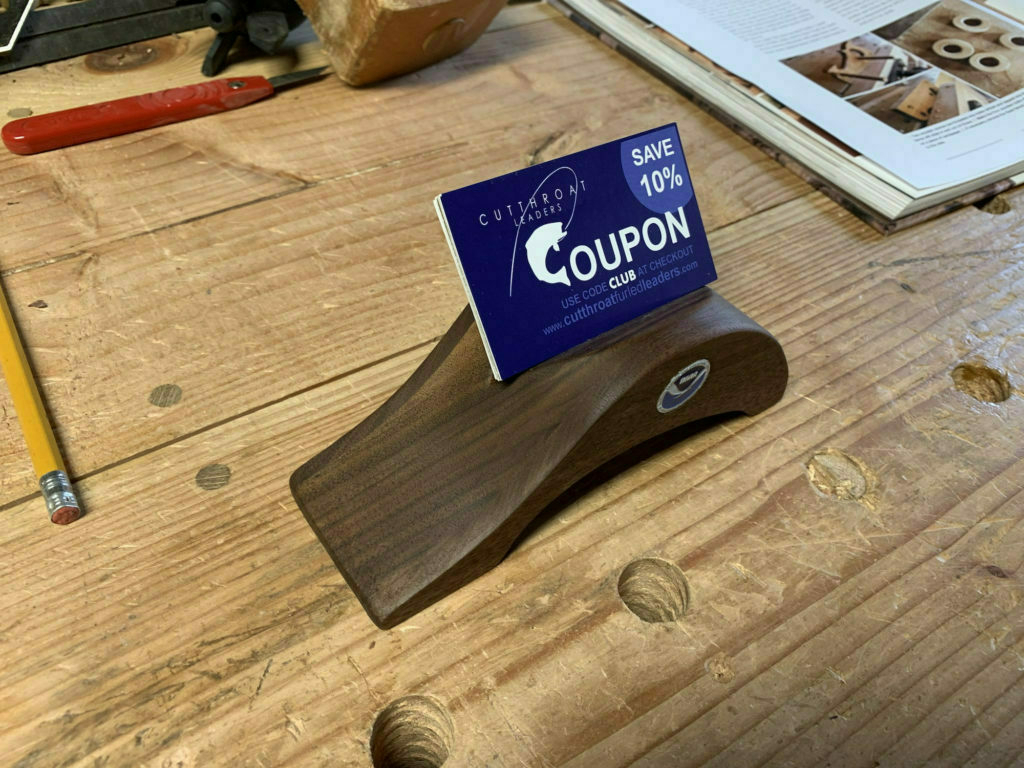
The sliding lid of the box has an inset NOAA pin, where we work. This is a lapel pin, so I snipped off the back and removed the frog.
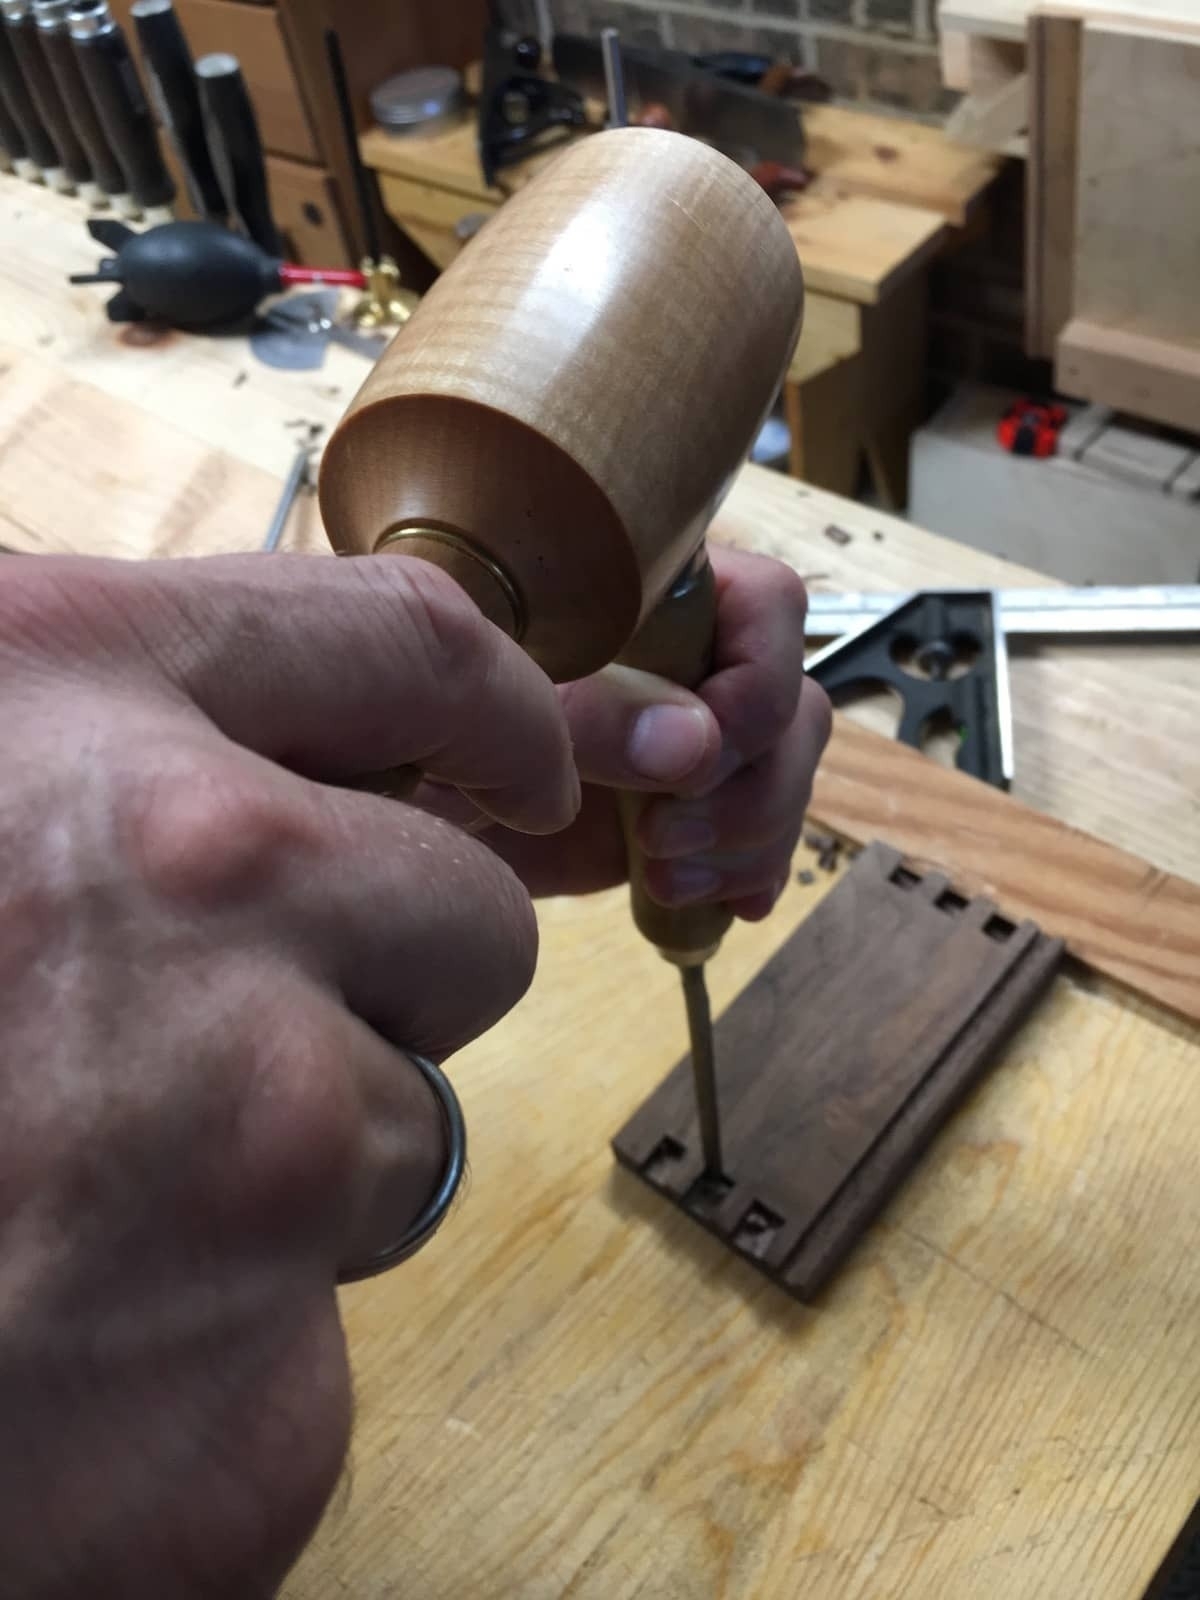
Creating the inset hole for the pin was a slow process, using carving tools and a ¼ chisel. I used a similar process to create a small thumb-sized divet on the other side of the box lid.
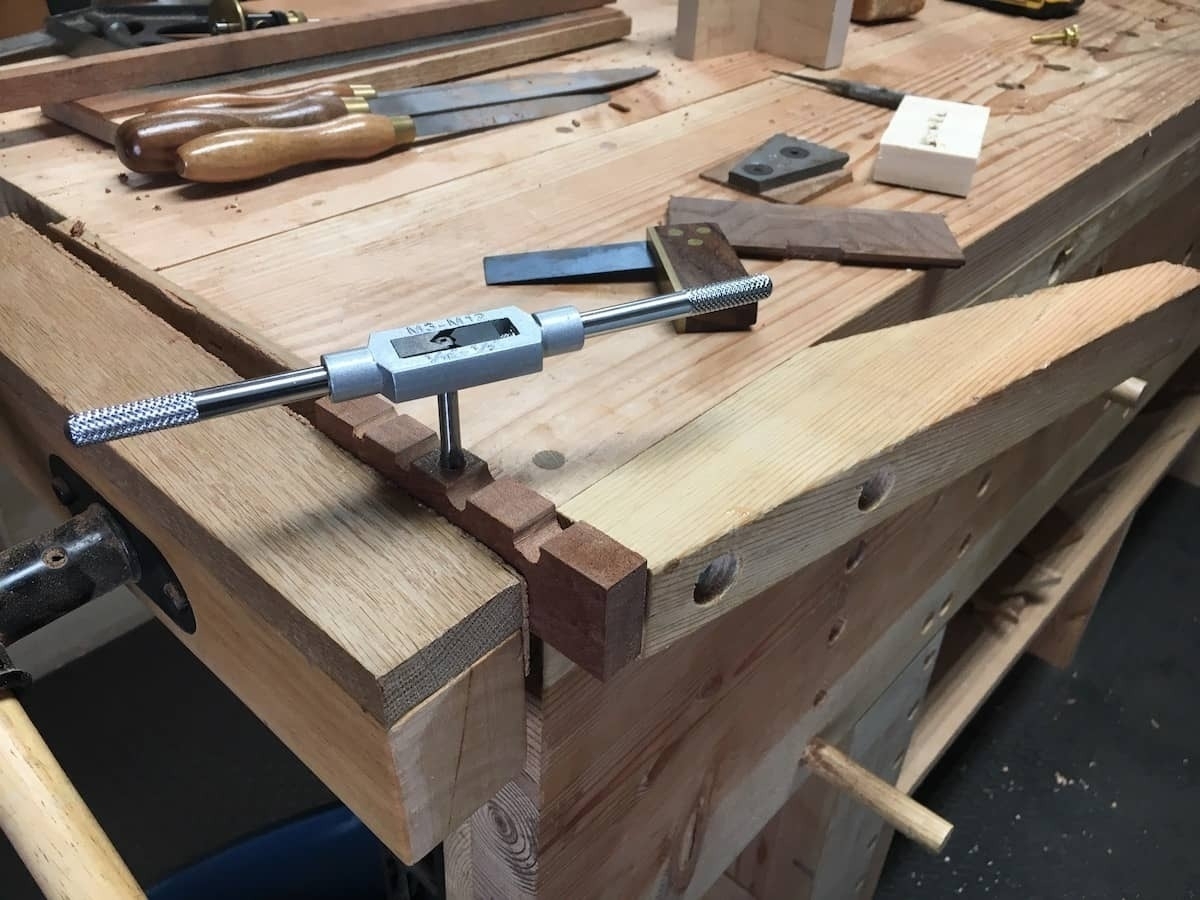
The glue up. Again, this is just grooves and rabbets. I figured it was a display box and wouldn’t be subjected to a lot of stress, so the glue would be adequate.

Here is the final box. The lid slides out. I tried to keep it a bit tight on the lid so there was a bit of tension, and then waxed the inside grooves. The walnut box is finished off with Osmo. Some of the edges are a bit rough, but I thought that was OK as it matches the rustic or rugged feel of a box that holds a utility knife.