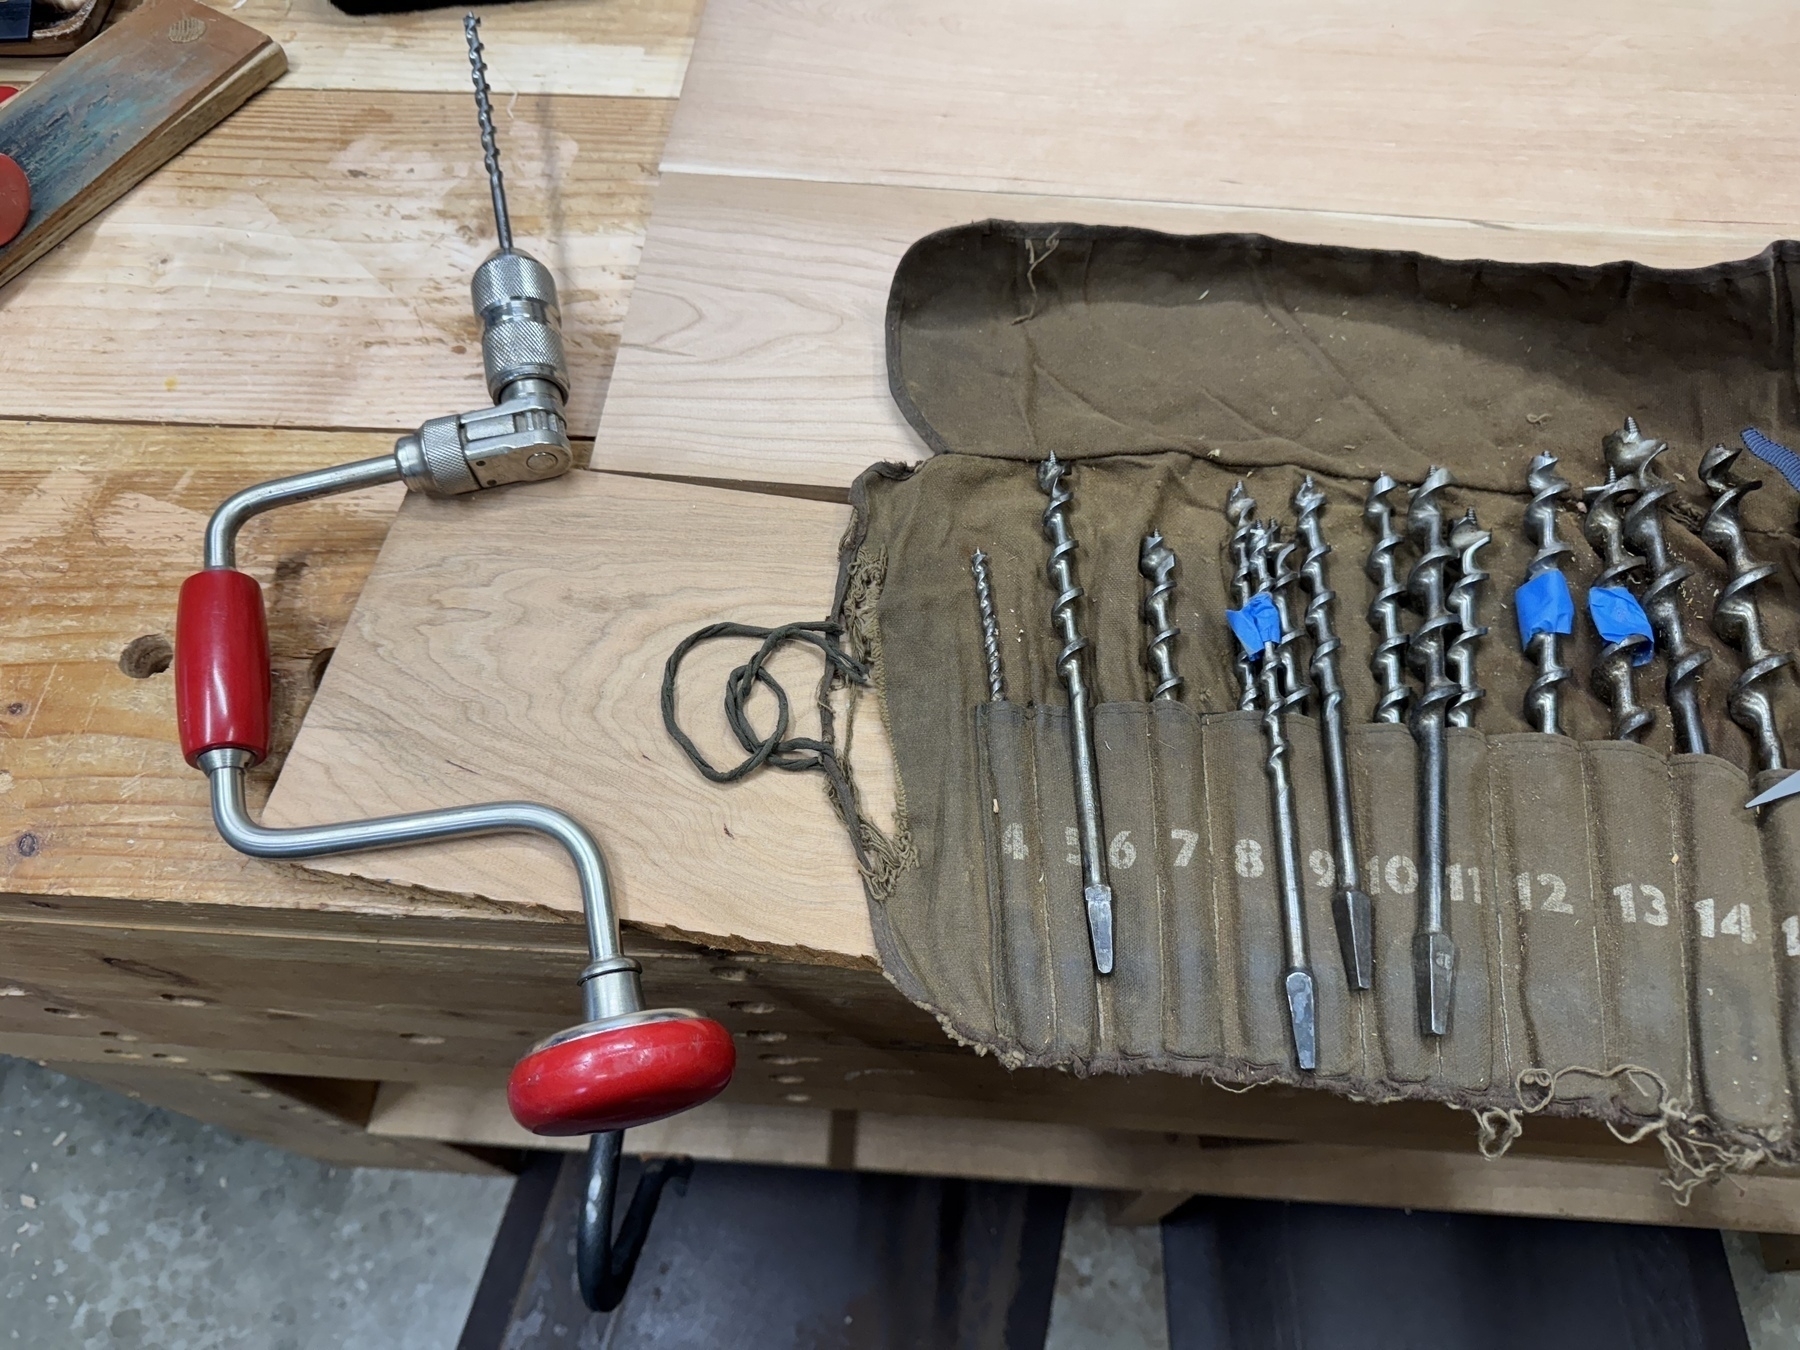
Sharpening some bits and want to share an interesting tool I picked up many years ago: a Millers-Falls “Buck Rogers” brace. A range of Buck Rogers tools were an interesting historical blip.
thevalleywoodworker.blogspot.com/2015/04/b…
Sharpening some bits and want to share an interesting tool I picked up many years ago: a Millers-Falls “Buck Rogers” brace. A range of Buck Rogers tools were an interesting historical blip.
thevalleywoodworker.blogspot.com/2015/04/b…
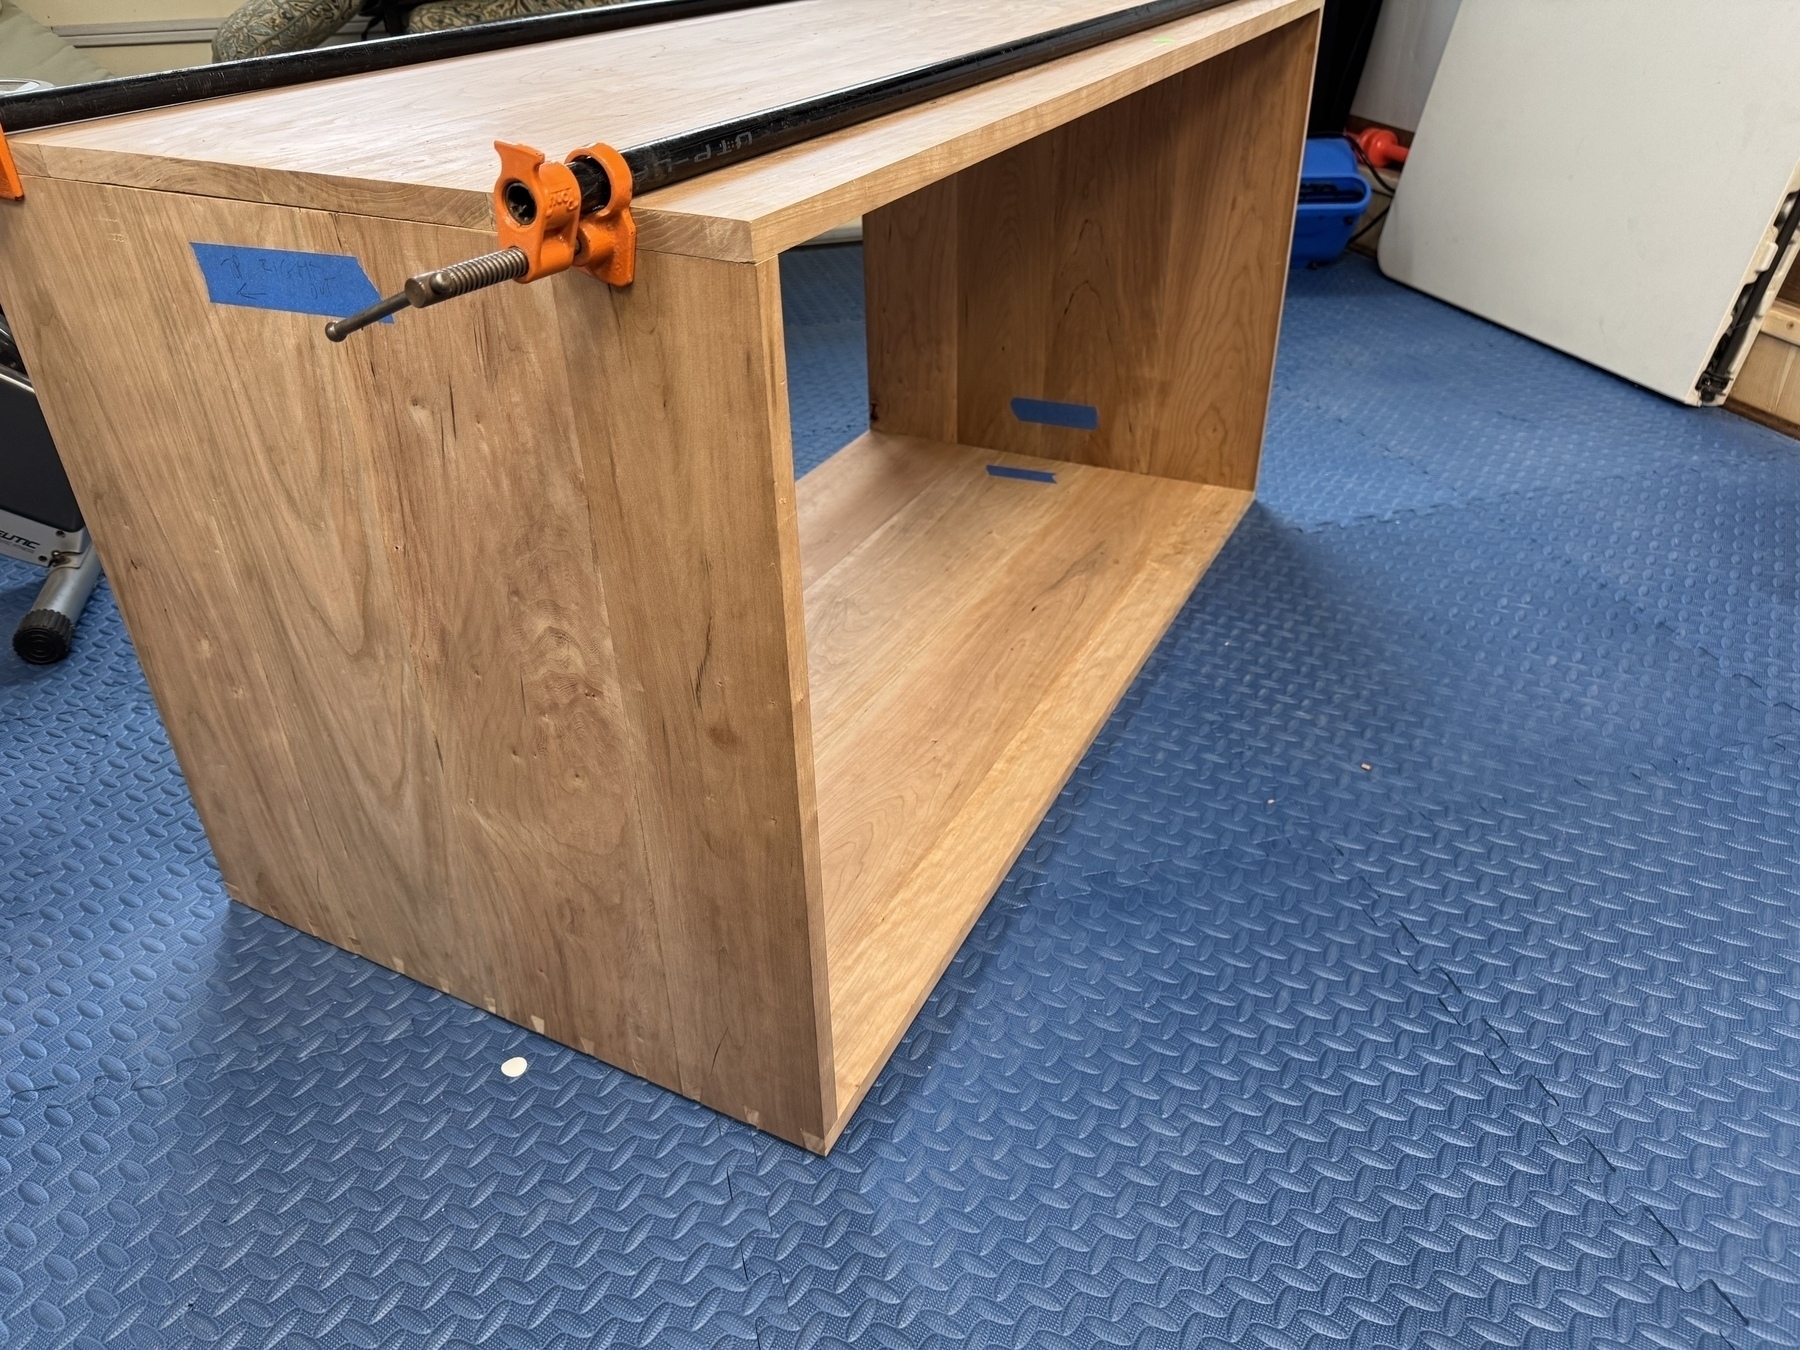
Two corners done for my cabinet build, two to go. I did through dovetails for the base, the top will be half blind dovetails. Sketching out plans for feet and sliding doors now.
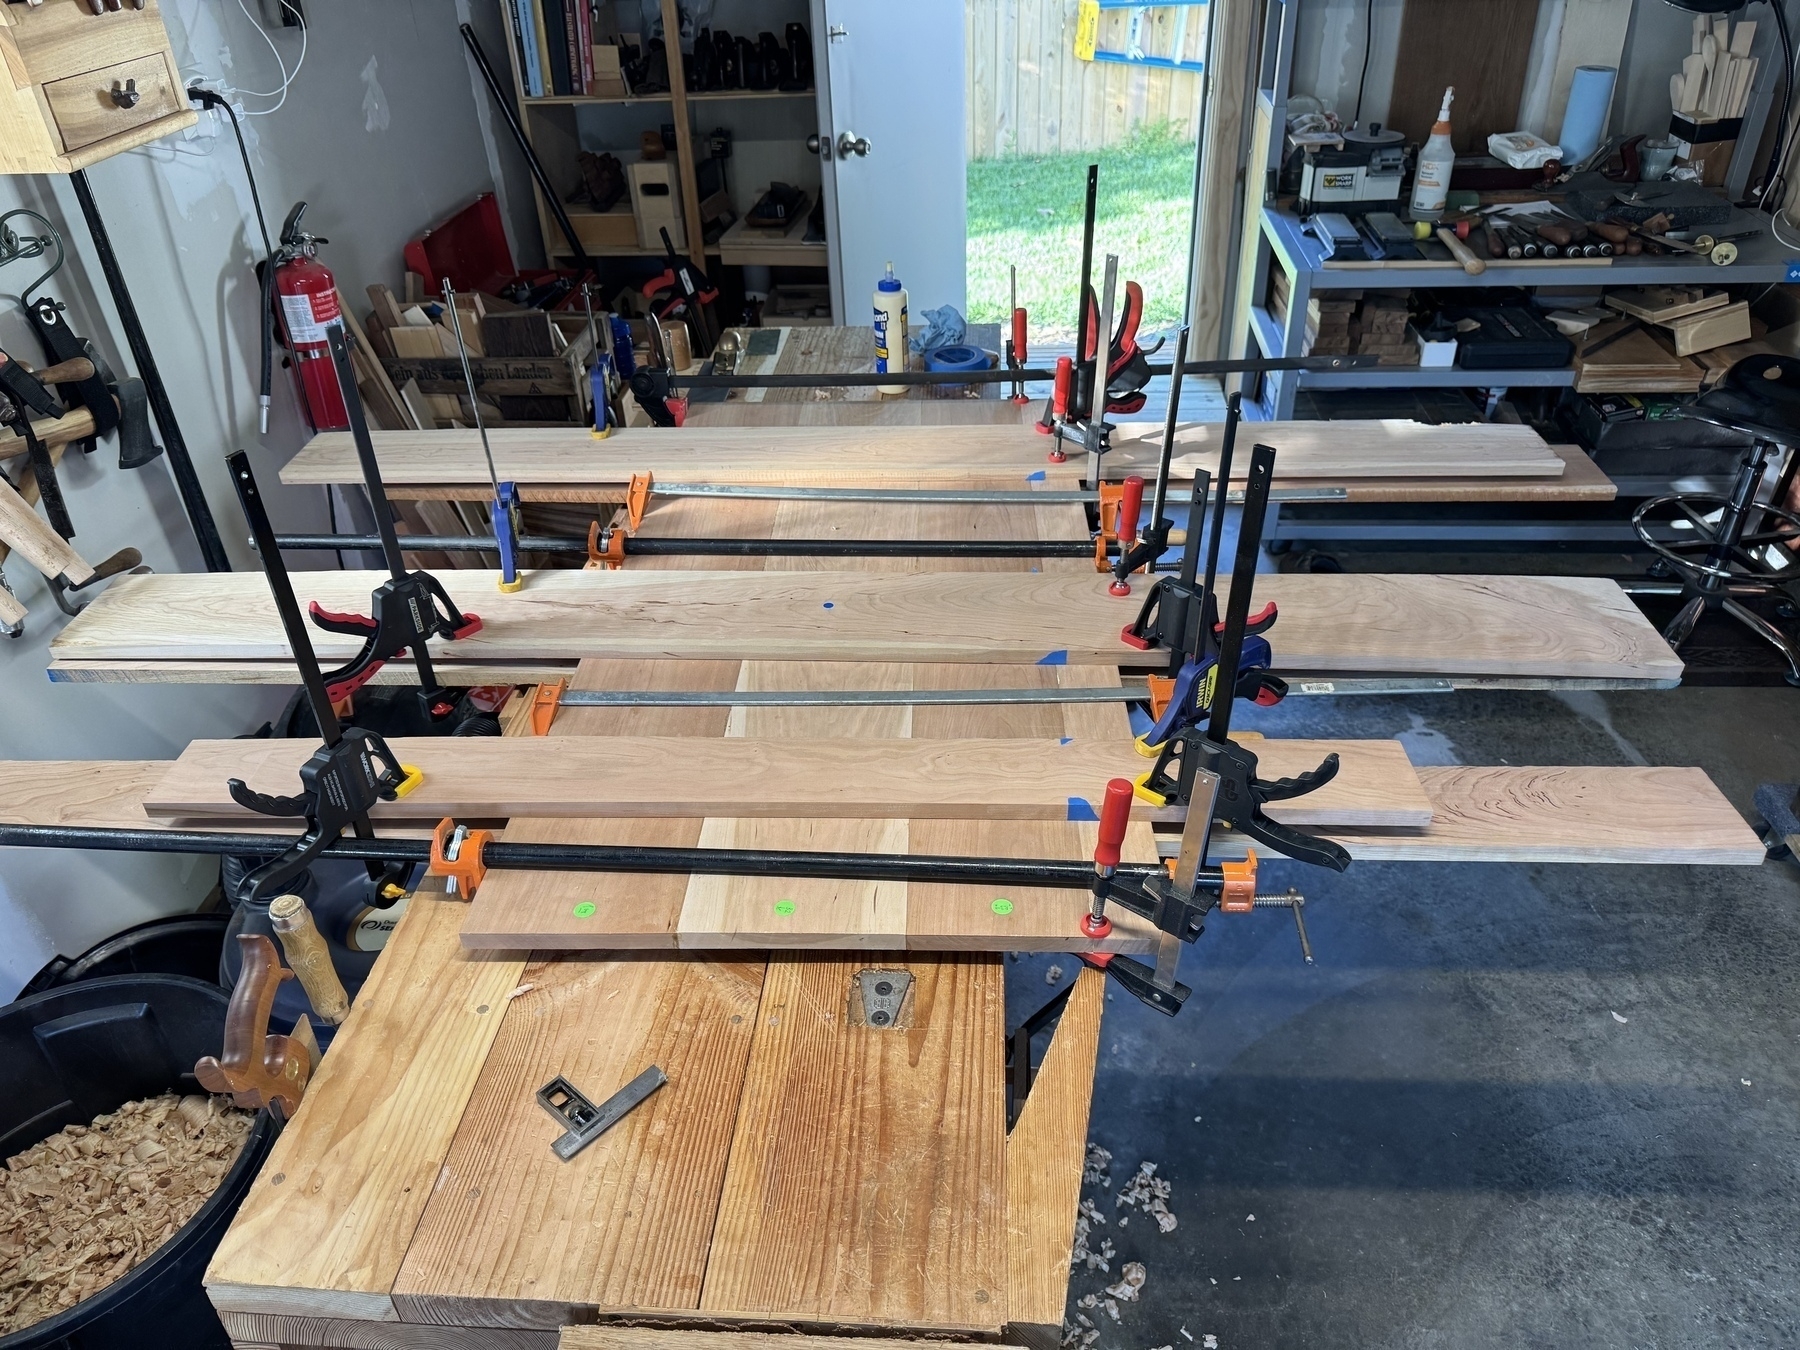
My solution for transferring pins to tails on a 50x25 inch panel. It’s not pretty, but it’ll do the job.
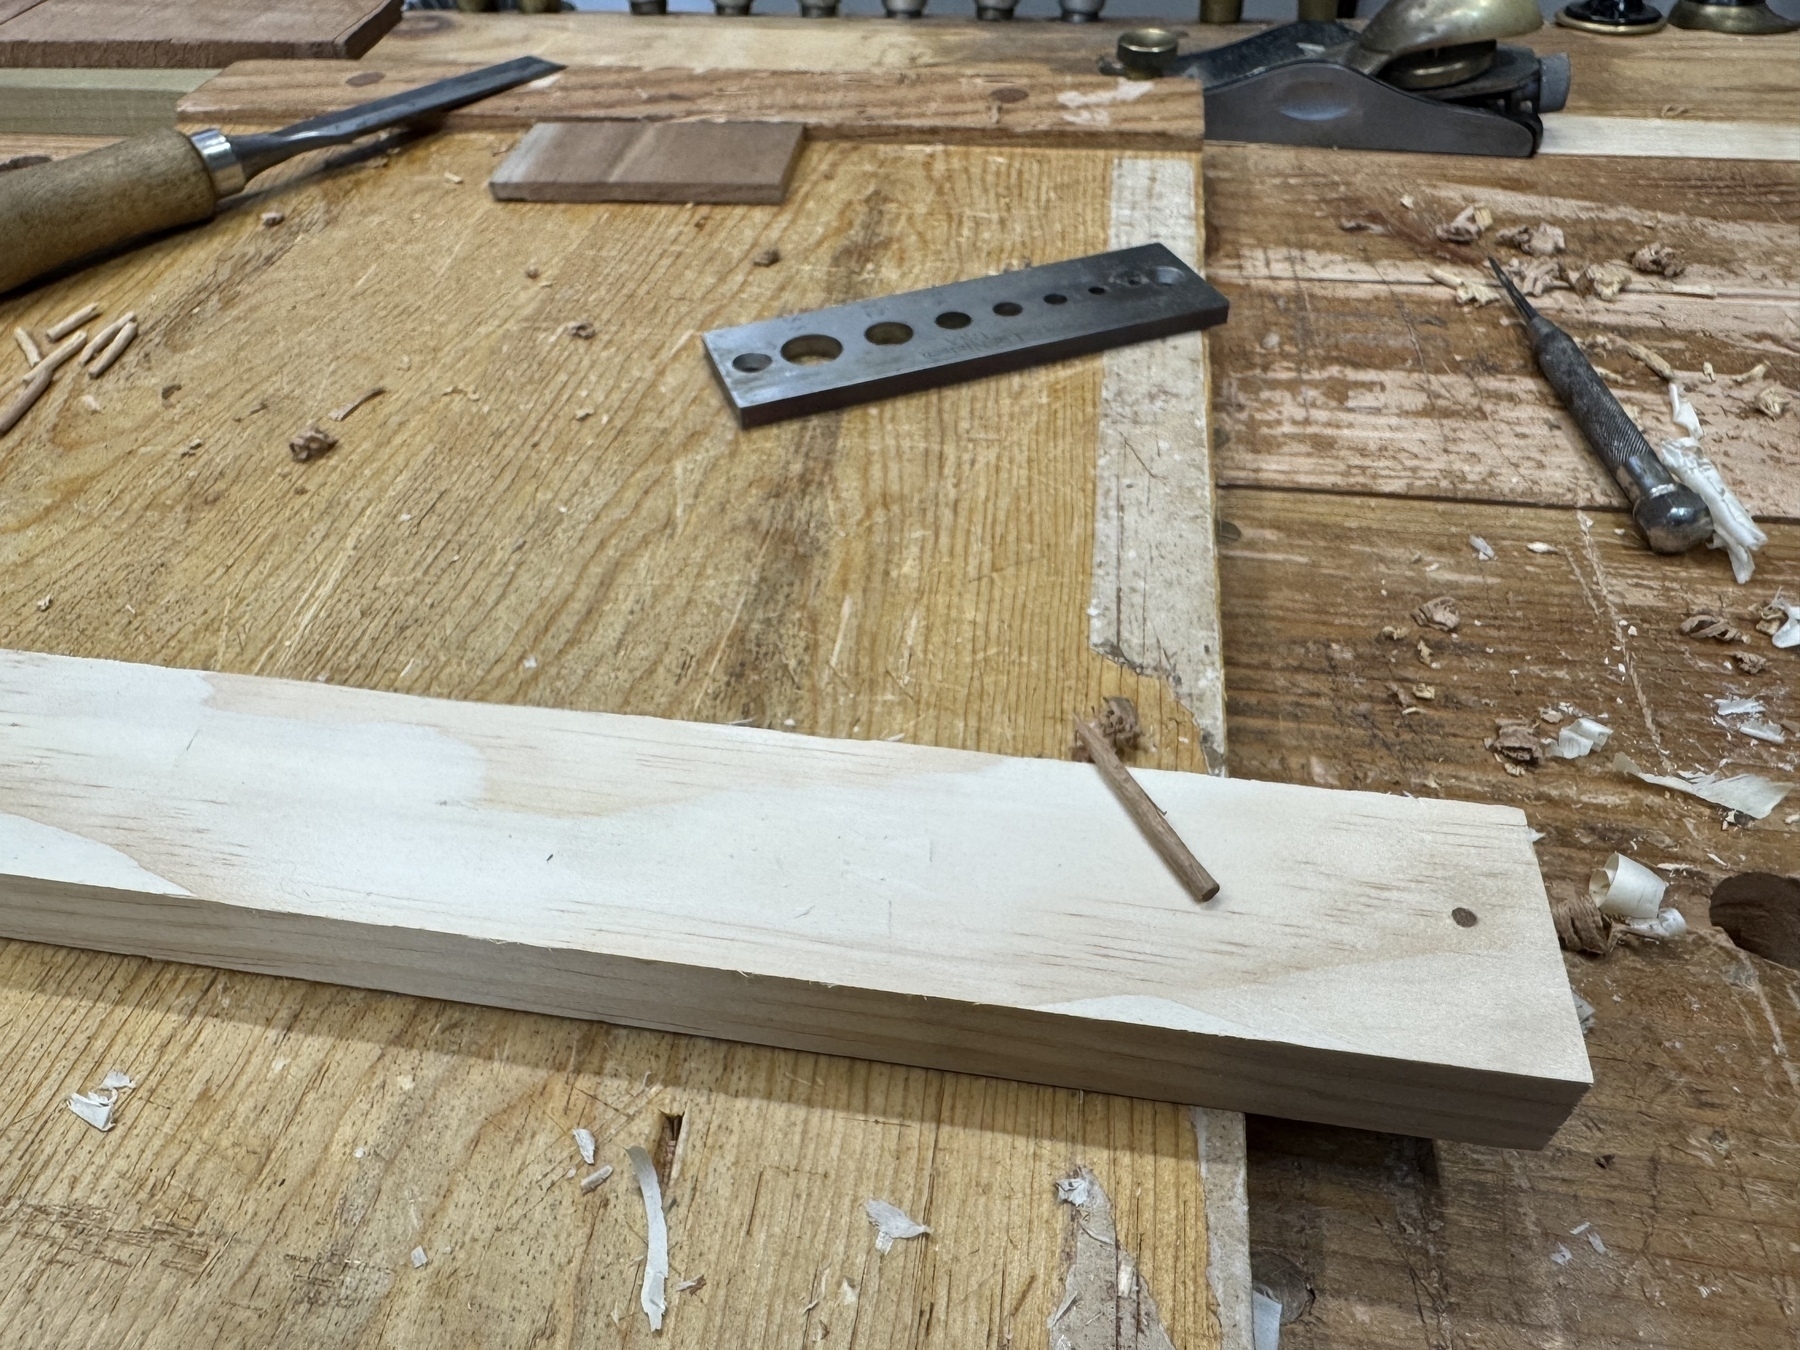
Making some wooden nails with scraps (with a dowel plate) while I wait for glue to dry on panels, which are just tiny dowels shaped to a point with a chisel. They work great for small box projects and are a good use of small hardwood scrap.
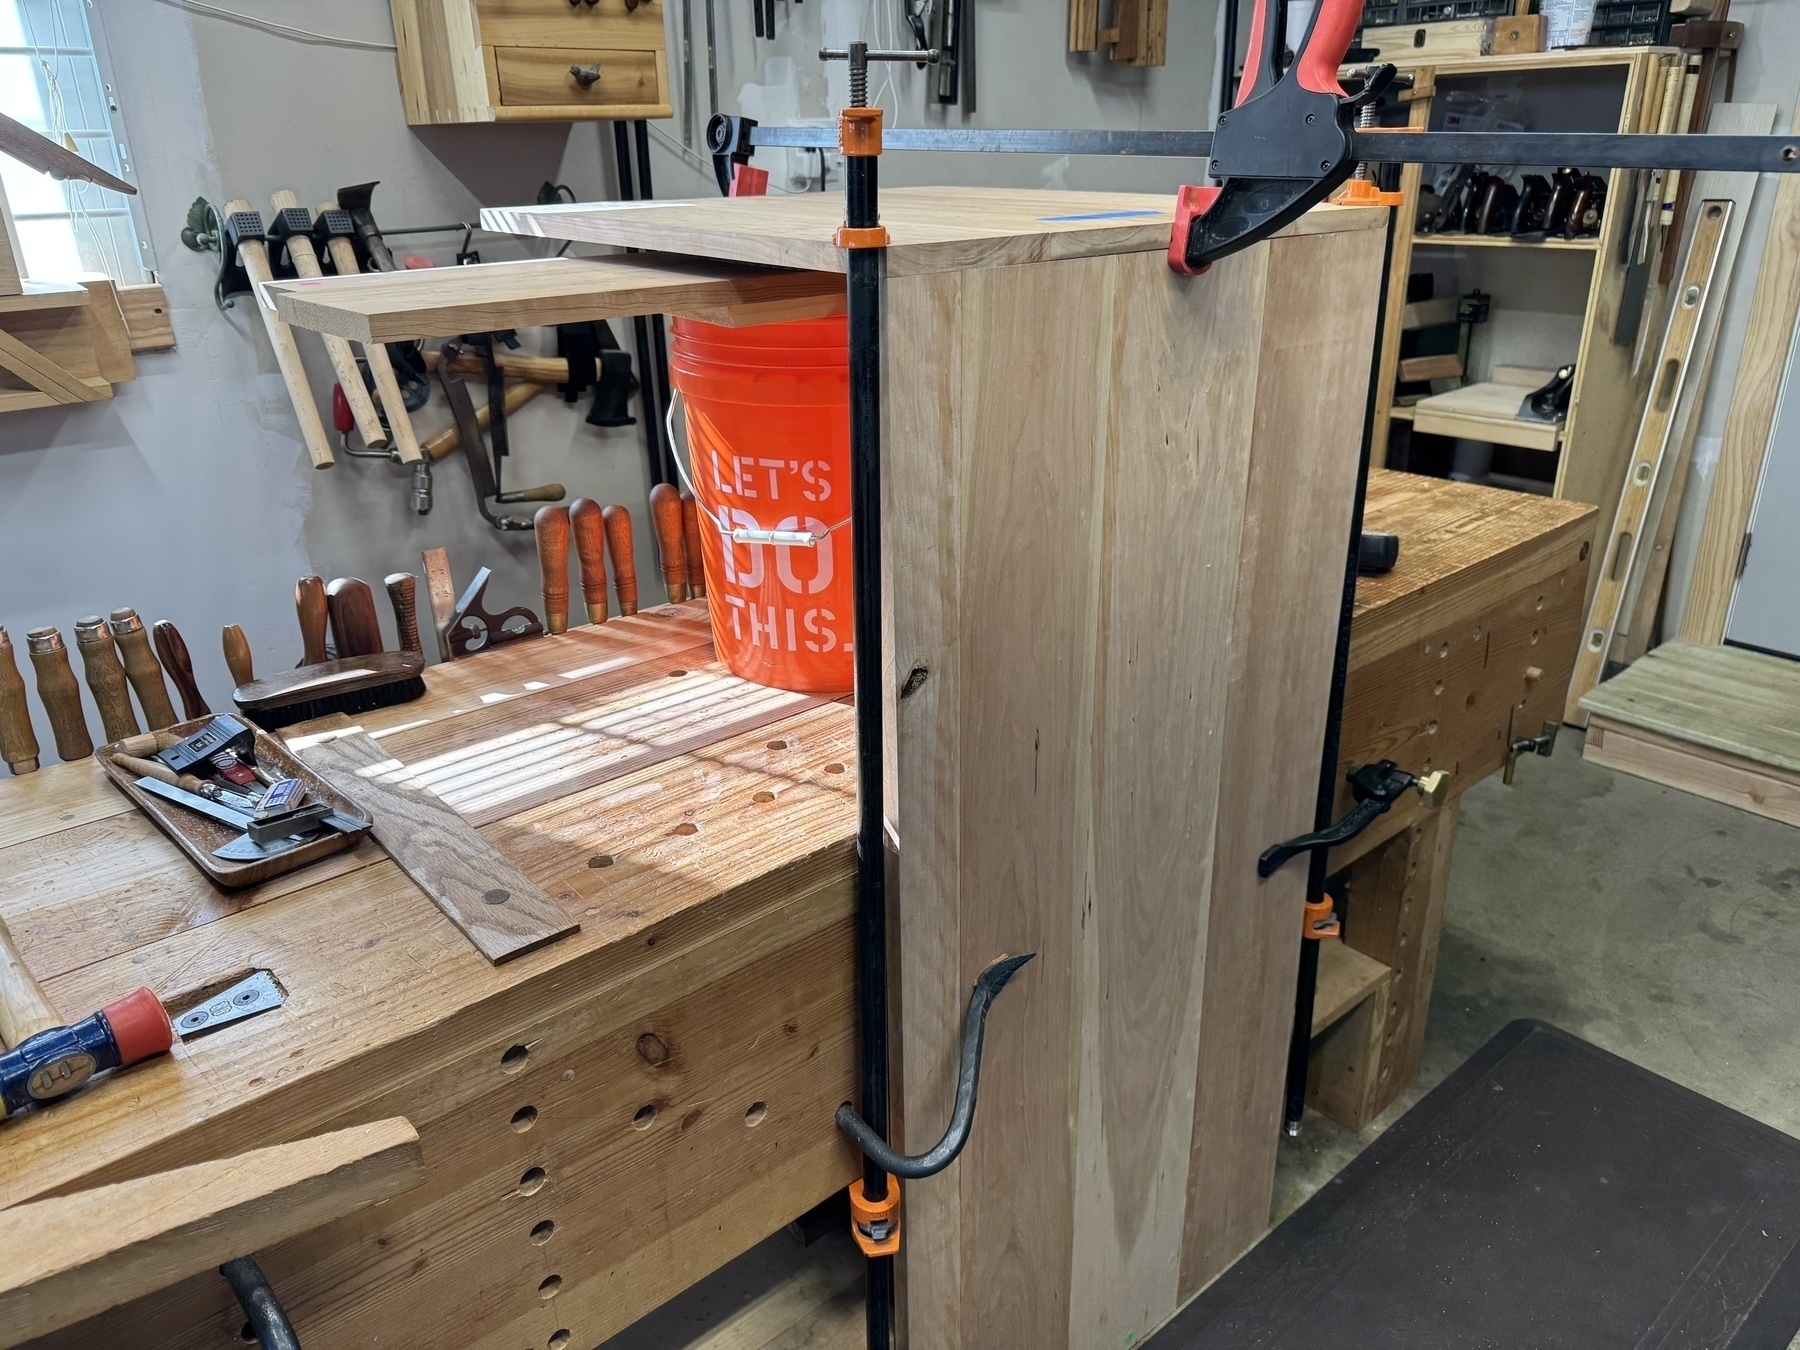
Gluing up the bottom of my cabinet project with my random assortment of clamps. Project is going well so far. Going to attempt half blind dovetails across 25 inches.
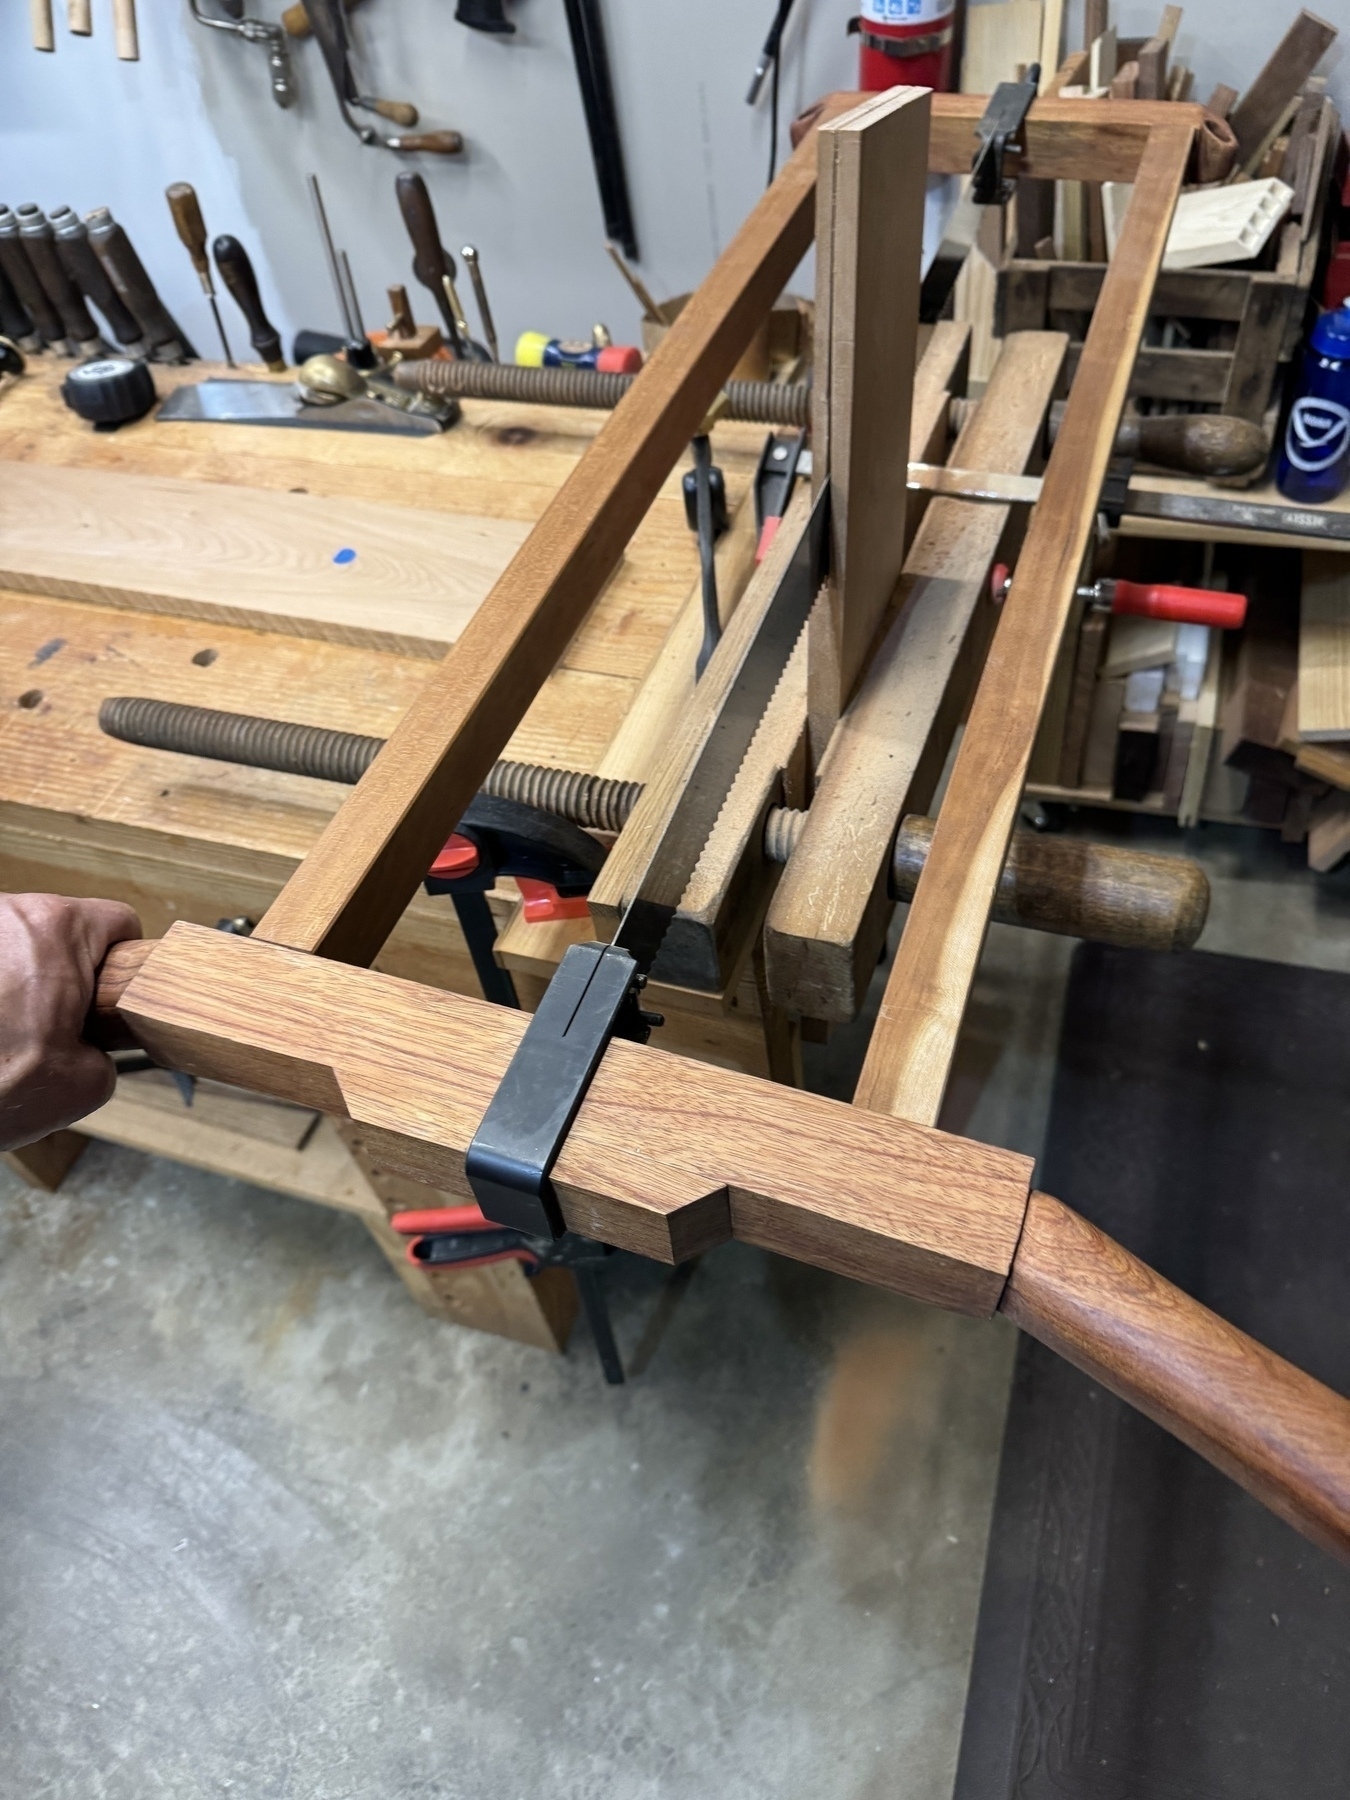
The hardest part of a workshop with no power tools: resawing. I’m not very good at holding my line, but getting better with time. Also, good exercise.
Starting a new project: a cabinet with sliding doors in (more or less) mid-century style. Spent several hours with a bunch of cherry deciding what would be used where.


Made a new shooting board to go with a new shooting plane I picked up as a factory second a while back from Lee Valley. First time I’ve ever used a dedicated shooting plane with a track. What a pleasure to use.
We acquired a massive cabinet from a friend when we lived in Germany. It was circa 1920s and is what I’d call “proto-IKEA,” in that it was designed to be disassembled, presumably because it was so huge and heavy. We grew attached to it over the years, but the problem we faced is that it didn’t fit in our new small home. So this project entailed converting the full size monster into something much smaller by removing the center section and building a new base and top. I had three goals for the build: (1) make a new cabinet using the sides and doors of the old cabinet that could also be easily disassembled; (2) make the new cabinet stronger; (3) only use hand tools. The main challenge: nothing was square in the old cabinet. Each door was a different width, the sides were not square, and the existing wood was warped.
Here’s what the full-sized cabinet looked like in our previous home. It was about seven feet wide.

Here’s the completed “mini cabinet” in our new home:

Here’s a brief-ish overview of the process.
I made the four legs out of some sapele I had on hand. I cut each leg in an L shape to match up with the doors to give it a more seamless look. Then used mortise and tenons to build the frame with cherry.

Here’s the base support, dry fit. I used cherry for the show faces of the project.

For the floor of the cabinet, I used poplar. On each end that would be supporting one of the cabinet walls, I decided to use dovetailed boards for added stability to keep it all together nicely.

For the legs, I used chisels and a saw to slowly shape them out to fit the dovetailed poplar.

Here’s the completed right side of the base.

It ended up having quite complex joinery, but it all worked out. These end pieces of the base frame will support each cabinet side.

Here’s the base dry fit, each poplar board is shiplapped.

The trickiest part of the project was figuring out how to support each wall. The original cabinet has only a single center pin on each side holding the side in place, but these pins were just slotted in and didn’t offer any support. It was basically held together just by the weight of the top. Each side also slots into the base and top with a what is basically a long mortise and tenon. So I had to come up with a plan for the base and top to fit these long “tenons” and also to strengthen how each side attached to the base.

That’s what the following shot shows. The center hole fits the pre-existing pin. Then I added two new holes on each side and inserted a thread in each so I could bolt it in place with a hex wrench. Each side piece also slots into the base.

The top was a much simpler affair. I first cut and shaped the top front.

I went with dovetails for the top frame to keep it all together nicely. I closed up the top with a 1/2 inch plywood insert that is removable so if we need to take it apart again it’ll be easy to move.

This is the completed cabinet showing the interior. The back is 1/2 plywood. The shelf was re-used from the old cabinet and just had to be cut to size. The nice thing about the design is that base, top, sides, doors, and back are all removable, so it can be knocked down if needed to transport easily. I took the rosette from the old cabinet and placed in on the new top (it was just a nailed-on affair, this was not a high-end cabinet). I’m happy with how it turned out.

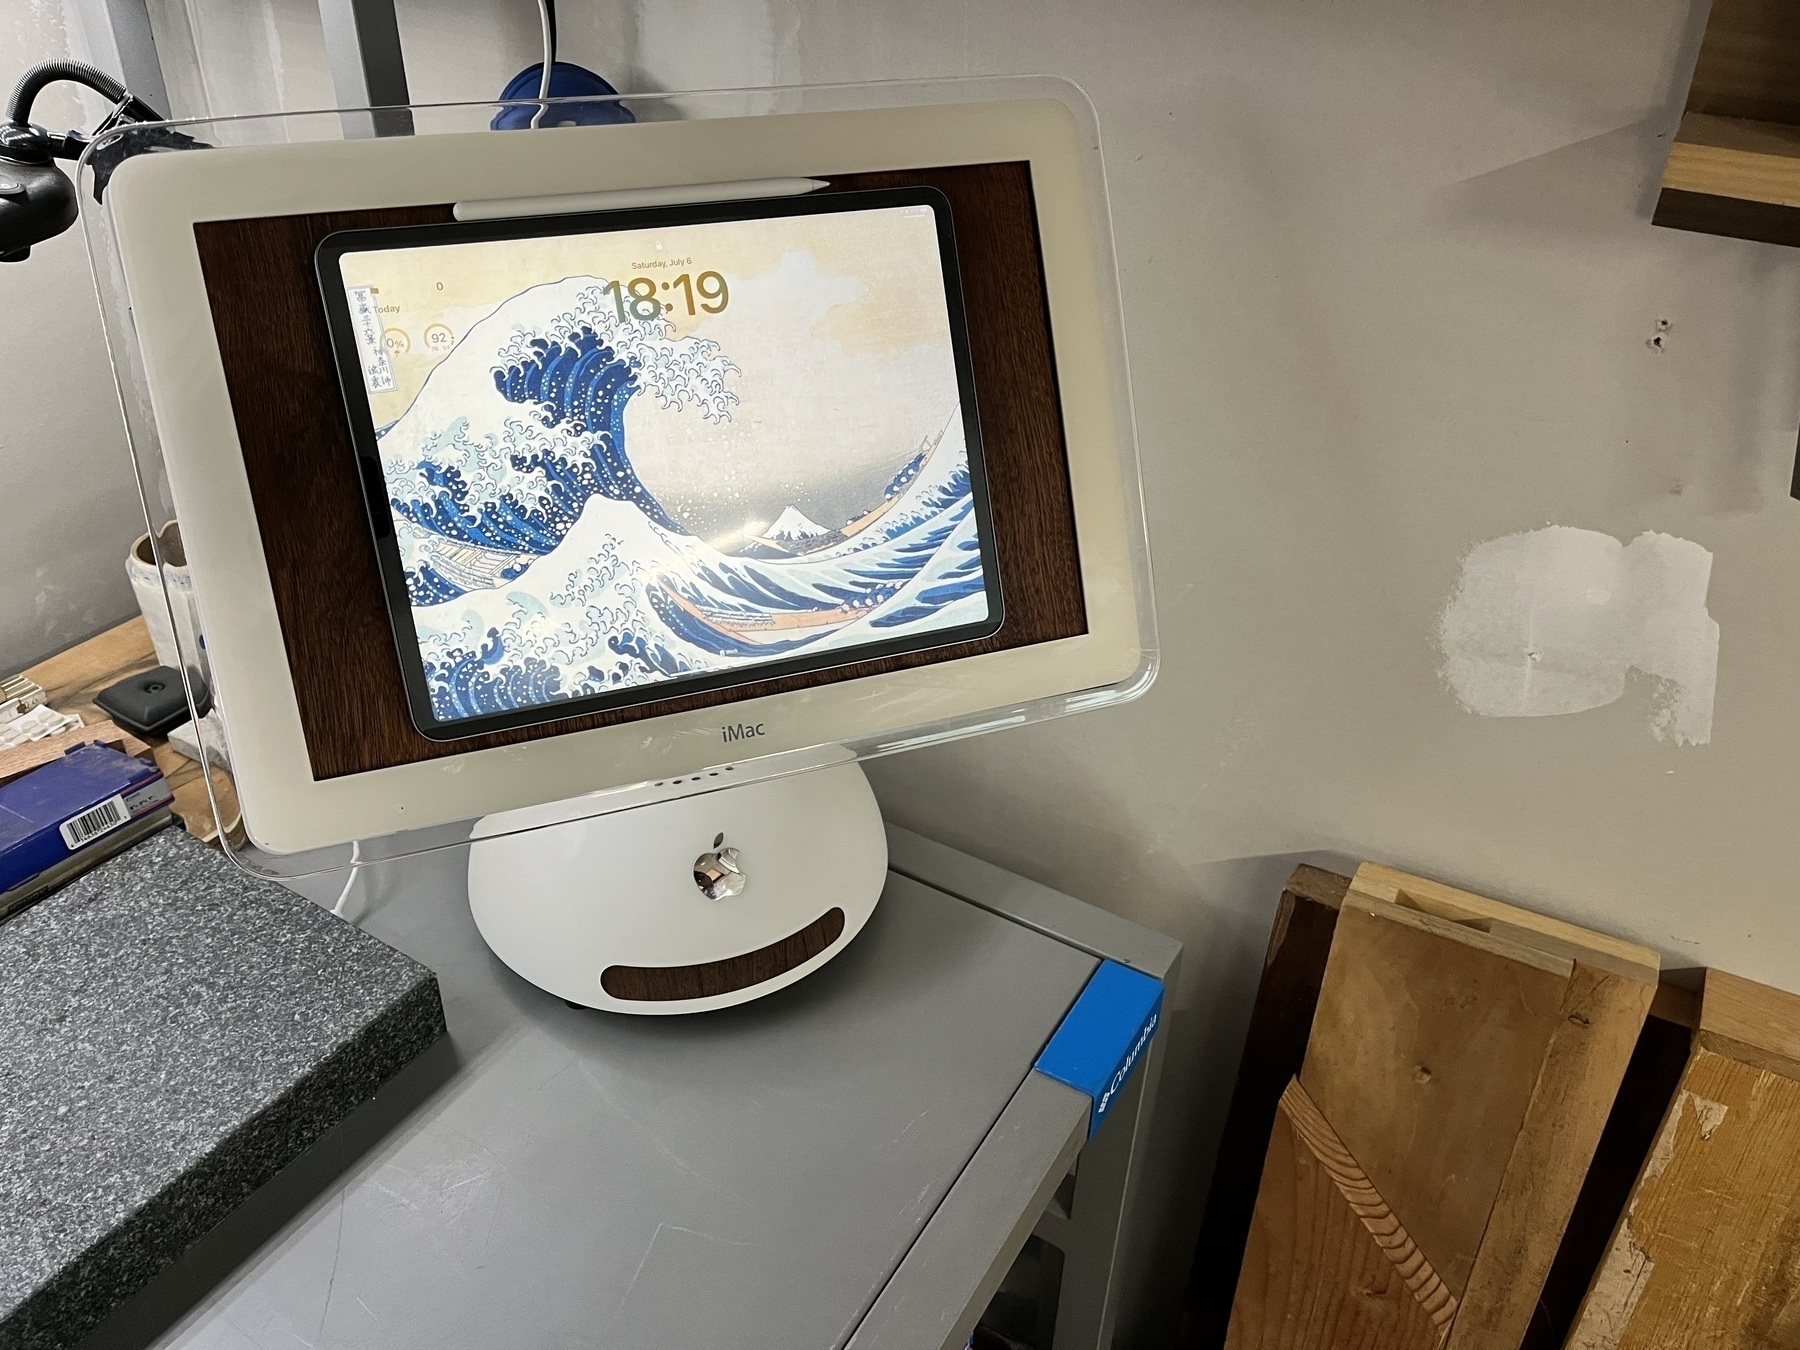
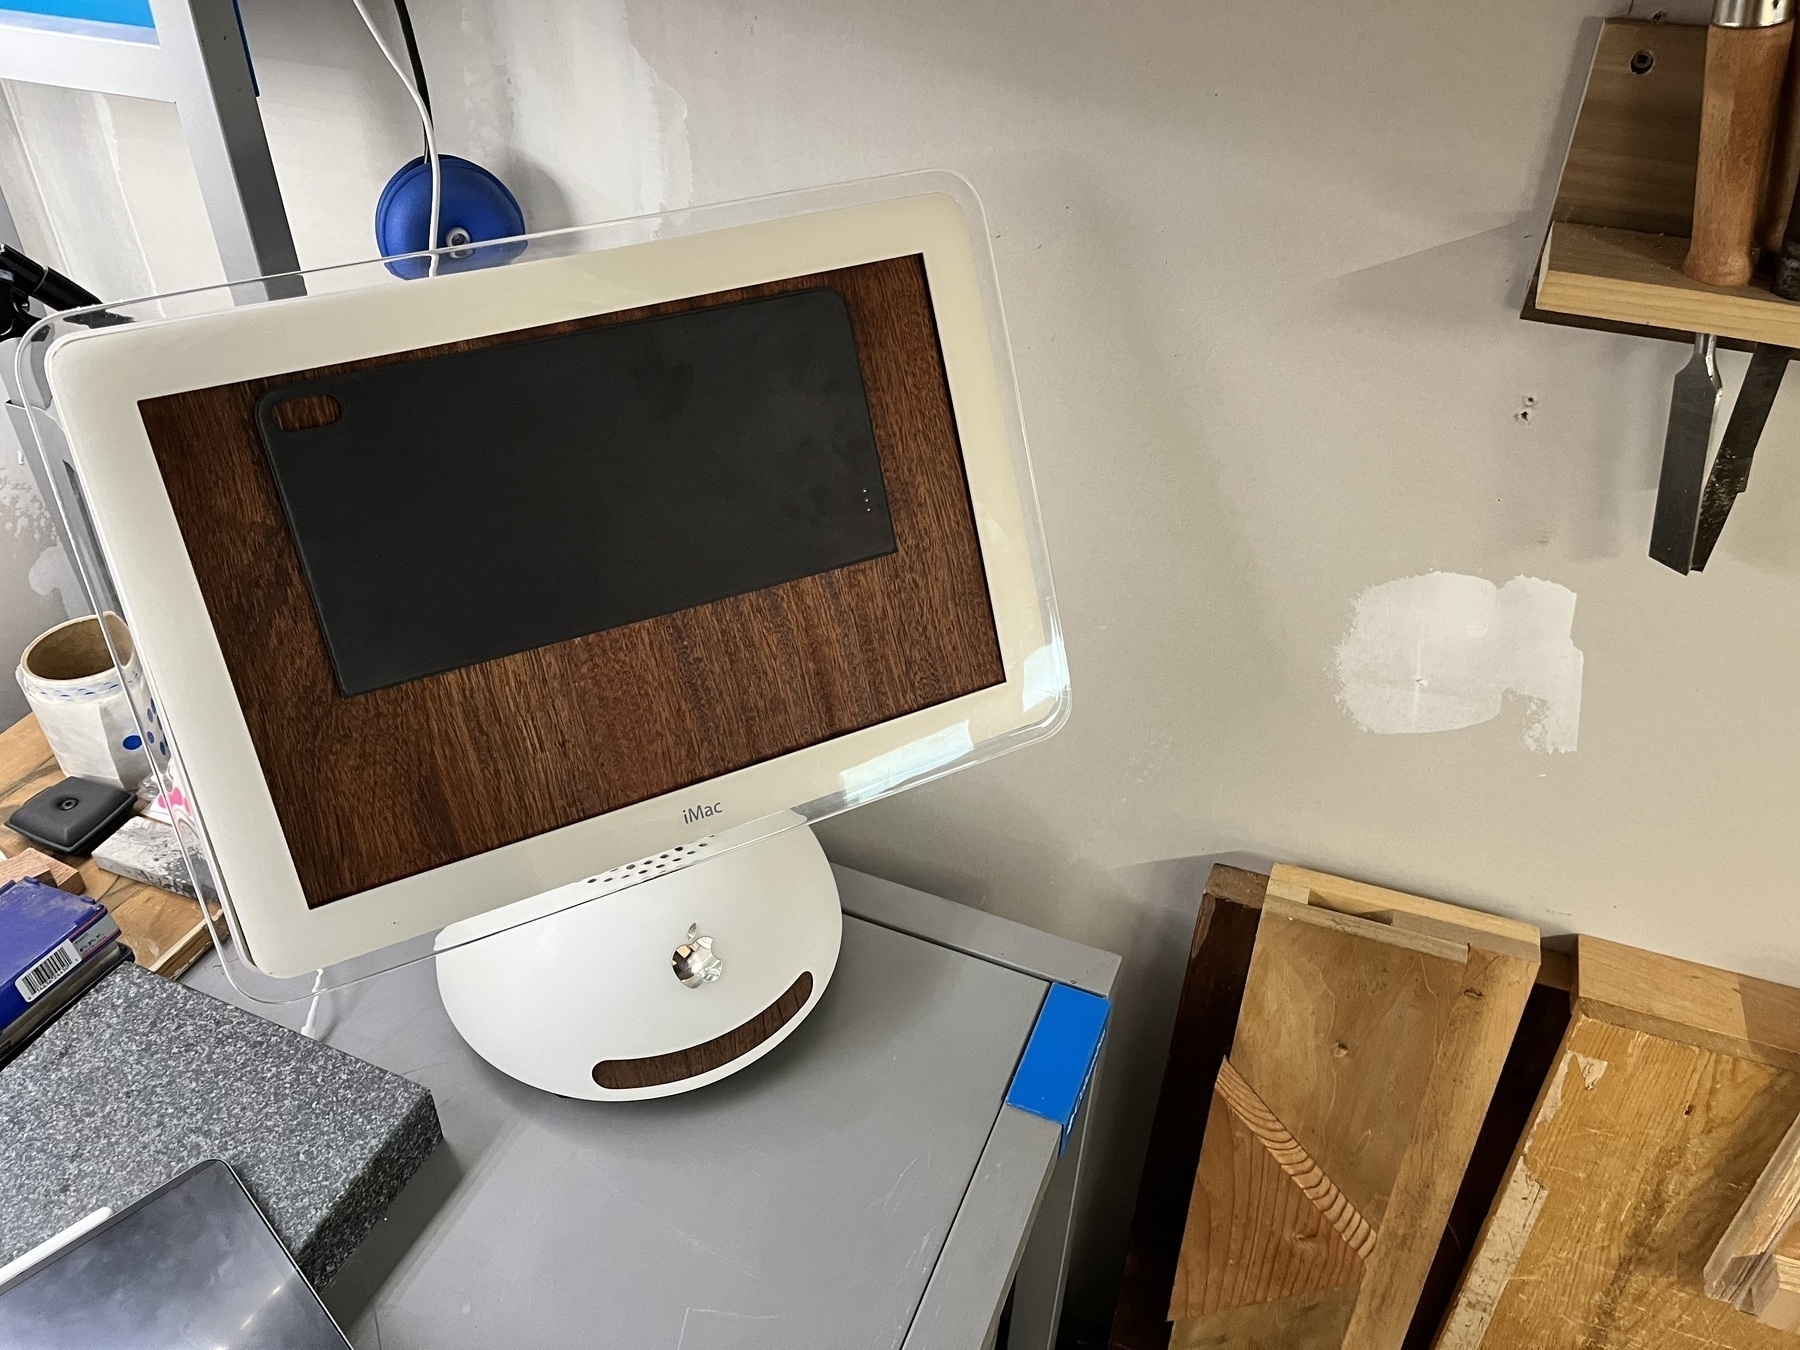
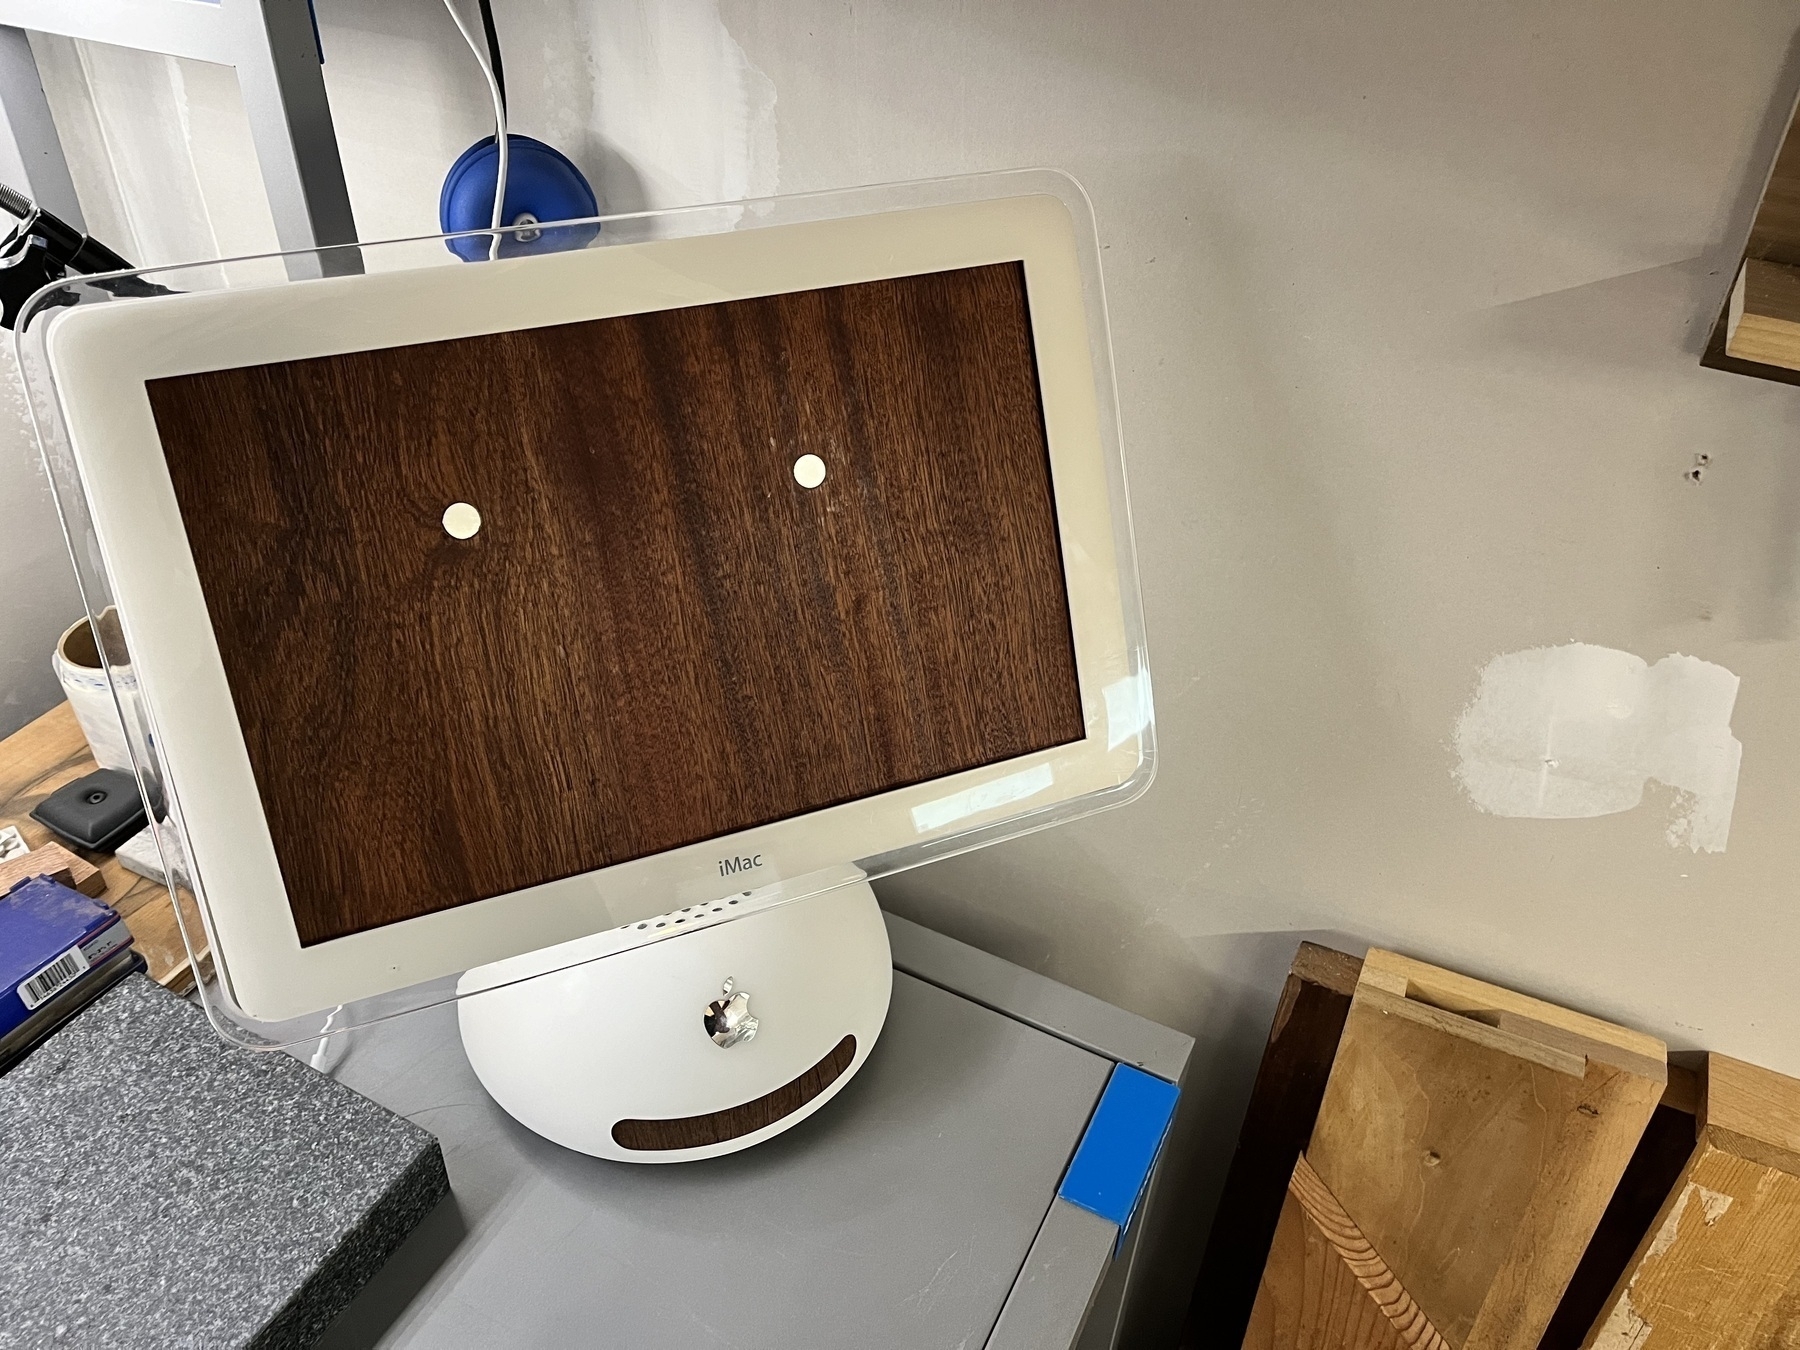
I completed a side project to repurpose my old 2002 iMac into a stand to hold my iPad Pro for when I’m in my workshop. The base is completely gutted so I had to weight it so it balanced correctly. The iPad is held in place by another repurposed thing: an old iPad Smart Keyboard case that I cut down to size so it is only the magnetized part. Strong, small magnets are attached on the back of this case that connect up to magnets embedded in the sapele wood where the monitor used to be. So I can remove the iPad and the case.
The drive slot is wood veneer — I discovered there is just enough of a gap between the plastic body and the underlying metal frame to slide the veneer strips in to make for a nice presentation. I use my iPad in the shop for entertainment and planning projects, so I can grab it when I’m designing then hang it up here out of the way when I just want music or to watch the occasional video.
I’ve been lugging this old iMac around for decades just to someday do something interesting with it, because I love this design. So this is that. On a side note, I think the design of the iMac arm, and this design generally, is genius. Hope to see a modern version of a tilt and swivel arm used in some Apple product in the future.