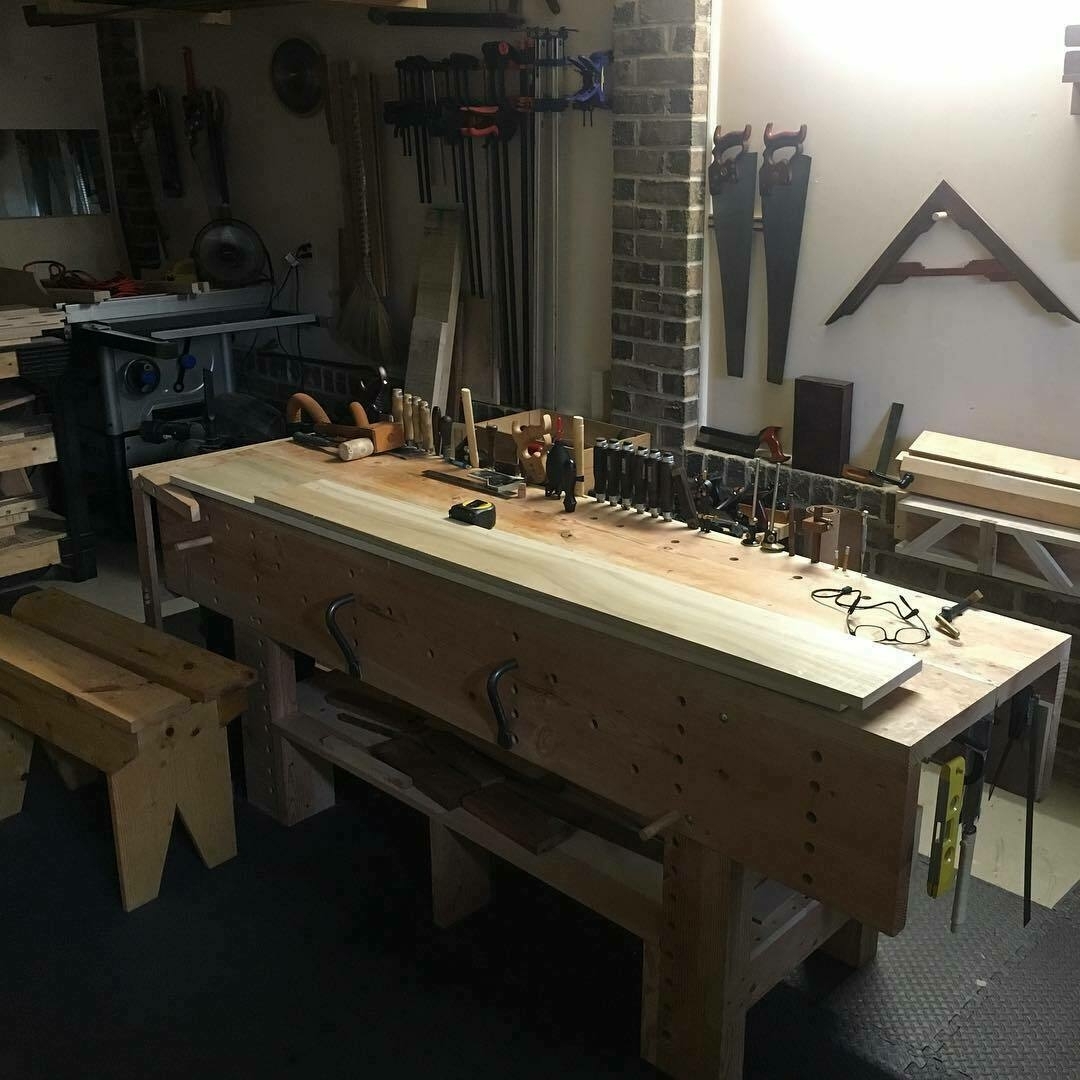
Posts in "Photos"

Moxon benchtop vise

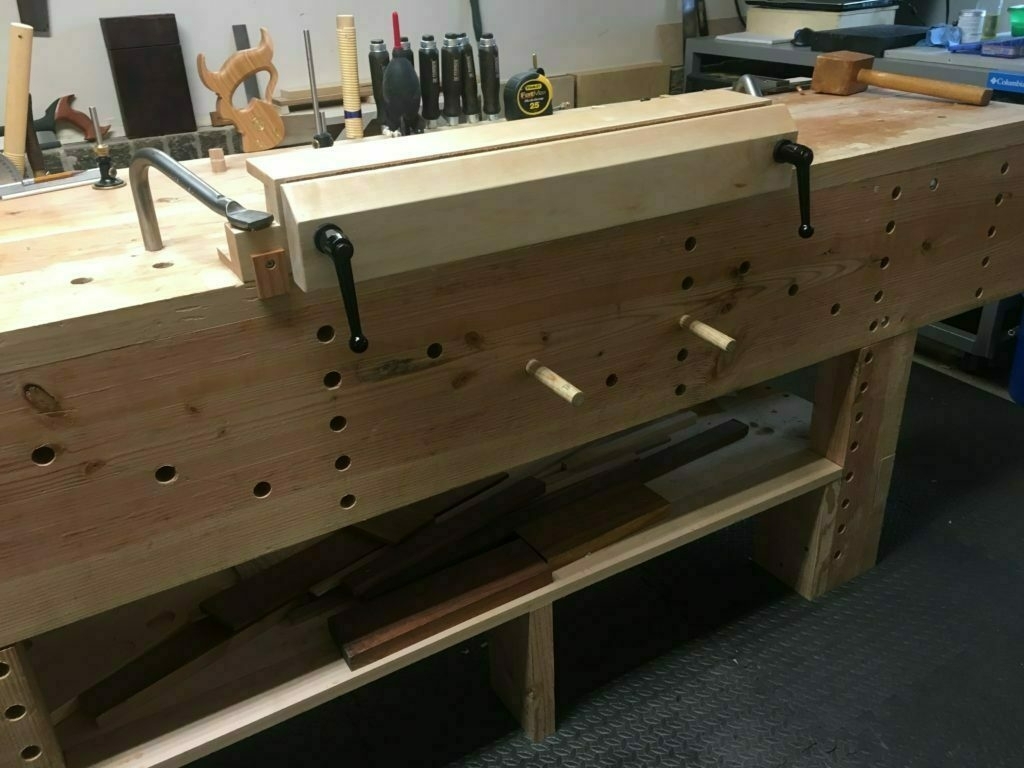
I recently completed a new vise Moxon benchtop vise.  The hardware and a good portion of the design inspiration is from Tools for Working Wood. It’s hard maple, 23" between the screws, cork lined, and finished with Danish oil. It was made with hand tools only, as part of my online apprenticeship with the Hand Tool School.

Drilling the Holes

The holes in the front and back jaw were easy to drill, but the right side was just a tad off when I put the screws in and tested the alignment and it was causing it to stick. So the second shot is a dowel with sandpaper I used to open up the rear jaw hole just a bit so there was no rubbing or sticking on the wood.

Hidden Mortises on the bottom

Here are the mortises on the underside of the vise that house the nuts. These were chopped out, of course, with mortise chisels.

Rabbets

Since I didn’t own a rabbet plane when I made this, I used a saw to cut the top and bottom rabbets. This took forever. I had to a lot of clean up work with the router plane to them square.

Angle on front jaw

I made a 45 degree guide for the cut, but it was only really useful to eyeball things to ensure I was at the same angle all the way across. Since I wanted a lip at the top of the front jaw, I couldn’t cut all the way to the angle guide in the back and it was too much of a hassle to get the guide at the right height in back to match up with cut I was making. So I really just relied on cutting down to the top and bottom lines marking the angle on the front jaw. Then I just planed it down. I figured I didn’t really care if it was exactly 45 degrees, anyways…as long as it was uniform and about 45 degrees, I was good. The angle is there so there’s room to angle saw cuts without cutting into the vise wood.

And here's the final product

Front:

Side: (the cork is to keep the vice jaws from damaging wood)

Back: (the top piece is so that there’s a flat surface for dovetail joinery)


Frederick forest: Kublai Khan trail

[gallery size=full columns=1]

Fargo: Minimalist Browser-Based Outliner

fargo

I’ve just started using Fargo, a new browser-based outliner from Small Picture. This little tool is platform-independent and works within any modern browser (i.e. Chrome, Safari, Firefox, IE10). It’s an HTML5 app written with JavaScript. Files are stored in Dropbox in an open format (OPML).

Why use this instead of one of the myriad of other outliner tools on the market? It's simple to use. You don't need to install proprietary software. It's available anywhere you happen to need it. You don't need to worry about 'lock-in.' There's no need to export your files, ever. It's free. It works well. I like it.

Building a Dry Stone Wall

Last December, my wife came across an ad on Craigslist for free fieldstone. On a whim, I decided to haul it home to build a wall. As is so often the case with DIY, it was easier to concieve than to execute. I finished my small wall only a few days ago. It took me nearly four months.

The steps for building a dry wall are fairly straightforward. The essence of it: stake out the wall line; dig a trench about eight inches deep and a bit wider than the planned wall; fill the trench with crushed gravel to form a base that will minimize shifting from frost heaves and settling; then stack rocks. The basic rule of rock stacking is to place one stone over sections where two stones come together, and two stones over sections where there is one stone. Cap the top with heavy, nice-looking stone. The overall pattern should be stable, level, and visually appealing.

That last part is the kicker. In my case, I had to contend with a three foot downhill slope in the front of the house and a one foot incline on the part that curves around the odd looking conifer at the corner, which is called a Weeping Blue Atlas Cedar. A flat wall would have been challenging enough, but the sloping ground added much complexity.

My goal was to place the stones in a cascading fashion so that they conformed to the slope of the land. That entailed placing some rocks, stepping back for a wider view from various angles, deciding it wasn't quite right, tearing down parts that looked unnatural, choosing different rocks, then rebuilding the offending section. Then I'd build another small section and repeat the process. Over and over and over.  

I think the resulting wall looks nice, although I'm sure it would look nicer if a professional installed it. It might also be more structurally sound. Time will tell how well my amateur job holds up. I suspect I'll know in about a year. That length of time will test the wall against the stress of changing temperatures, weather, and frost. The great part about a dry stone wall, though, is that there is no mortar. I can always adjust it. I like to think of it as a rock garden in the shape of a wall. 

Viewing Big History with ChronoZoom

Cell Size and Scale visualization from the University of Utah, the Scale of the Universe visualization from Cary and Michael Huang, and the Universcale from Nikon.

A new entrant in the field called ChronoZoom ups the ante. You have to see it for yourself. It's a really impressive visualization (HTML5) tool that explores Big History. The people behind the project have lofty ambitions for the future and they're looking for users:


ChronoZoom Beta is ready for mass consumption and feedback, structured to scale up to petabytes of content, and architected for the future of personal computing.


Codecademy

I’m a hybrid content author and web designer with no formal training in computer science. Over the years, I've honed my HTML and CSS skills through trial and error, repetition, books, online courses, and by tapping the expertise of colleagues. 

But JavaScript? I'm not so good with that. Sure, I can deploy a jQuery plugin and fiddle with parameters. And I know a bit of PHP (enough to get me in trouble, as they say). In most cases, I can decipher code, copy what I need, and modify it to meet my needs … as long as I don’t have to change too much. But my depth of understanding is shallow, which is something I’ve long wanted to remedy. Now I feel like I'm really making some progress with Codecademy, a free online ‘academy’ aimed at teaching basic programming skills.

Codecademy gets it right. For starters, you aren’t required to sign up for an account prior to beginning lessons. Instead, you can dive right in by typing your name in the site’s integrated editor. Entering your name is your first lesson. Only later, after completing a few exercises, are you prompted to sign up for a free account (which you only need to do if you want to keep tabs on your progress). At this point, you’ll have a good idea if this is for you. While this is a relatively minor detail, it’s a thoughtful touch that underscores how this is a different kind of training tool.

Lessons are divided into topical sections that grow in complexity as you progress. At each step of the way, accompanying text explains what’s going on and why. Within a few days, you’re writing simple programs that tie together all that you’ve learned up to that point.

While there are badges for completing sections, progress meters, and a point scoring system to help keep motivation up, the real driver – and the heart of Codecademy – is the integrated editor that accompanies each lesson. Rather, the integrated editor really is the lesson. You read a short bit of natural language text explaining a concept or new syntax, and then you’re asked to write some code to demonstrate comprehension. Everything you learn, in other words, you learn by doing yourself. You can’t move on to the next lesson unless you get the code right. This real-time feedback works.

There’s a lot of course material available, which is growing exponentially thanks to the addition of crowdsourced exercises submitted by other developers. User forums are active, so you can get help when you get stuck or need something clarified. Right now, only JavaScript lessons are available, with Python and Ruby courses to come later. I reckon these lessons will keep me occupied and learning for a long time to come. The best part is that the people behind Codecademy say they’re committed to keeping this learning resource free.

More than other online courses, videos and books that I’ve tried over the years, Codecademy fosters a clearer understanding of what it is that I’m doing and why I'm doing it because it is, quite literally, engaging. It’s not that other courses I’ve taken are not good, it’s that the Codecademy model is particularly good.

A Better iPad Stylus

Handspring Visor Edge? I had the metallic silver model (and still do). It sports a blazing fast 33 MHz CPU and 8MB of RAM. I've kept it over the years because it still works ... and because I think it's a great design.  I especially loved the weight, shape, and feel of the little stylus.  That stylus happens to be metallic.

You see where I'm going here. Since the stylus is metal, all that I needed was some sort of conductive tip.

Here's what I came up with. It works great as long as any part of my hand is touching the metal pen (which is hard not to do). It looks nice (I wouldn't say it's beautiful, but I think it looks better than most homemade styli). It's compact and easy to tote around. And here's the best part: the tip offers far more accuracy and draws a thinner line than commercial or homemade conductive styli that I've tried or seen demonstrated.

Here's how I made it:

Here are the primary ingredients. Heavy-duty aluminum foil, tape (I used electrical tape, but you could use duct tape), and a rubber foot that I found in my shop.

About the rubber foot. This may be the hardest bit to find, but it's something you should be able to pick up at a hardware store (or, at least, you can find something similar). I cut off part of the foot as seen in the photo above, then drilled a hole into the rubber that would tightly fit the metal stylus. Other materials will also work. I made an earlier model with a cheap wood plug using the same method. It worked well, but isn't as flexible (meaning that you may have trouble with the wood cracking when you drill into it). Rubber works best. 

Now wrap the foil-wrapped rubber foot and stylus with a short piece of strong tape. Once you've done that, you're done. The blue shrink tubing you see here isn't really necessary. It's just for looks. I took a short segment of blue shrink tube, stretched it out with pliers so it would fit over the stylus, cover the tape, and partially cover the foil-wrapped foot. Then I applied heat to seal it all up. And here is the completed stylus, ready for action.

So that's all there is to it. It's a bit more involved than most of the DIY capacitive stylus tutorials you'll find on the web, but I think it's worth the effort. It works great. It looks nice. It's a great way to recycle a peice of old tech. I've been using it for a while and the aluminum is showing no signs of splitting. If it does split, it's a relatively simple matter to rip off the tip and make a new one. If you don't have an old Handspring Visor Edge in your closet and want to try this, would you believe that you can still buy a metal stylus