200+ board feet of sapele and cherry and I’m ready for some new projects. First up: a new end table.
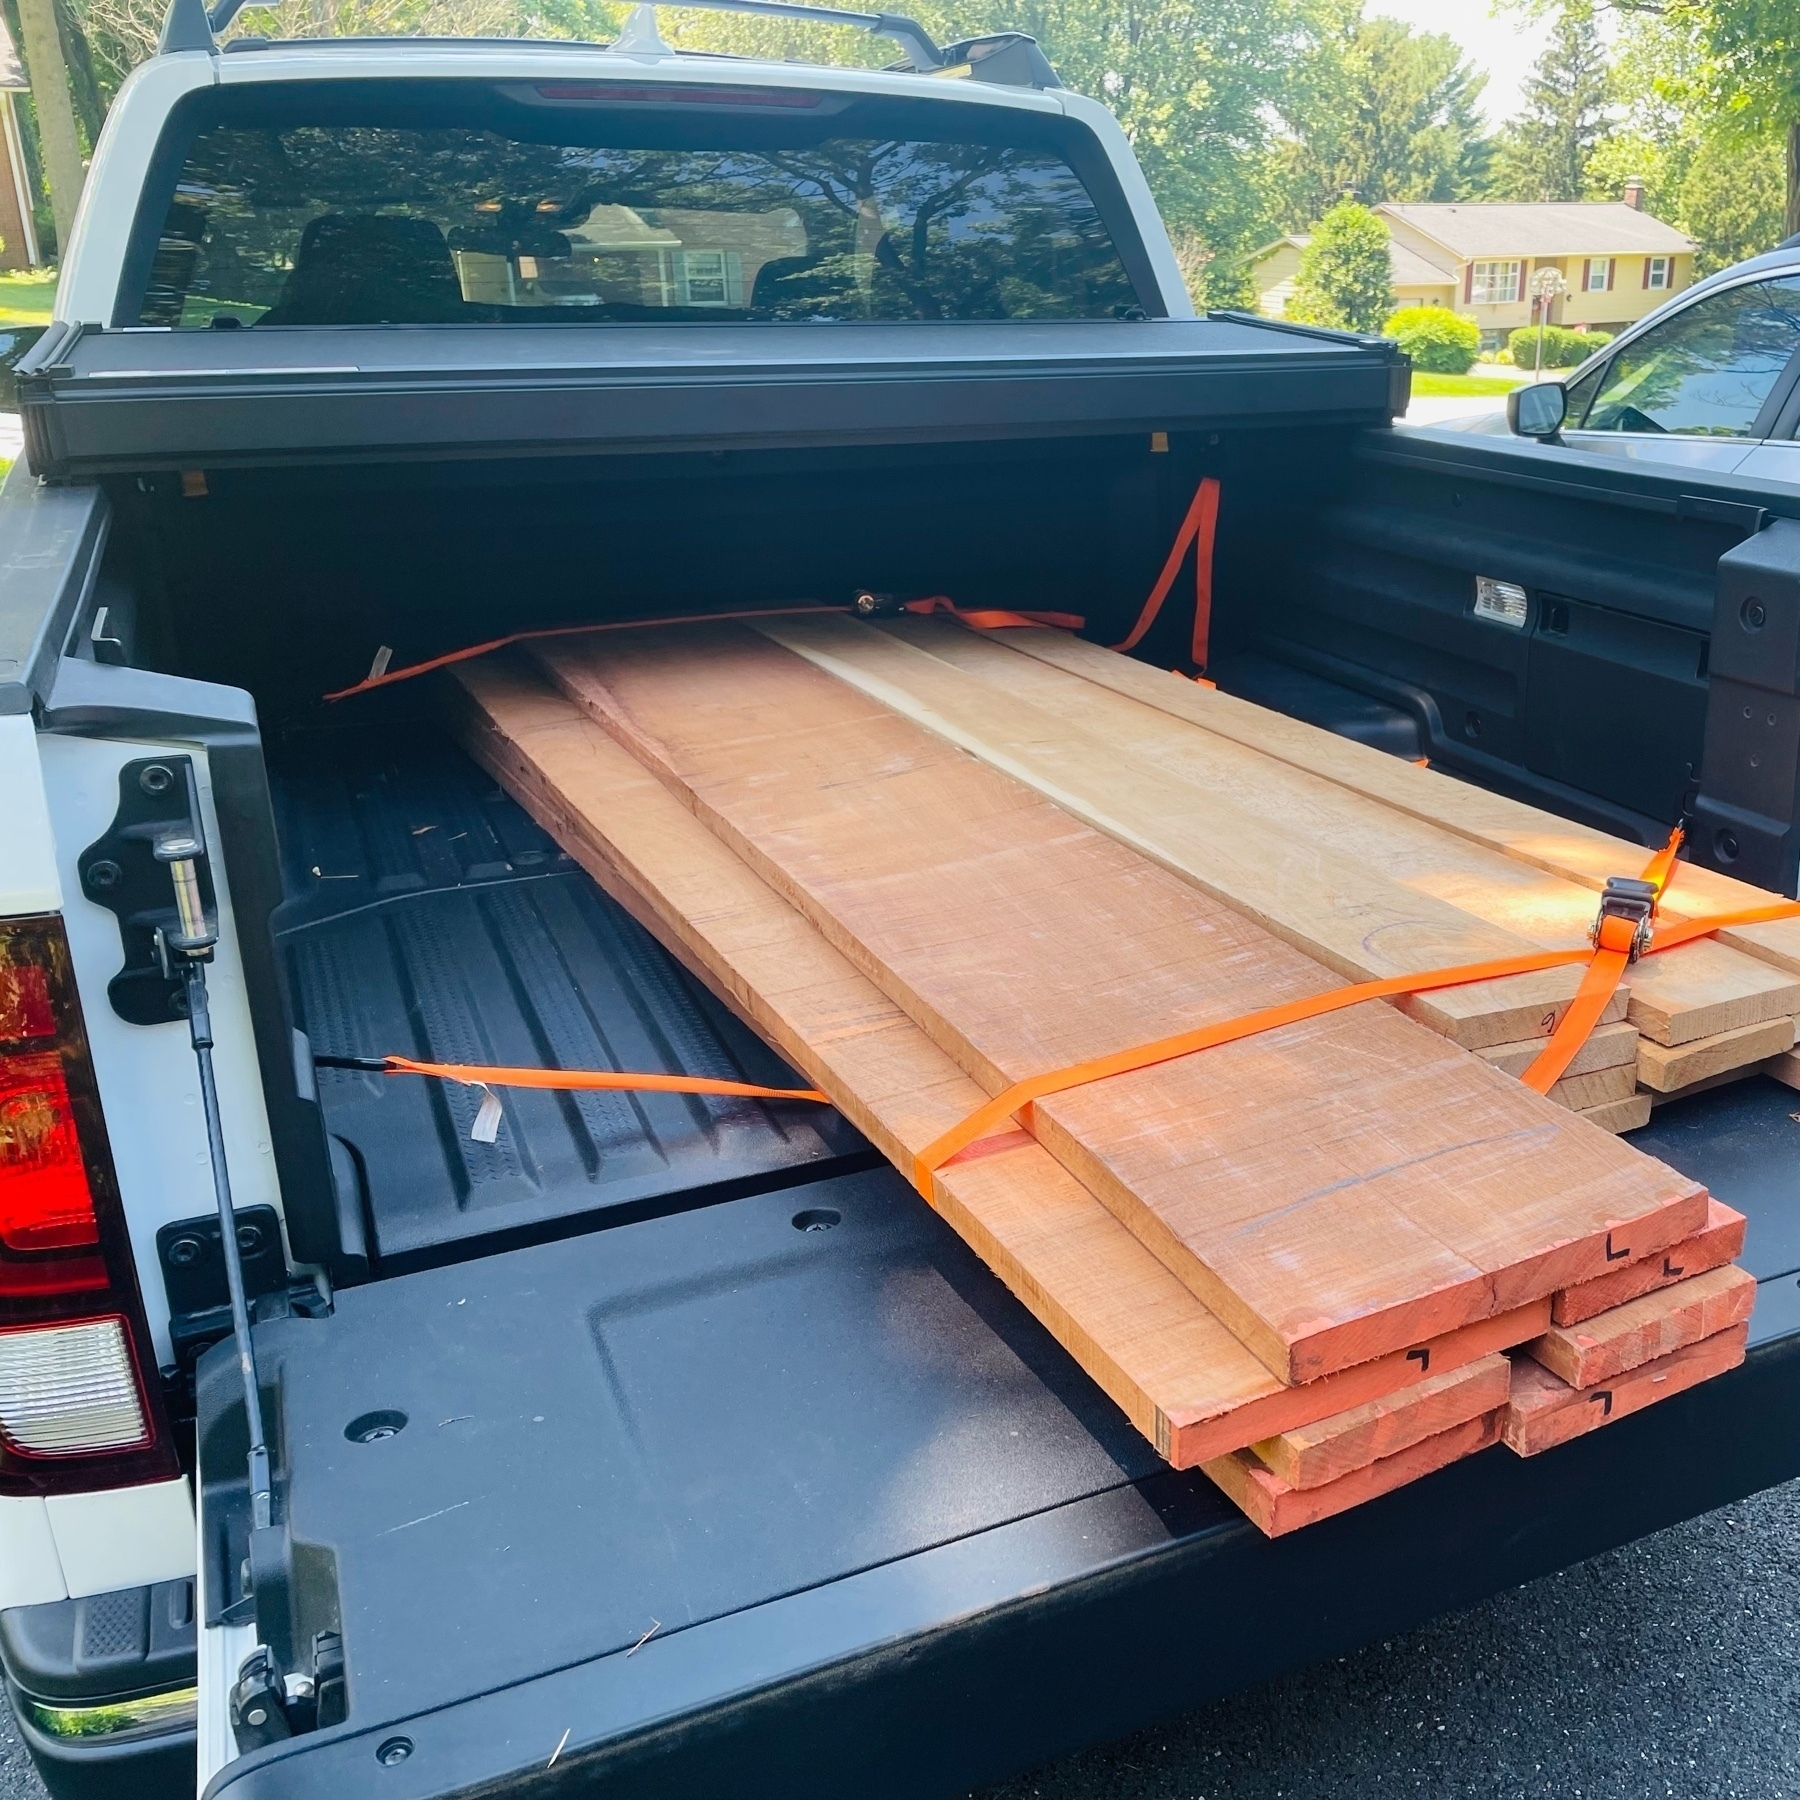
200+ board feet of sapele and cherry and I’m ready for some new projects. First up: a new end table.
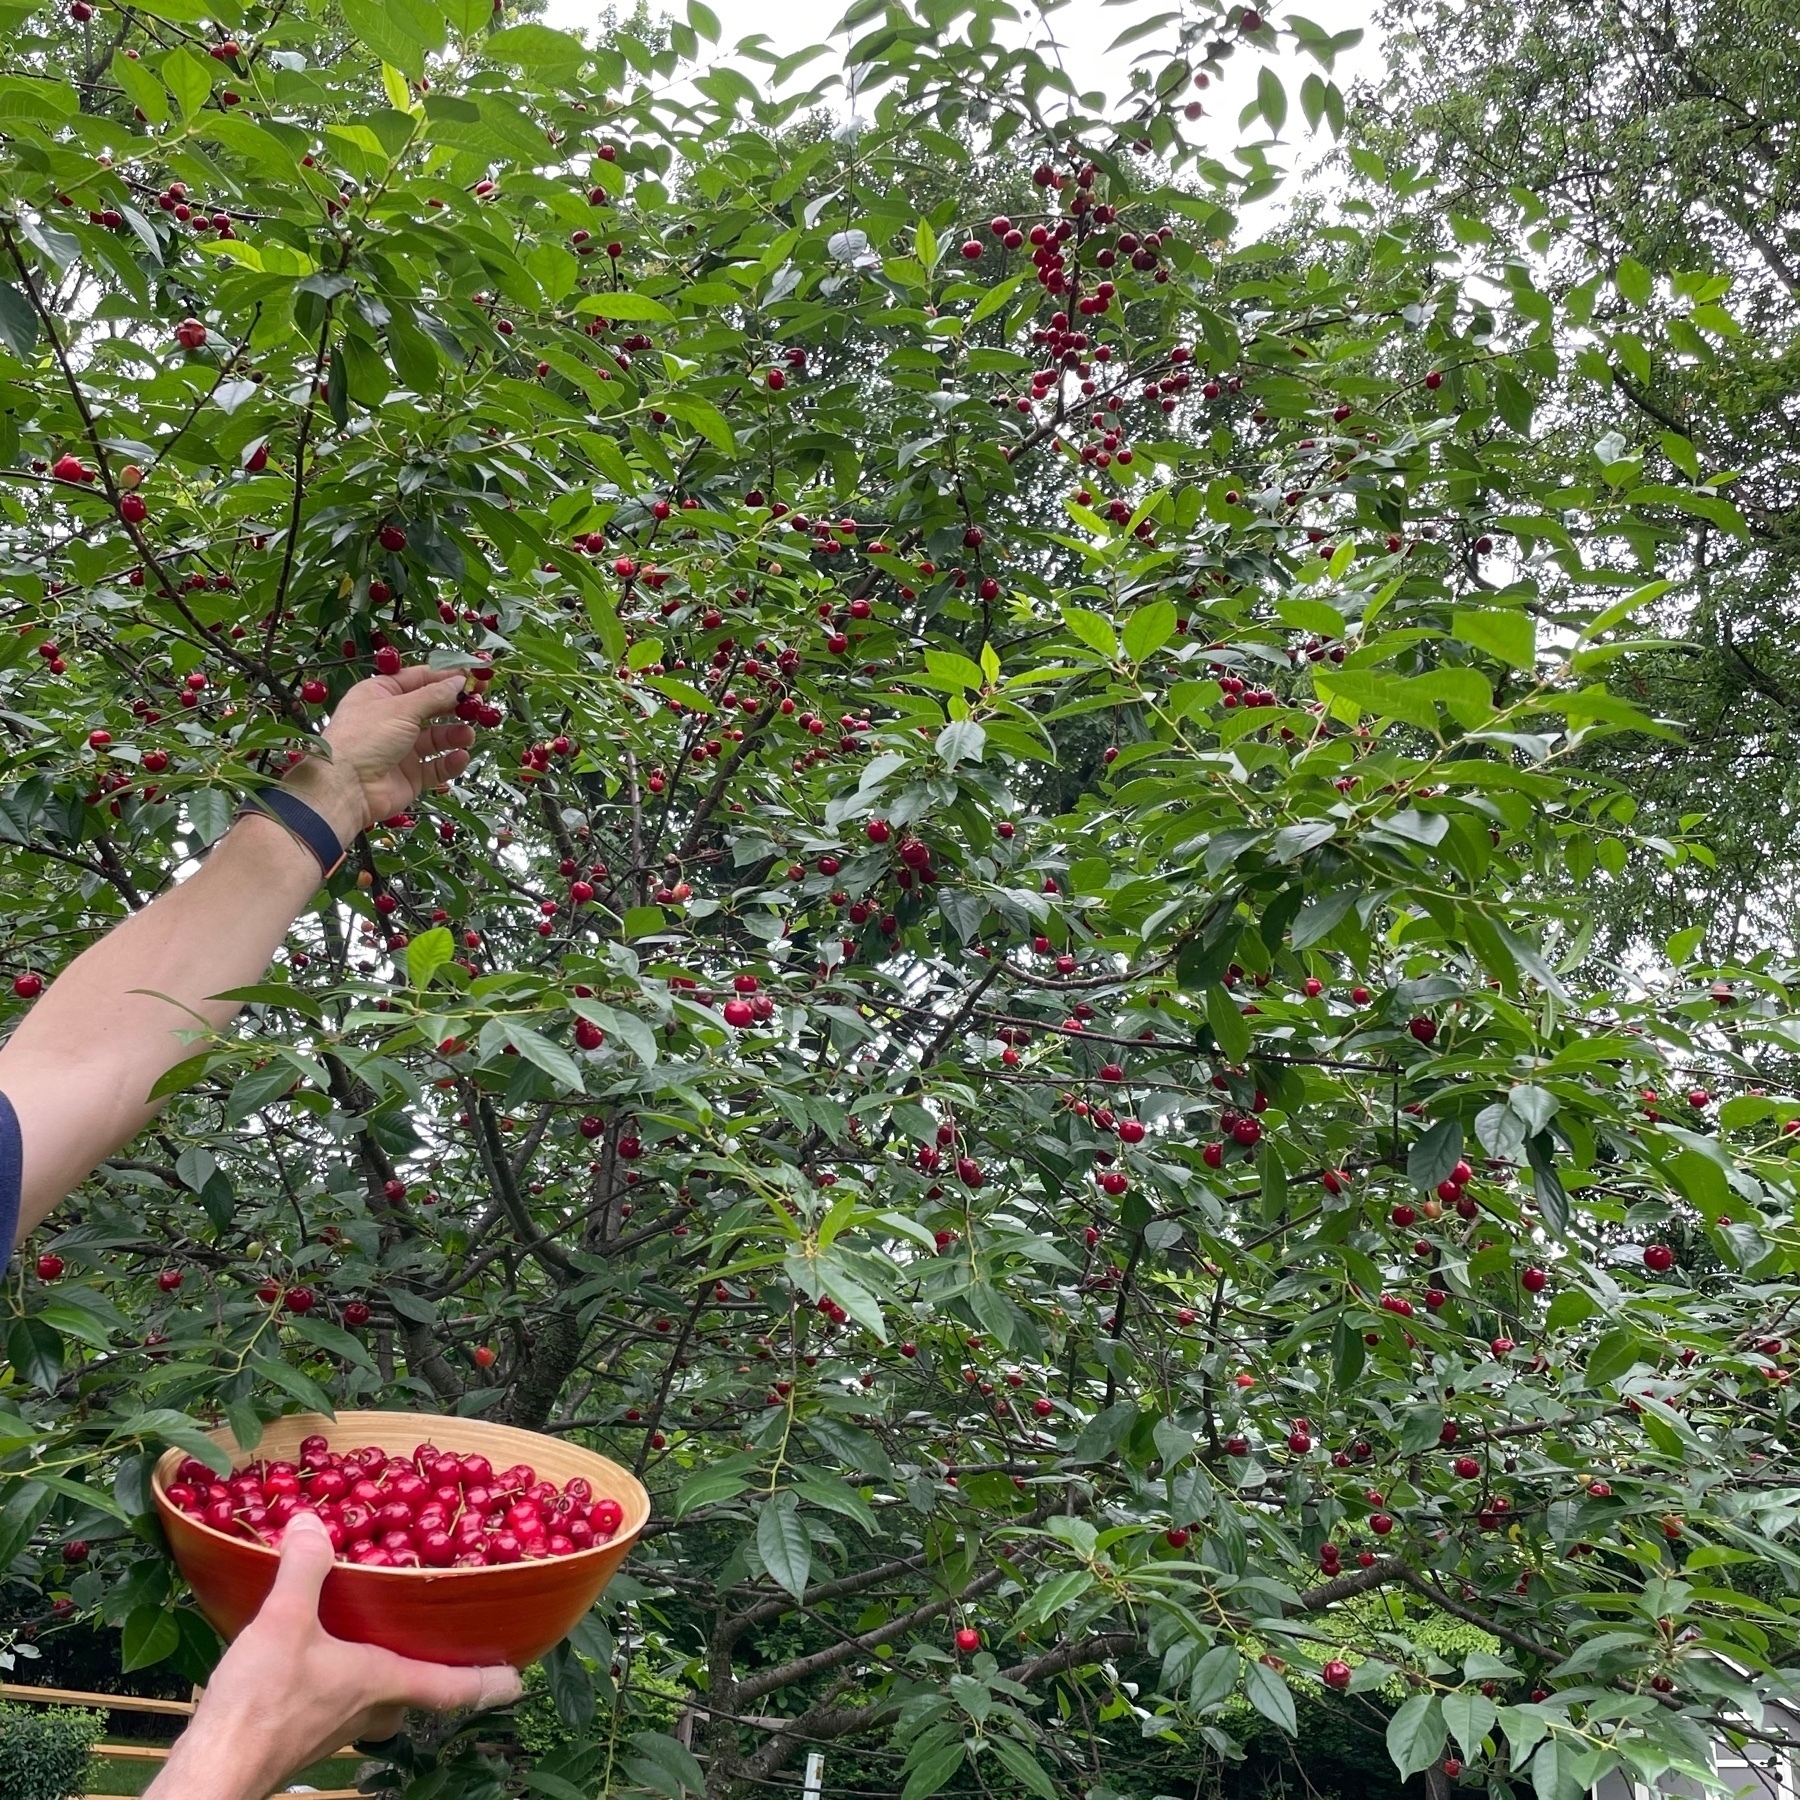
Our sour cherry tree really produced this year.
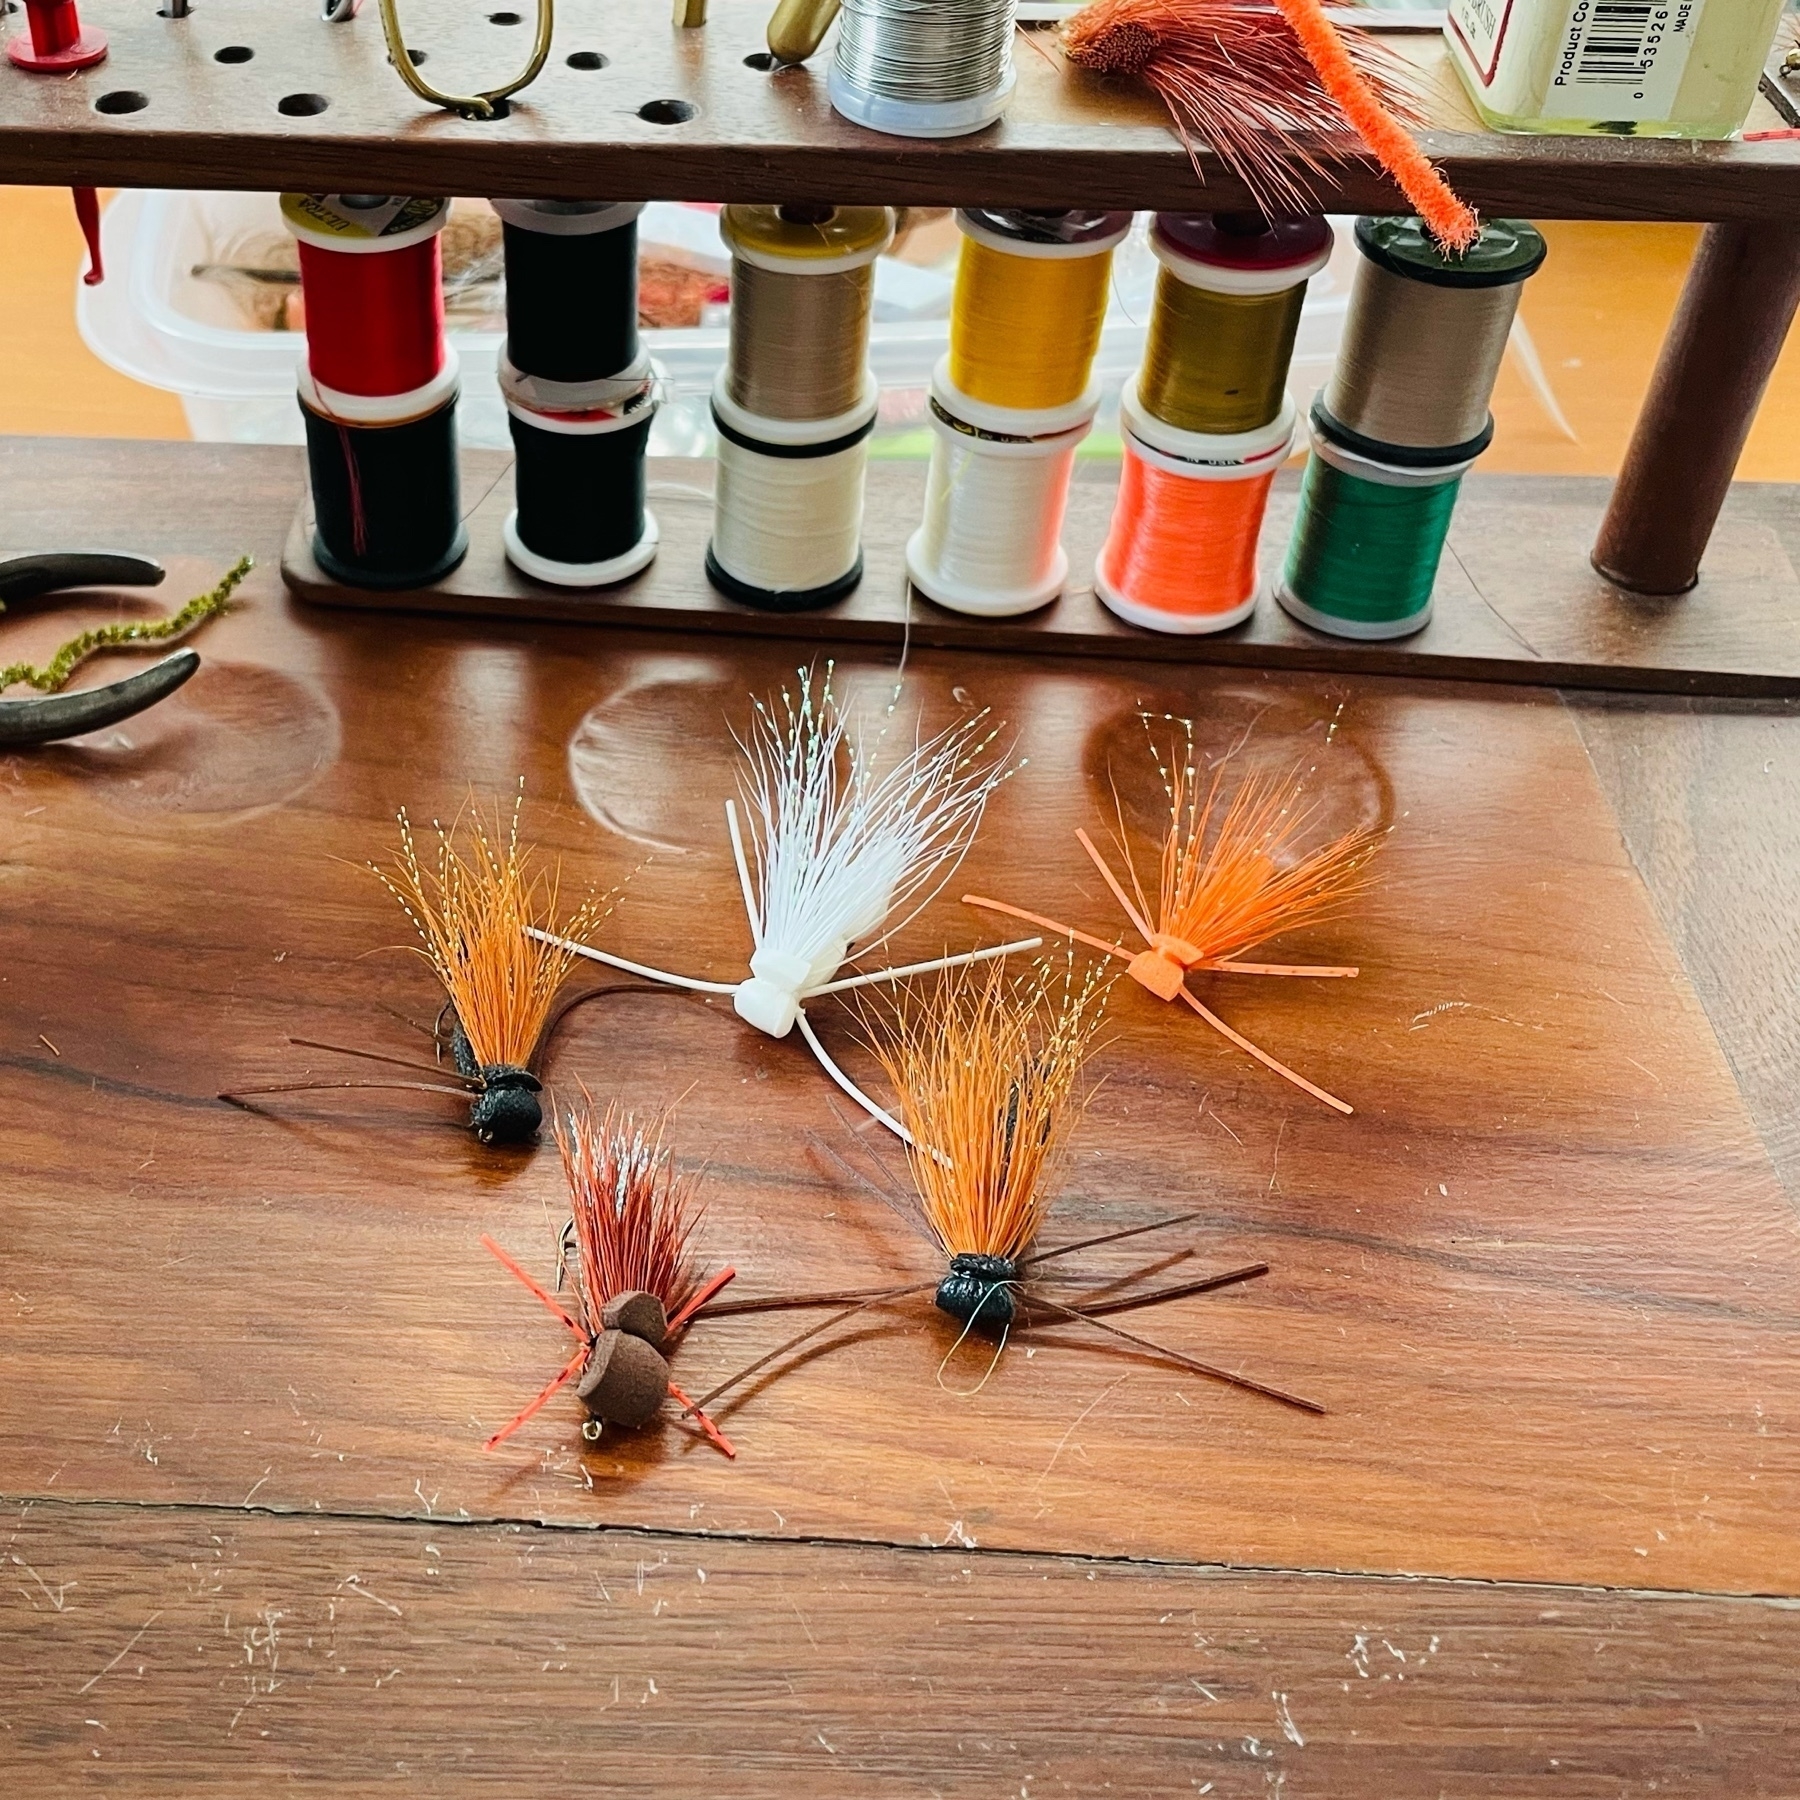
Look at all of these nice cicadas a friend gave to me. Looking forward to trying them out.
My new keyboard set-up:

Here's a weird little project that took only a few hours and solved a unique problem. Here's what my computer keyboard set-up looked like before my project:

Backstory: I use an ErgoDox EZ split keyboard with an Apple trackpad in between (yes ... I use a trackpad and a mouse, for reasons). One problem: I'm pretty particular about my keyboard layout, so I like to have the angle of each side of the keyboard and the wrist rests just so. But each wrist rest and each keyboard half are free floating so they are always moving around. This is especially annoying when I need to move this stuff out of the way to clean underneath, or to use my secondary mechanical keyboard. Another problem: the trackpad in the center is too low, weirdly placed, and is just not great. So I came up with this odd thing:

This was an interesting little challenge to create using hand tools. But it was worth the effort. Now when I need to move my rather elaborate keyboard set up out of the way to clean underneath, or when I want more desk space for a non-computer task, or to switch keyboards, I can quickly set things back up with the exact spacing and angling I want. I start by placing the wrist rests:

And then place each keyboard half against the wrist rests:

And then place the trackpad on the raised, angled stand in the middle. The cable that connects the two keyboard parts tucks neatly under the trackpad. I wanted to keep this as minimalist as possible, so I made it so that the trackpad front edge rests on the stand, but it's angled so that the trackpad back edge rests perfectly on the keyboard edges. This is the minimal width to fit the trackpad and the spacing is just right (for me) for typing. It is very stable and feels solid.

So I'm going to use this for a few days and make sure I like it, then I'll finalize everything, glue it up, give it a coat of Osmo. Based on a few hours of usage, I think this will be a good solution. Everything lines up just so and it just takes a few seconds to get all assembled. It also looks much neater.

So I purchased the metal hardware to build a frame saw and kerfing plane from Bad Axe Tool Works. This was, for me, an intimidating project to build these tools using only hand tools. The plans I used are from Tom Fidgen's The Unplugged Workshop. The plane, in particular. Here's how that went.

I started with a small slab of Koa. It’s a special plane, so I decided to use some of the special wood I had bought when I had lived in Hawaii. I printed out the plan for the plane body at actual size and traced it out. I placed the plane blade here so I could better visualize what I was doing.
Here’s what it looks like all penciled out.

I cut out part of the body with a Carcase saw and my bow saw. Then came the scary part: carefully drilling out the holes for the special screws (forget the name of these) that would hold the blade in place.

You have to drill two holes on each side so that these screws sit flush. Not easy to do with with a hand drill, I discovered.

Here’s a View of cutting the inside handle hold with my bow saw.

And then some heavy and tedious filing to get everything down to the lines and smoothed out.

The threads in the plane body and the threads for the bolts are created with a thread cutter.

And here is how the screws are made for the arms. I used walnut because it’s pretty easy to work with, relatively speaking.

Rough cut for each wooden bolt. Then file them out to round them.

The completed arms with the bolts. These fit into the plane body like so, using the threads I created.

The most terrifying part of the plane build was cutting the kerf to fit the blade. It had to be perfect, so I created a jig to guide my saw and went really, really slow.

So I created this fence for the plane and glued it up, then realized I had made a terrible mistake. It’s way too thick. It needs to rest against the blade, but this fence hits the plane body and was a total fail. Not sure how I got to this point, but there it is. So what to do?

I could have started all over with the plane fence, but I decided to salvage it. So that’s why you see these interesting light colored things that look like joints that don’t joint anything. I installed a proper smaller fence arm. I tried to make the mistake look like a feature and not a bug. Here, you can see the blade is installed.
A view of the final plane from the another angle.

Here it is in action, cutting the kerf on a board that I’m going to resew with the frame saw. The wooden bolts lock the fence in place to get the desired line.

And that kerf gives you a good line all around the board to help keep the frame saw cutting true.

The result is resawed boards that are far better than I’d get than without using the Kerfing Plane.

So I purchased the metal hardware to build a frame saw and kerfing plane from Bad Axe Tool Works. The plans I used are from Tom Fidgen's The Unplugged Workshop.

Here's my documentation for the frame saw build.


Here’s a small project designed to hold a utility knife, presented as a going-away gift for a work colleague. It’s the smallest box I’ve ever made and was an interesting challenge.

Here’s the documentation:

I started with some ¼ inch walnut I had leftover from other projects. I used my combination plane to rabbit an edge, which will hold the base and the lid.

I cut the pieces to size with my carcass saw and then squared up the cut edges.

The dimensioning was all done by sight, using the knife case as a guide.

While I used the combo plane where I could, I still ended up doing a lot of fine chiseling, especially on the crossgrain little pieces.

Using the combo plane on such a small piece was a real challenge for figuring out how to hold the work. Here, I use the birds mouth and holdfasts.

Here are all the sides of the box. I didn’t do any fancy joinery, just rabbets and grooves.
The sliding lid of the box has an inset NOAA pin, where we work. This is a lapel pin, so I snipped off the back and removed the frog.
Creating the inset hole for the pin was a slow process, using carving tools and a ¼ chisel. I used a similar process to create a small thumb-sized divet on the other side of the box lid.
The glue up. Again, this is just grooves and rabbets. I figured it was a display box and wouldn’t be subjected to a lot of stress, so the glue would be adequate.

Here is the final box. The lid slides out. I tried to keep it a bit tight on the lid so there was a bit of tension, and then waxed the inside grooves. The walnut box is finished off with Osmo. Some of the edges are a bit rough, but I thought that was OK as it matches the rustic or rugged feel of a box that holds a utility knife.

I made a small serving tray to hold my teapot and cup. The design is from Fine Woodworking, which I adapted to use only hand tools. I also made a few other minor design choices that altered from the plan.

Here's an overview of the build process:


Where the Gunpowder tailwater begins — at Prettyboy Reservoir in Baltimore County, Maryland — it’s ranked in the top 100 trout streams in the nation by Trout Unlimited and is a joy to fish (on weekdays when not crowded). Visited the reservoir dam today and it was just beautiful. The swallows own this place.

The mountain laurel is blooming in Gambrill State Park near Frederick, Maryland. And this is my first post on micro.blog after migrating my website.
