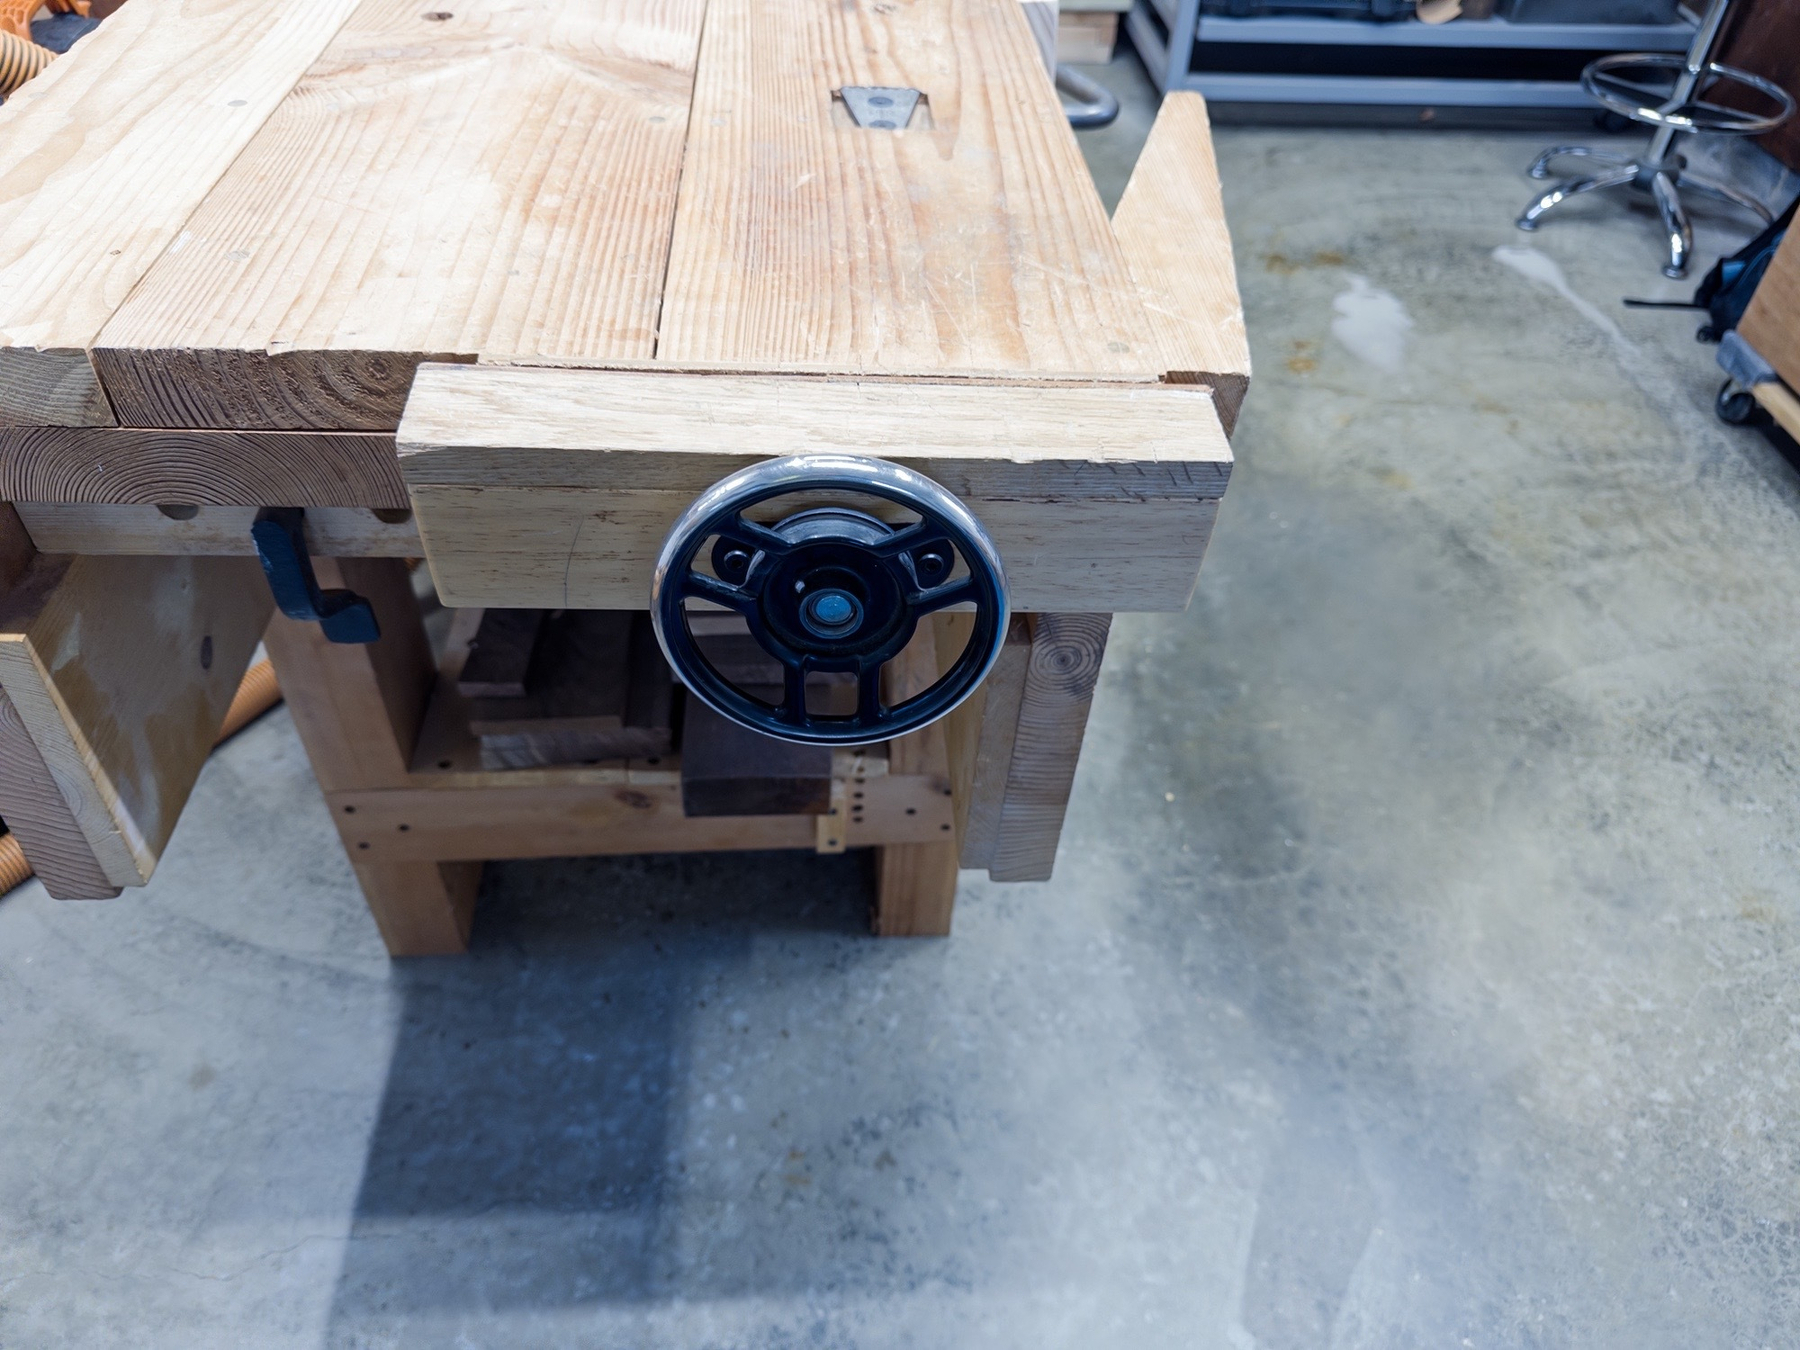
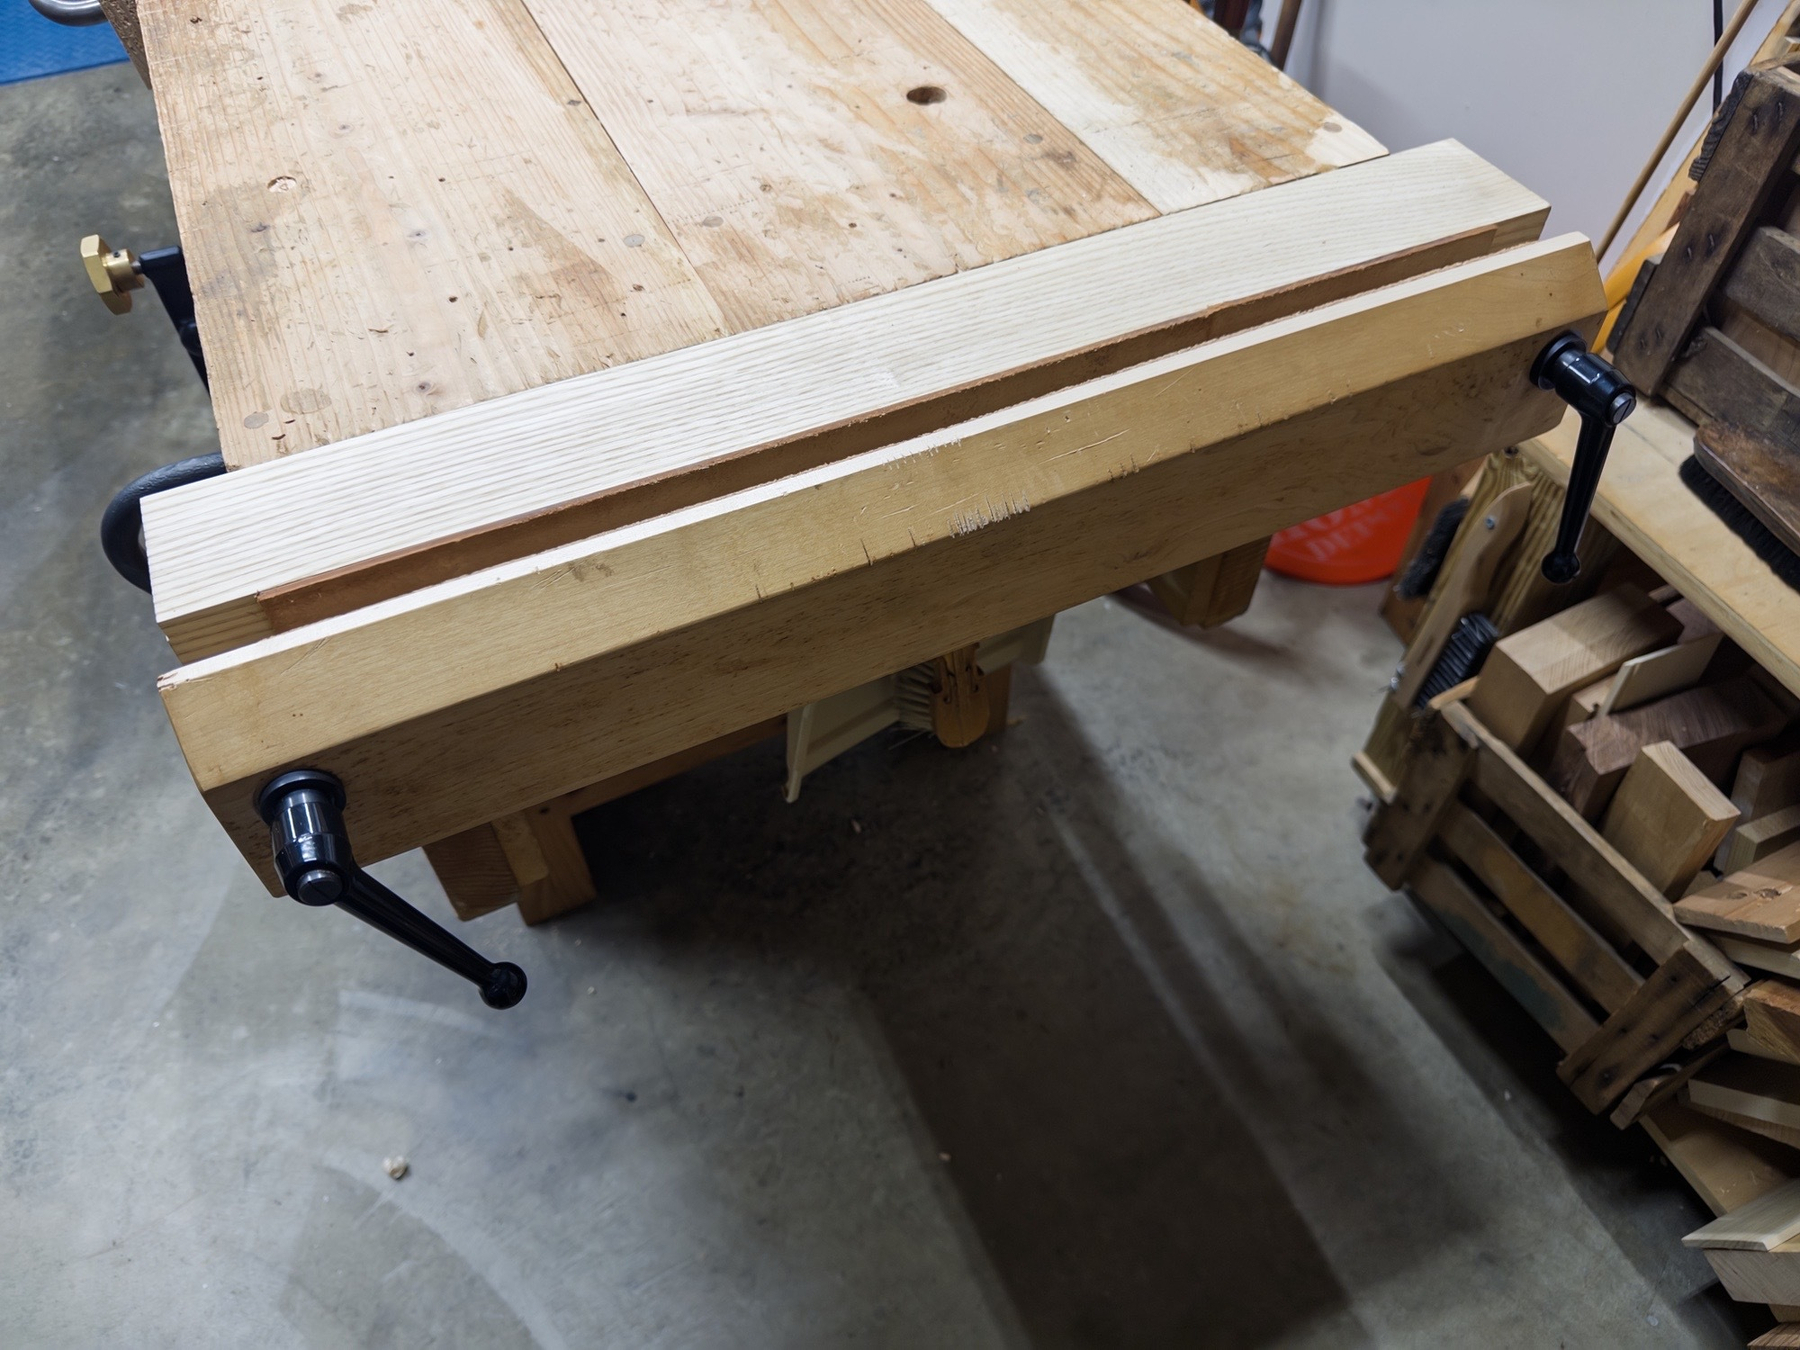
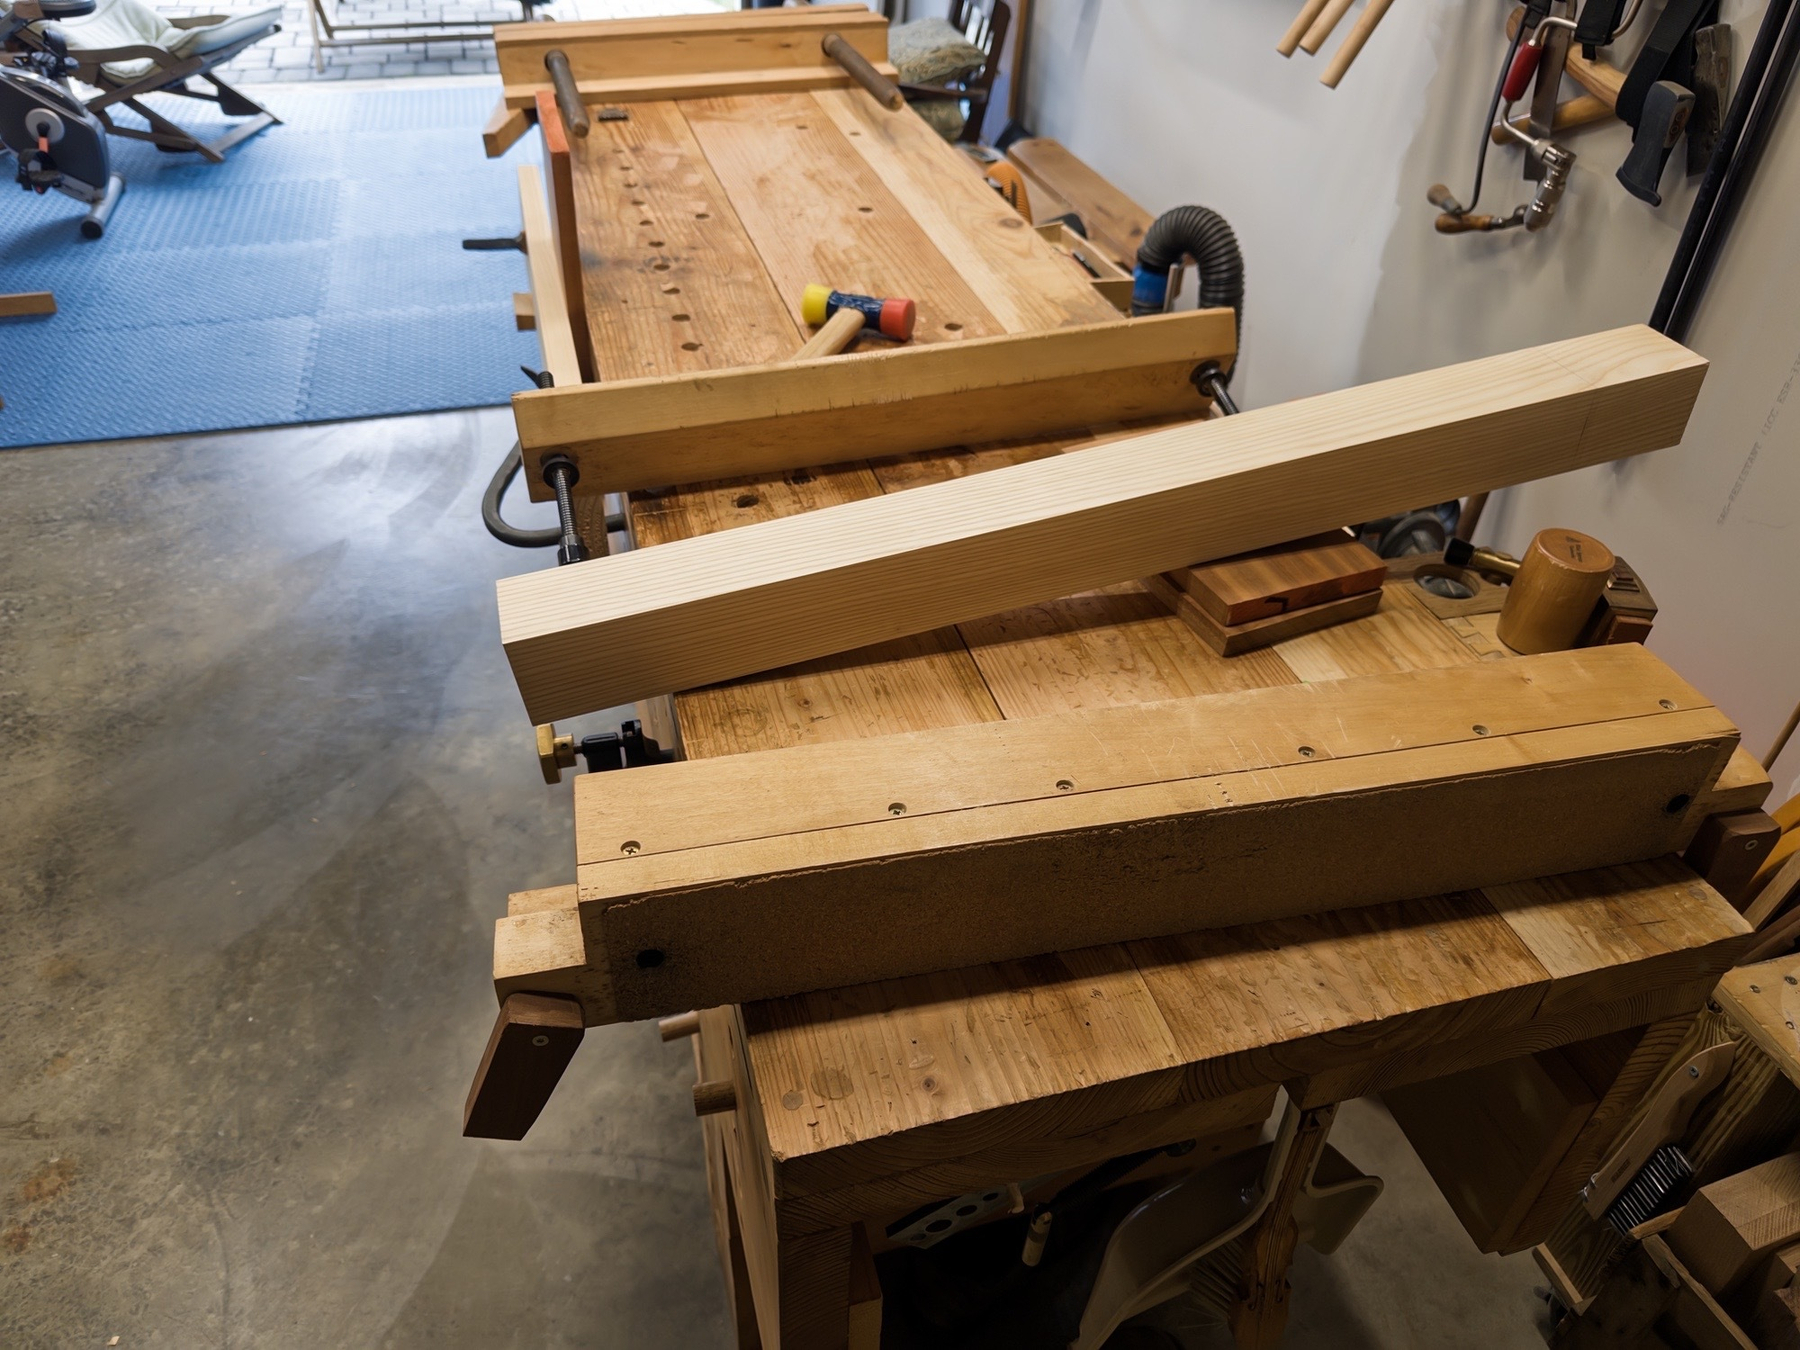
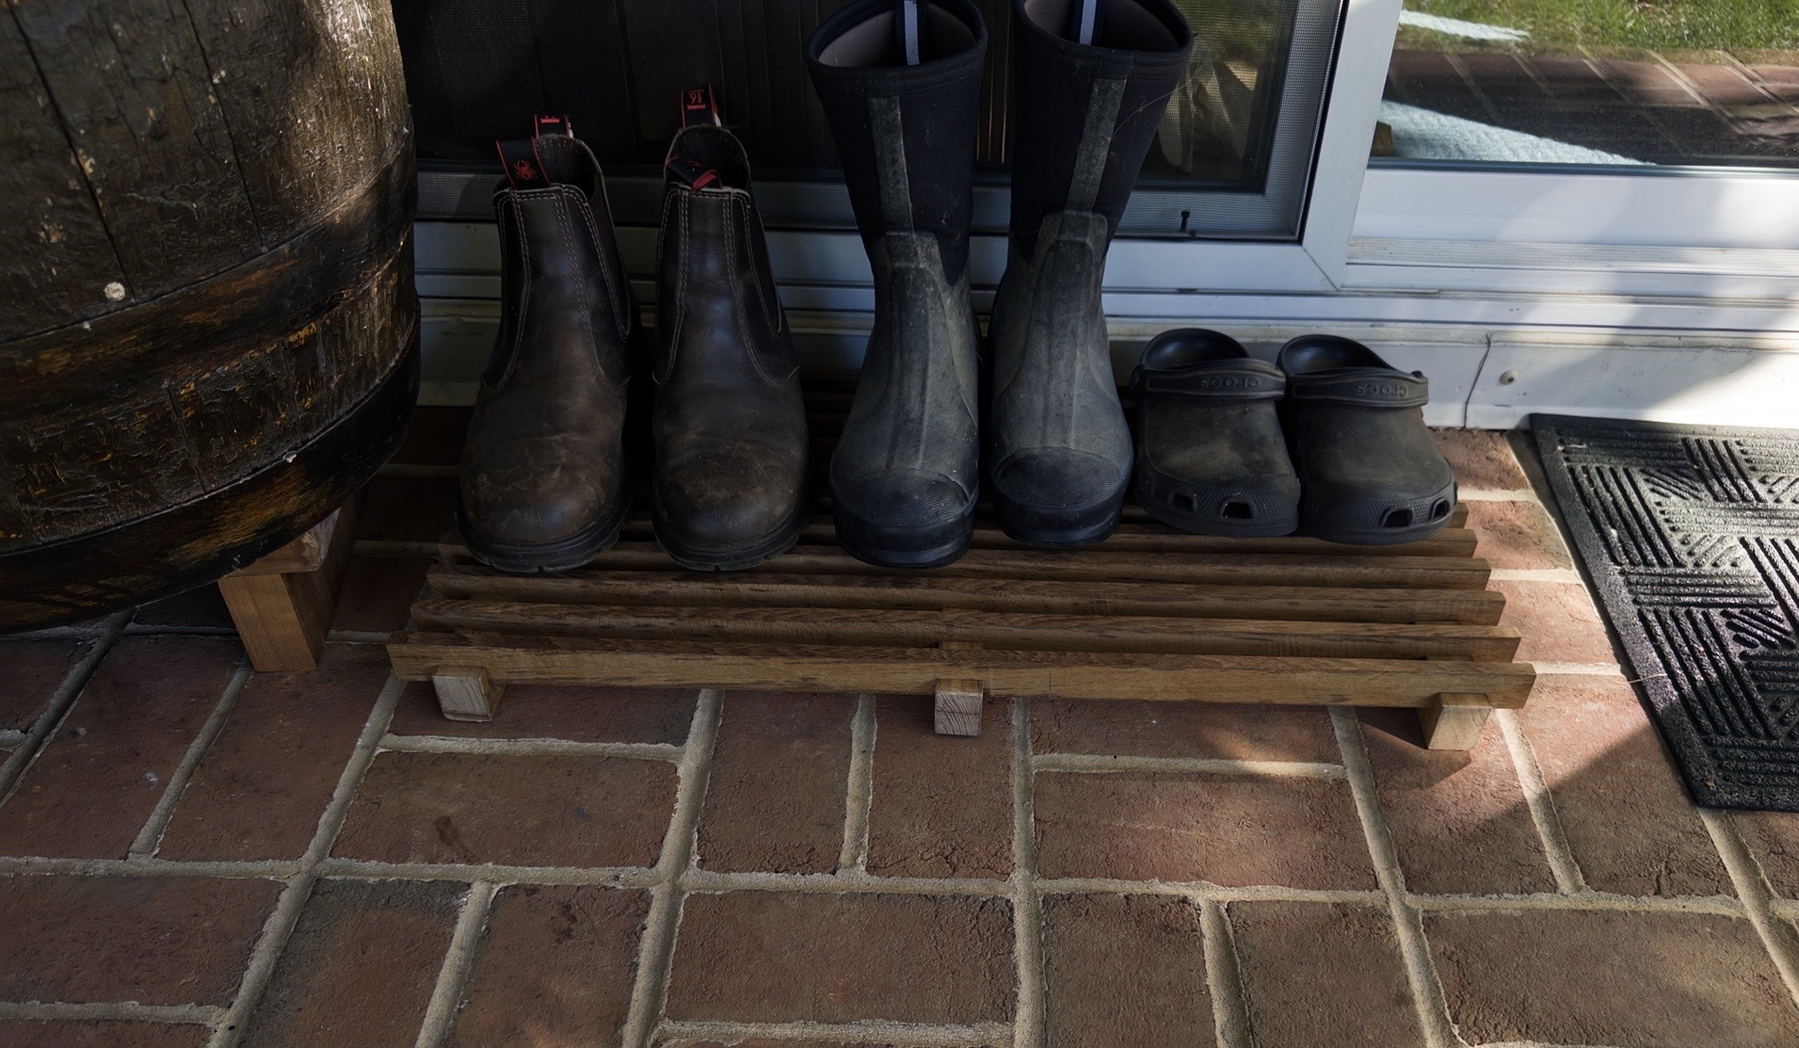
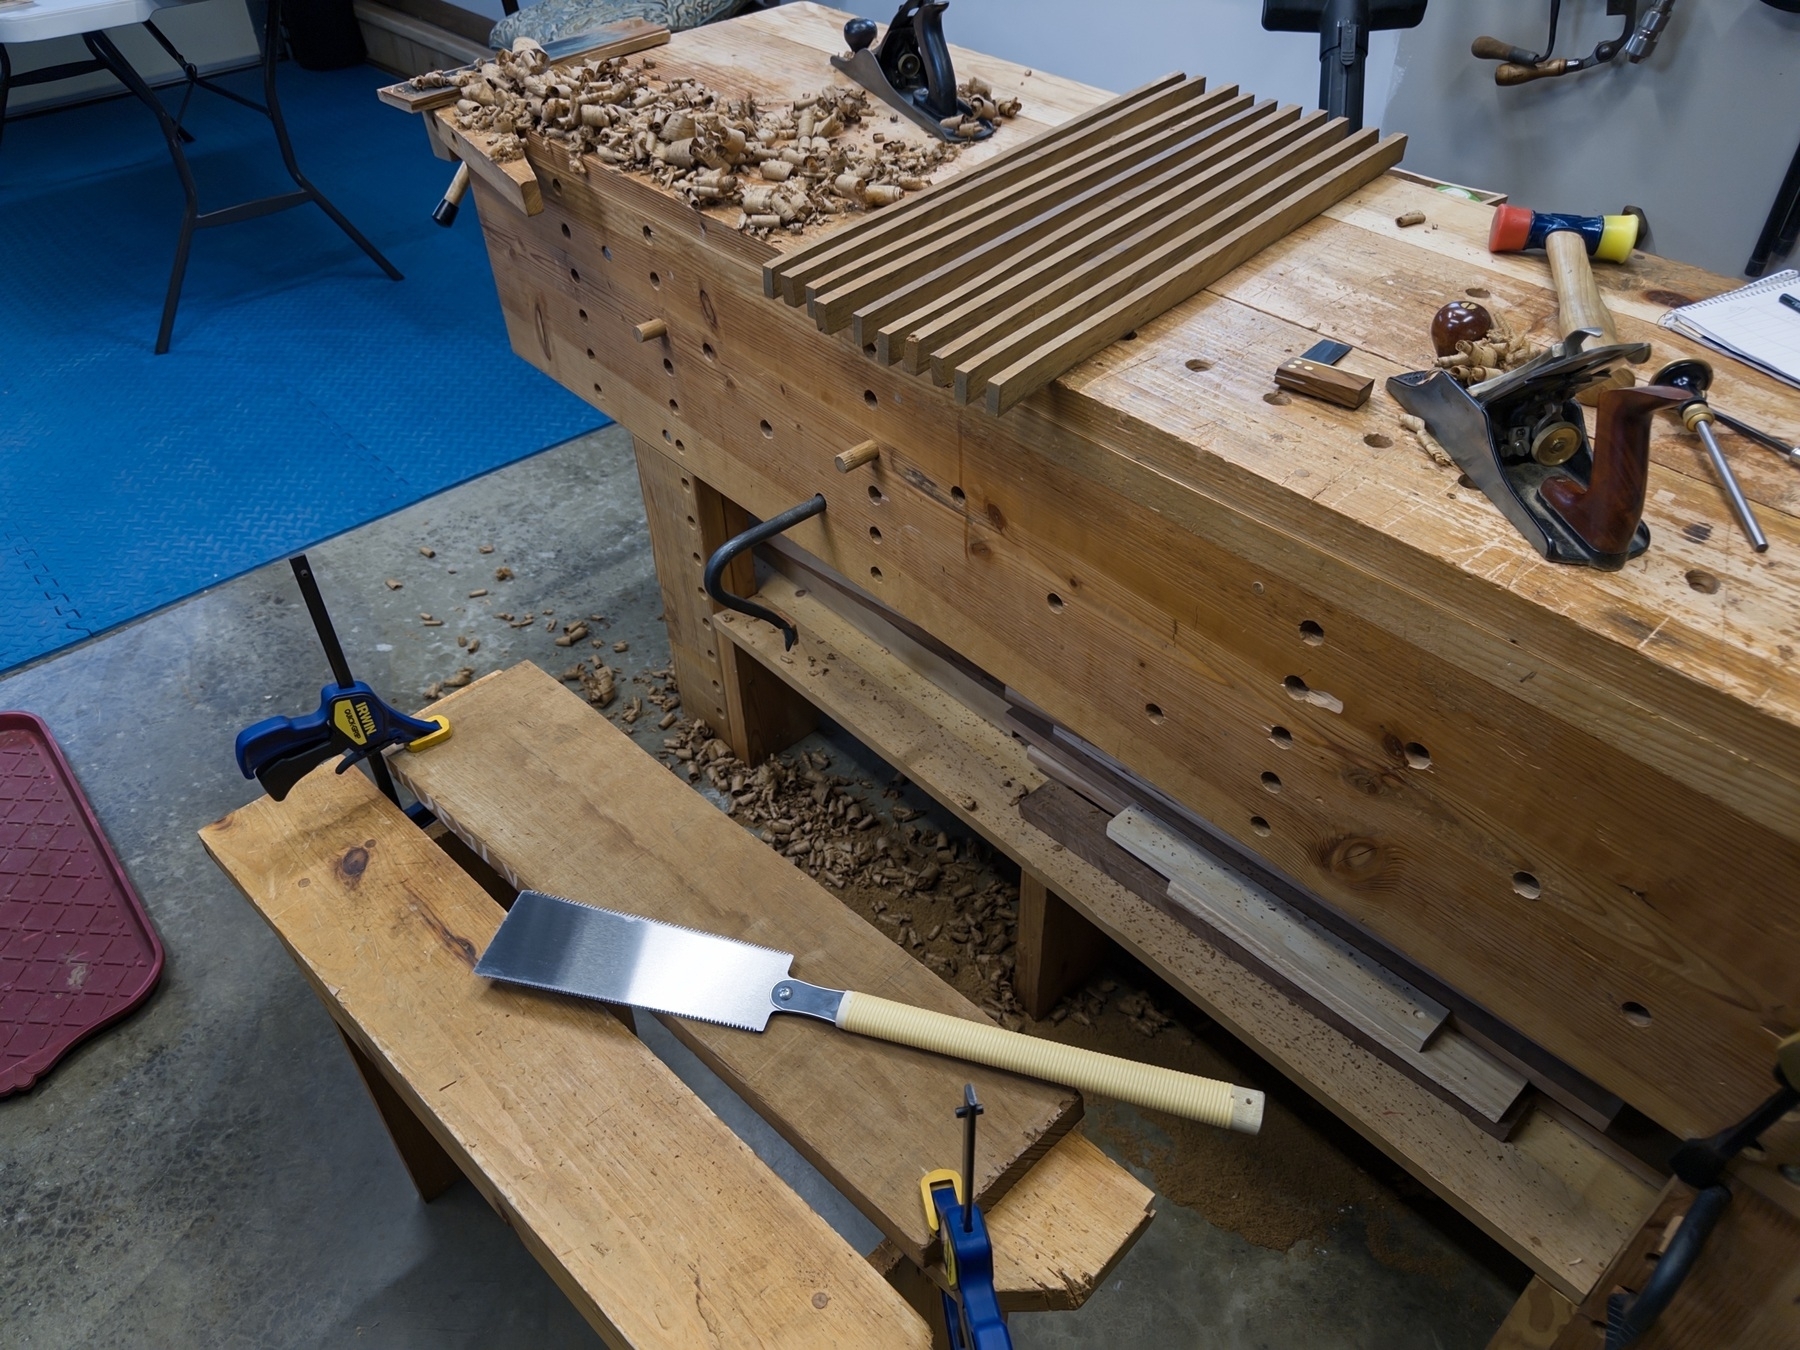
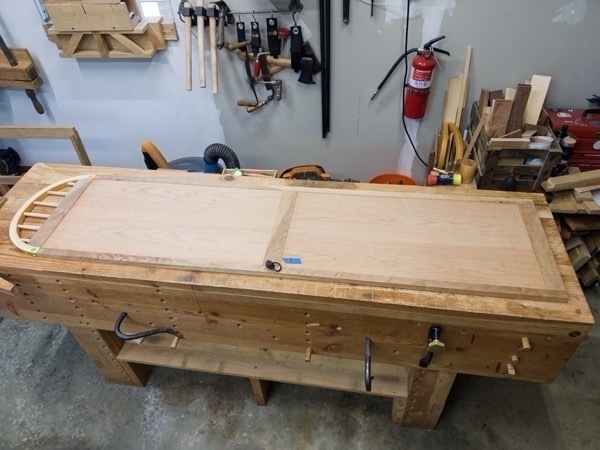
Made a new shooting board to go with a new shooting plane I picked up as a factory second a while back from Lee Valley. First time I’ve ever used a dedicated shooting plane with a track. What a pleasure to use.
We acquired a massive cabinet from a friend when we lived in Germany. It was circa 1920s and is what I’d call “proto-IKEA,” in that it was designed to be disassembled, presumably because it was so huge and heavy. We grew attached to it over the years, but the problem we faced is that it didn’t fit in our new small home. So this project entailed converting the full size monster into something much smaller by removing the center section and building a new base and top. I had three goals for the build: (1) make a new cabinet using the sides and doors of the old cabinet that could also be easily disassembled; (2) make the new cabinet stronger; (3) only use hand tools. The main challenge: nothing was square in the old cabinet. Each door was a different width, the sides were not square, and the existing wood was warped.
Here’s what the full-sized cabinet looked like in our previous home. It was about seven feet wide.
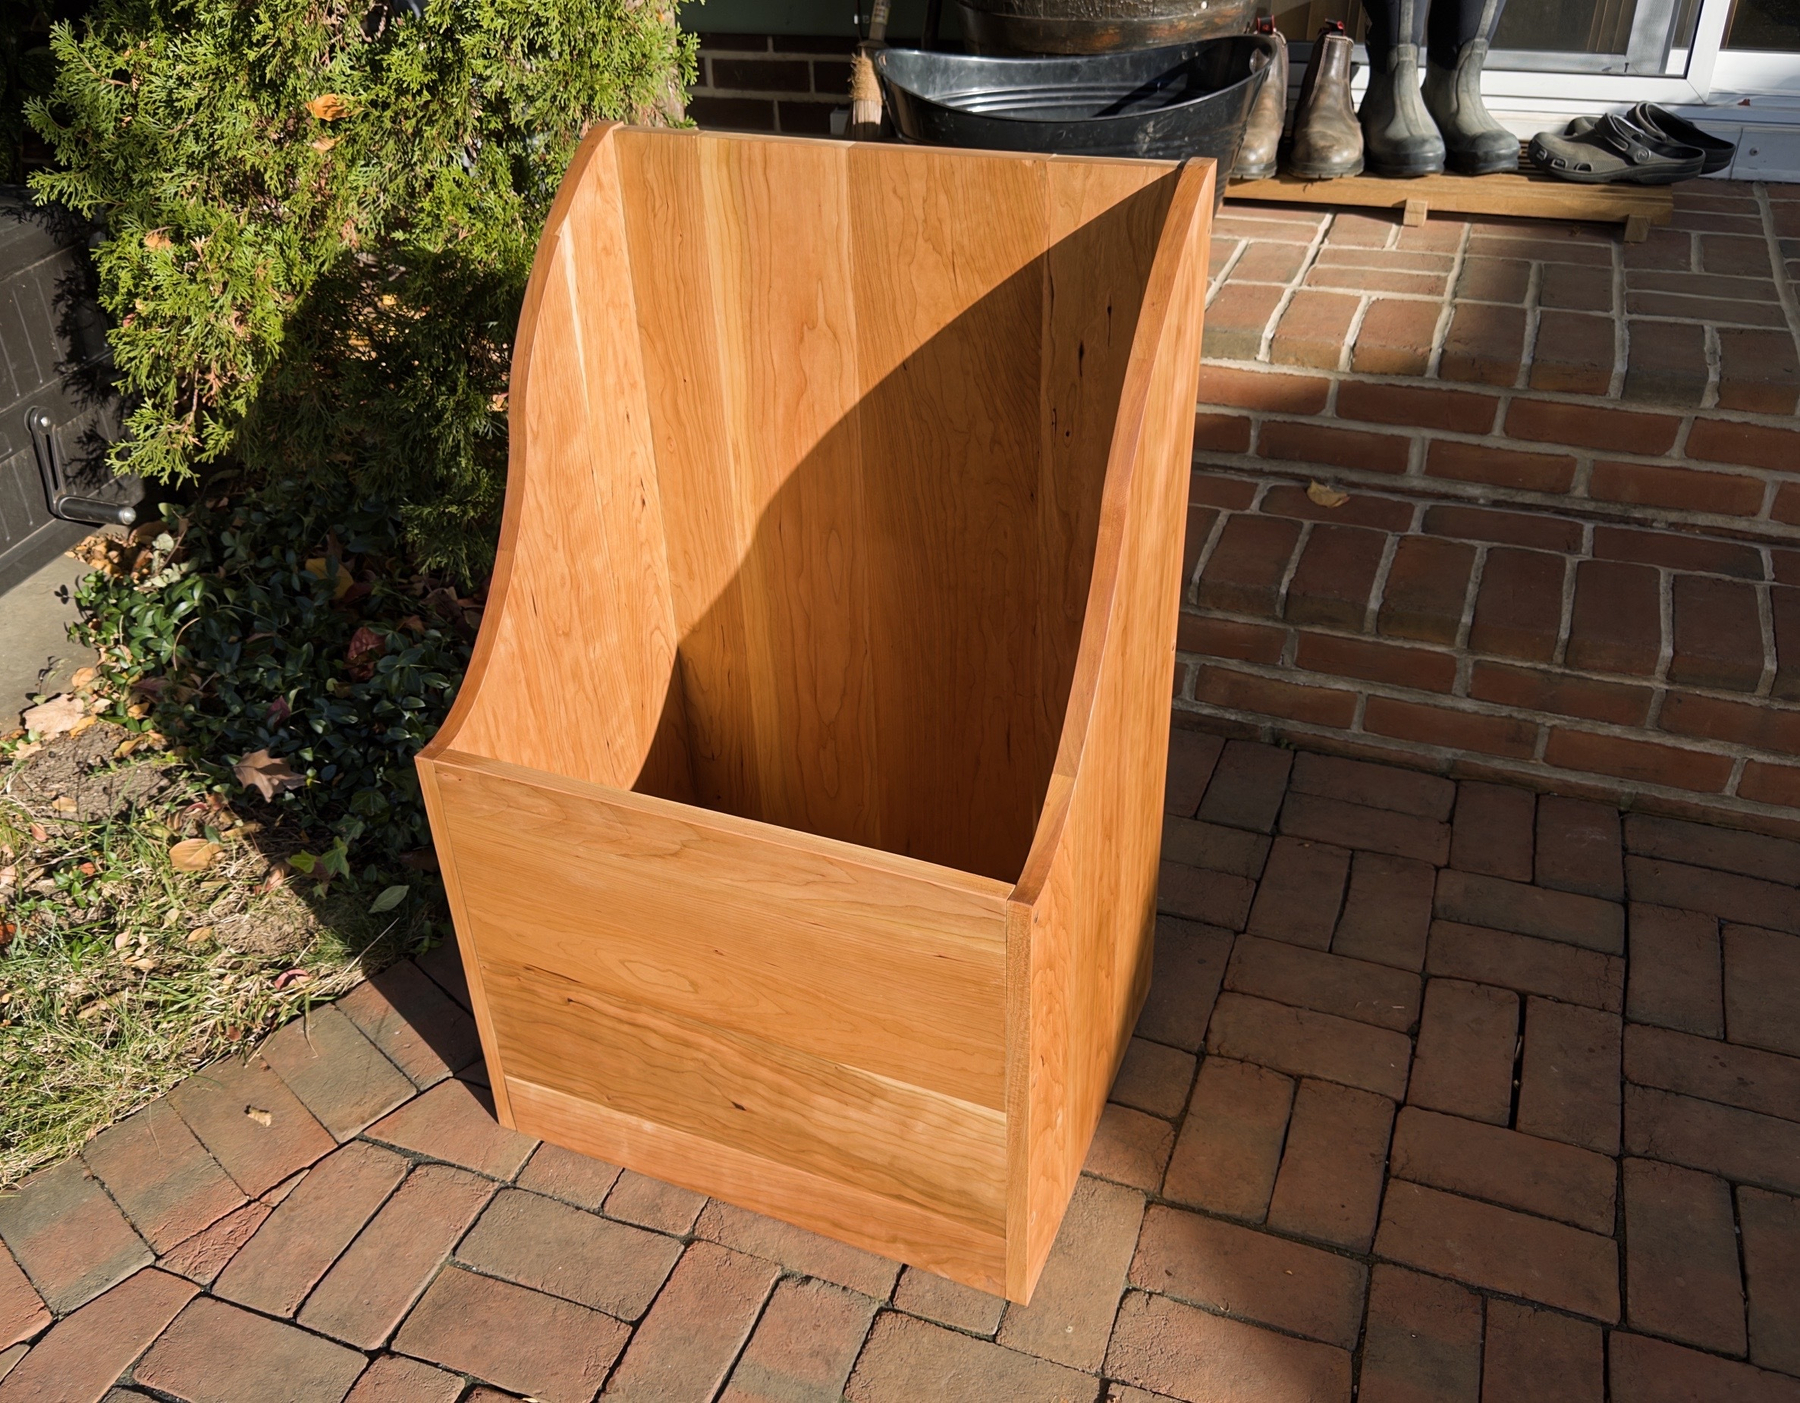
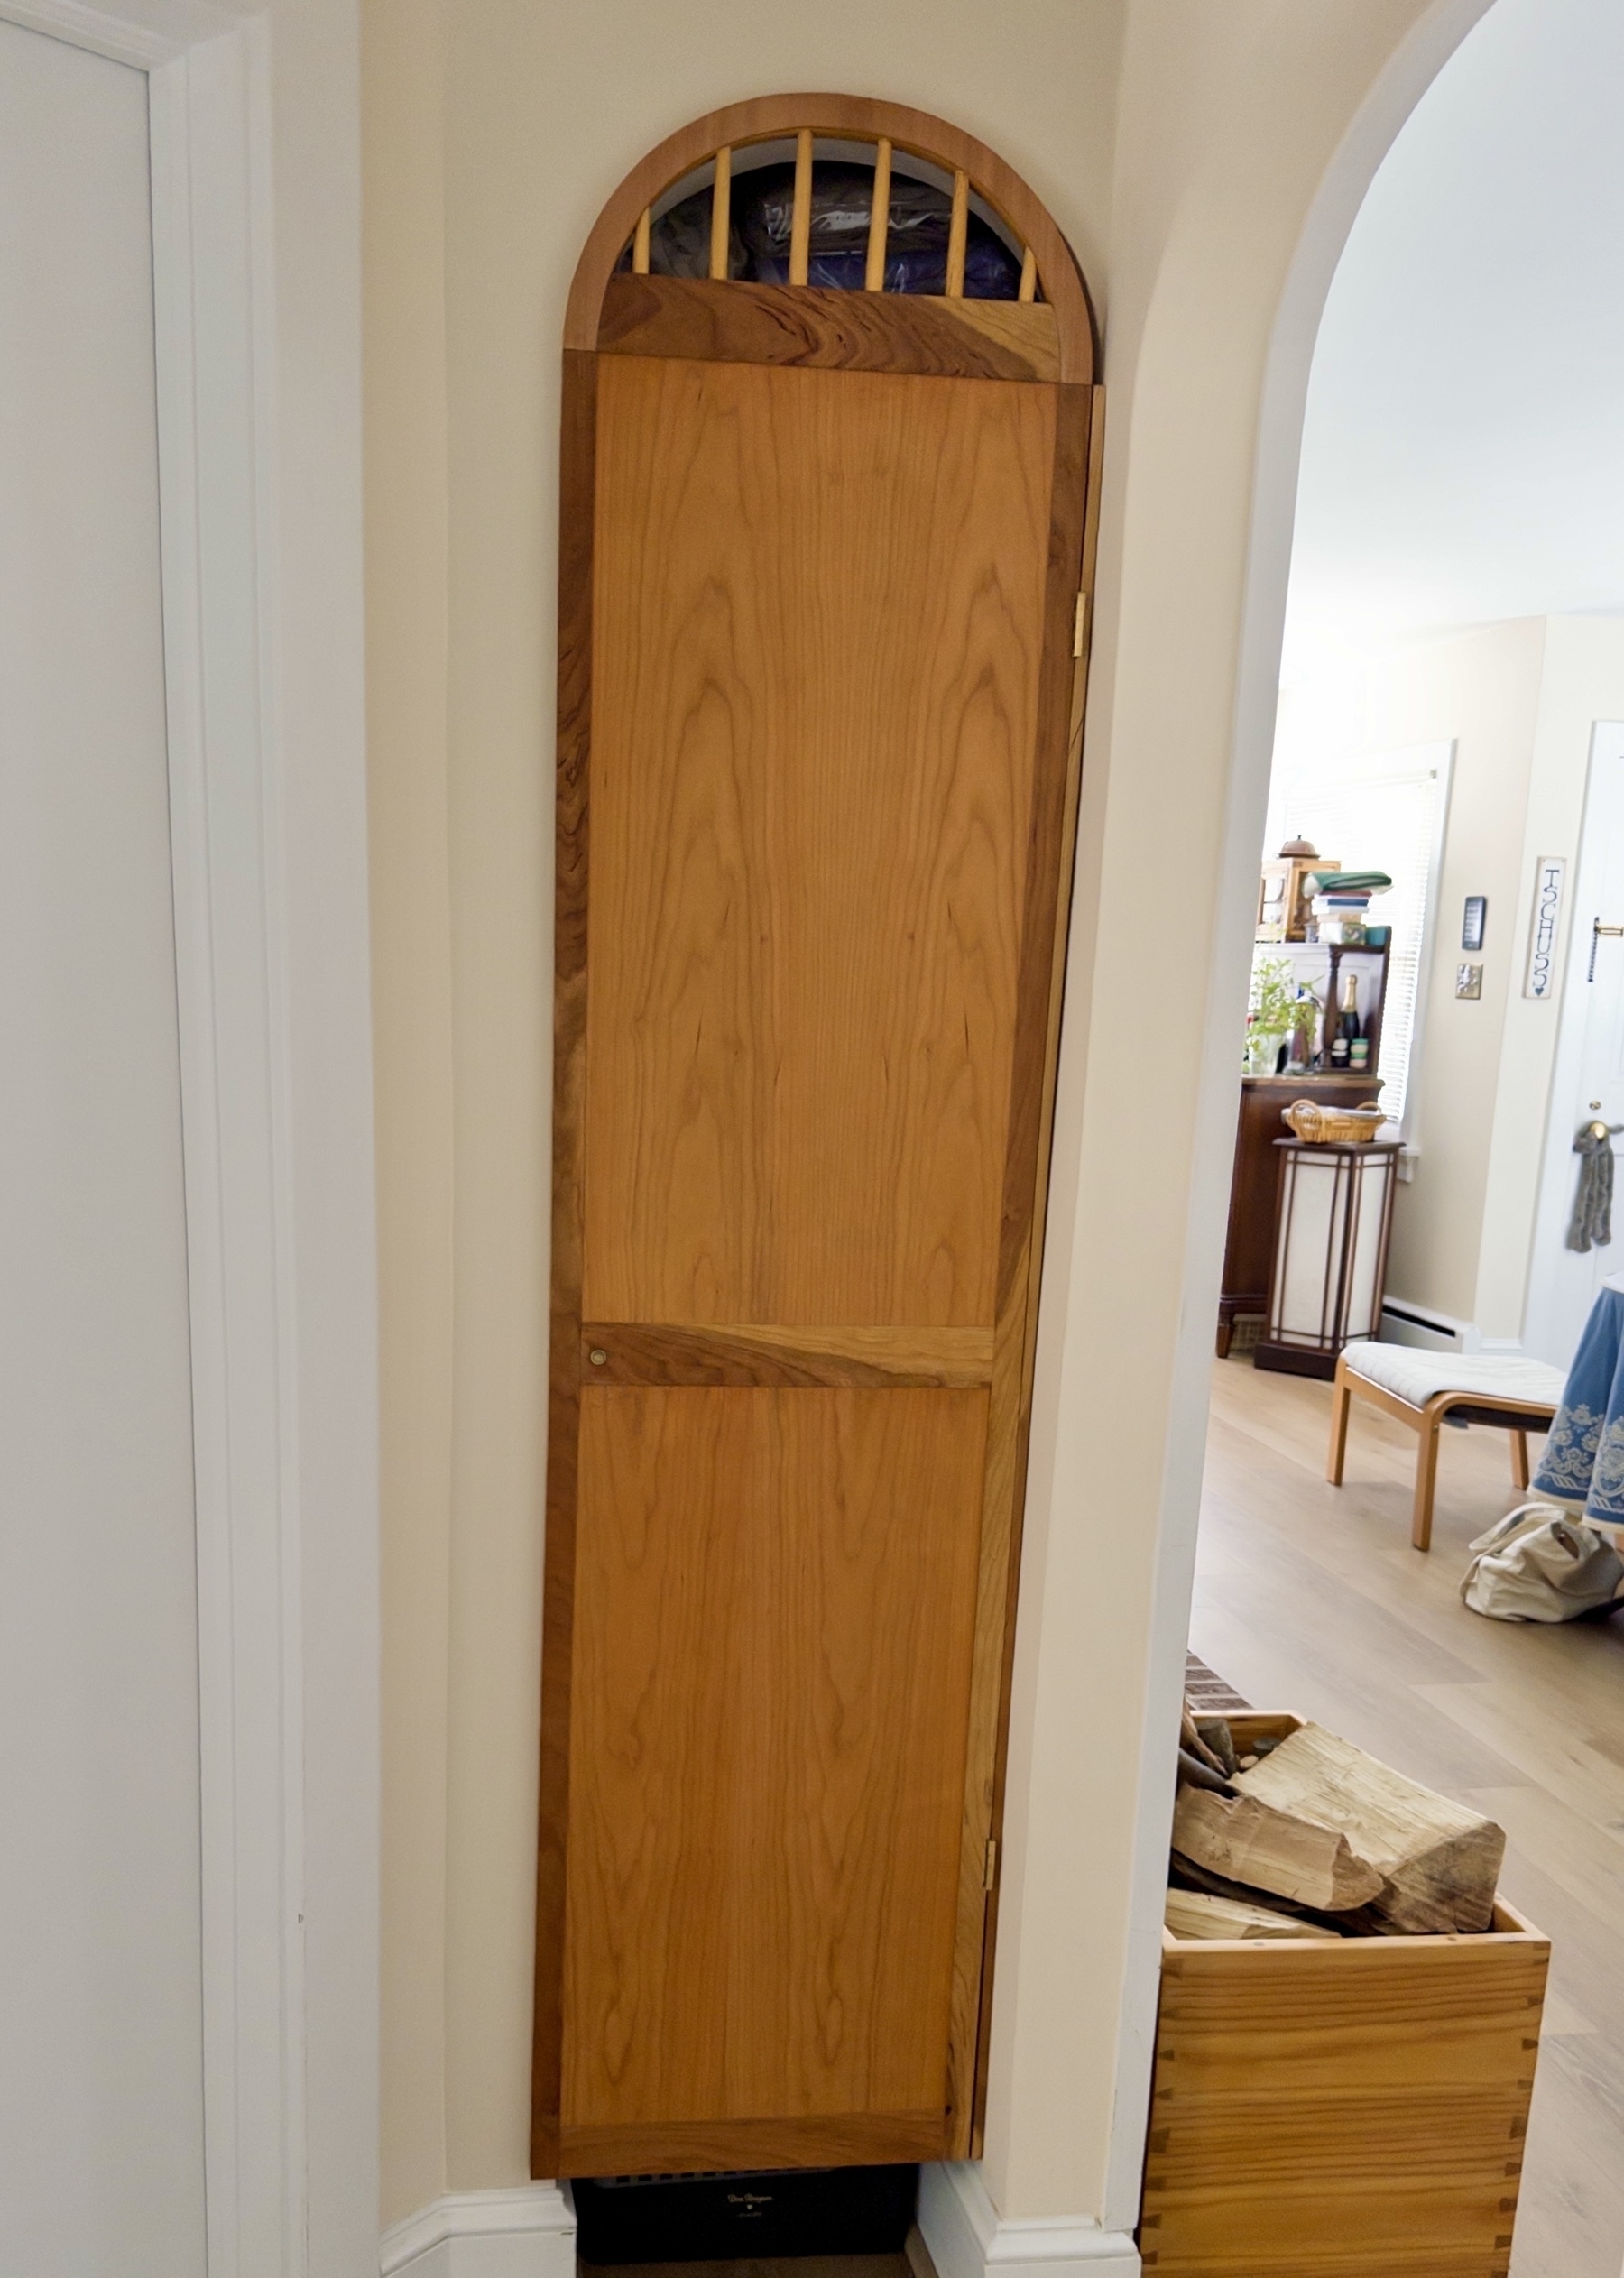
Here’s the completed “mini cabinet” in our new home:
Here’s a brief-ish overview of the process.
I made the four legs out of some sapele I had on hand. I cut each leg in an L shape to match up with the doors to give it a more seamless look. Then used mortise and tenons to build the frame with cherry.
Here’s the base support, dry fit. I used cherry for the show faces of the project.
For the floor of the cabinet, I used poplar. On each end that would be supporting one of the cabinet walls, I decided to use dovetailed boards for added stability to keep it all together nicely.
For the legs, I used chisels and a saw to slowly shape them out to fit the dovetailed poplar.
Here’s the completed right side of the base.
It ended up having quite complex joinery, but it all worked out. These end pieces of the base frame will support each cabinet side.
Here’s the base dry fit, each poplar board is shiplapped.
The trickiest part of the project was figuring out how to support each wall. The original cabinet has only a single center pin on each side holding the side in place, but these pins were just slotted in and didn’t offer any support. It was basically held together just by the weight of the top. Each side also slots into the base and top with a what is basically a long mortise and tenon. So I had to come up with a plan for the base and top to fit these long “tenons” and also to strengthen how each side attached to the base.
That’s what the following shot shows. The center hole fits the pre-existing pin. Then I added two new holes on each side and inserted a thread in each so I could bolt it in place with a hex wrench. Each side piece also slots into the base.
The top was a much simpler affair. I first cut and shaped the top front.
I went with dovetails for the top frame to keep it all together nicely. I closed up the top with a 1/2 inch plywood insert that is removable so if we need to take it apart again it’ll be easy to move.
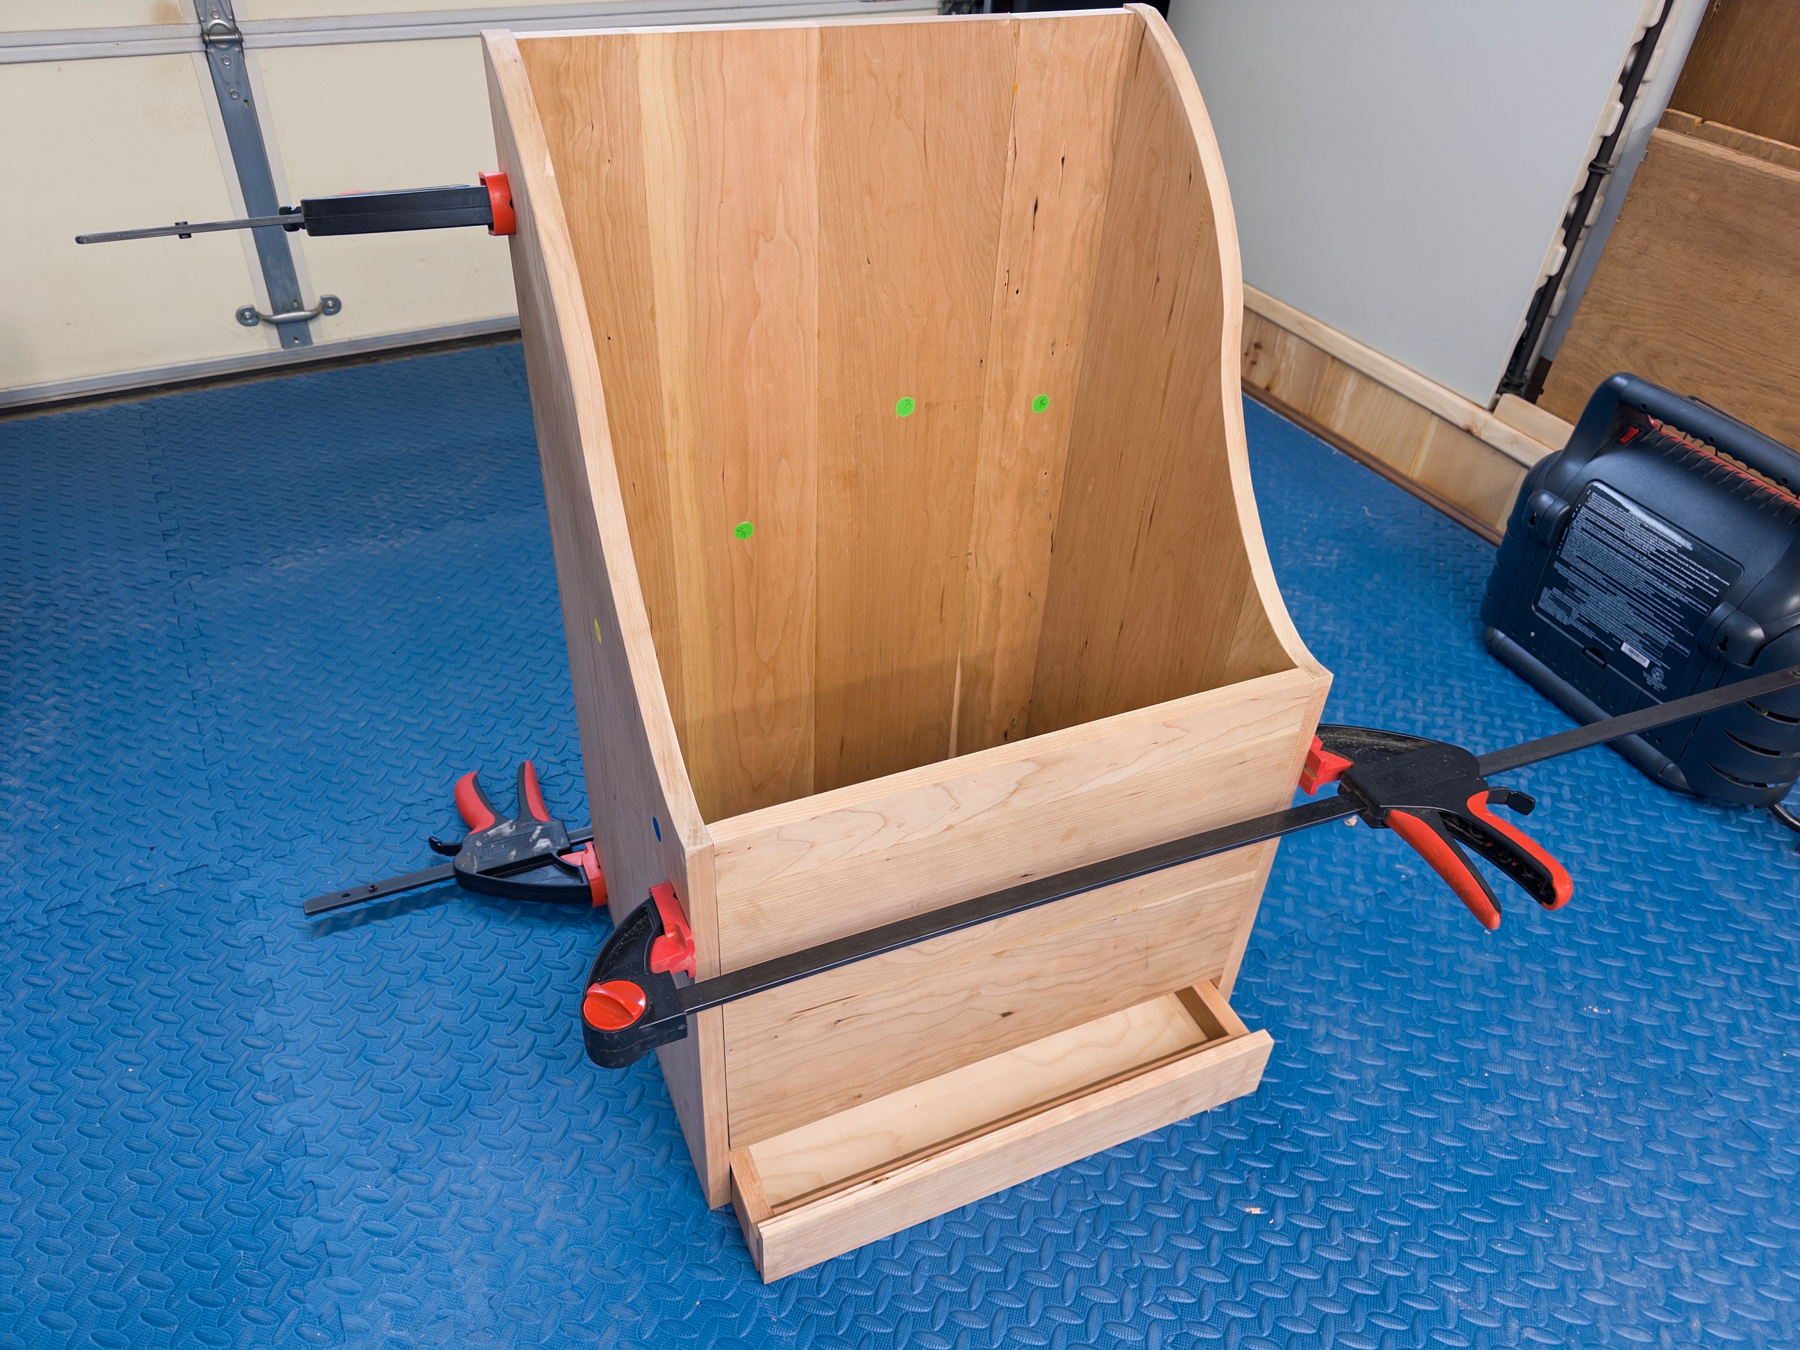
This is the completed cabinet showing the interior. The back is 1/2 plywood. The shelf was re-used from the old cabinet and just had to be cut to size. The nice thing about the design is that base, top, sides, doors, and back are all removable, so it can be knocked down if needed to transport easily. I took the rosette from the old cabinet and placed in on the new top (it was just a nailed-on affair, this was not a high-end cabinet). I’m happy with how it turned out.
I recently completed my project to turn an early 20th century sewing station into a 21st century internet station. I used sapele for this build (second only to walnut as my favorite handtool wood to work with). Here is some documentation so I don’t forget what I did.
I made a simple base from a scrap piece of bubinga I had laying around. It’s held in place by two walnut dowels I hand cut (pounded out with a dowel plate) to fit through the existing cast iron screw holes where the base of the old treadle was held in place with big screws. These dowels go through the screw holes and into the wood where I drilled some holes. My aim for this project was to complete it without any screws or other hardware, so these two dowels and two top dowels I document later are what keep in solidly locked in place.
I had to join two boards to have the width I needed for the base and sides.
Each side was cut at angles to match the angle of the cast iron sewing machine table base.
The base of the cabinet was a simple square, thankfully no angles.
The sides were joined to the base with dovetails, I used a variable width just because I had never tried to do differing widths before. Turned out well.
This cabinet is for computer bits that get warm, so I wanted to maximize airflow, so I left the top open, held in place with two dovetailed arms in the front and back to keep it mechanically solid.
Here’s the first dry fit of the cabinet frame.
My design was for two shelfs to hold a wi-fi router, a 5-port ethernet switch, a Hue hub, a Synology, an outlet extender, and a big ol’ UPS power supply (I have 9 total items to plug in, including some equipment that will be placed on top of the table and on the floor next to this table), but I did not want to see a crapload of cables. So I decided to make an angled back panel to hide the UPS and cabling. Here’s what the inside of each side looked like before the cuts.
The shelf dadoes were easy enough to saw, chisel, and router out, but the angled grooves were a challenge. I couldn’t saw the edges of this groove given the length and angle (at least I couldn’t figure out how to do that), so I slowly and carefully cut out these angled grooves with my hand router. The angled grooves are cut to fit a 1/4 plywood back with some wiggle room (a bit wide).
I used the offcuts from the overhang of the shelfs shown here to use as supports in the back. These thin pieces are used to give me a place to attach ties to keep cables tied nicely up. I liked this solution because there was is no waste and the bars on back will serve a useful function.
Here’s a view of the back to see those offcuts in place.
I decided to use 1/4 plywood for the back angled panel — used mainly to hide cables. So I needed to make holes to pass the cables through. The first attempt at my plywood back failed. I hand chiseled out openings to run cables through. It came out nice, but after I completed it, I tripped after removing it and it snapped in half. Oof. So my second iteration was done using the only power tool in the project: I used a cordless drill and a Forstner bit to cut out six holes to run cables. This was a better solution, overall.
I drilled holes in the top of the cabinet so I could attach walnut dowels to hold the top in place, using the existing openings in the cast iron frame to keep each dowel locked in.
Here’s the dry fit. The medallion on the top shelf you can see below on the top shelf was mounted to the cast iron sewing machine; I was able to delicately remove it and place it here.
A close-up of the medallion, just because I think it’s cool. We lived in Kaiserslautern, Germany, for seven years (where we picked up this sewing machine table at a flea market), so this is a touch of something special for us to see this mounted here. We’ve been lugging this table around for about two decades, but never had space for it. I was about to give it away, when this project idea came into mind. I’m happy that I found a way to turn it into useful furniture.
I finished the cabinet with Osmo top-oil, because I’m lazy with finishing and like that I can just rub it on, it looks nice, and it dries fast.
The back of the cabinet, showing the slide-in 1/4 panel with holes for cables. I left this panel unglued so I can easily slide it in and out. This was a critical decision, as I aligned the holes so they were hidden behind the shelves, and a few of the cables I had to fit through were too fat to get past the shelves, so this made it easy to move it around to get cabling set up. The holes are also good to promote airflow, I figure, as well as the open top. I also may someday need to add more holes, so now that’s easy to do.
Here’s what it looked like in place, without anything in it.
And here is the back that goes against a wall, with all the cabling hooked up. It ain’t pretty, but I don’t have to look at any of this, it’s all nicely hidden behind the panel.
And here is the finished piece in place and in use with all the gear hooked up and running. There are only two visible cables: (1) the power plugged into the wall that goes to the big UPS and a black ethernet cable that runs to my desktop computer so I can be hardwired. The ONT for my new fiber network enters the house and is mounted on the wall directly behind the sewing machine table. The cast iron well where the sewing machine was mounted on the top of the table is covered by the printer, but it’s holding a hidden Anker 5-port USB hub with the cables poking out behind the printer for charging various things. The shredder and a corner light behind the shredder on the floor, along with a HomePod on the desktop, are also all connected up here behind the table without any visible cables. I’m pleased with how it turned out.
I am embarking on a quest of sorts to “recycle” an old sewing machine table I’ve carted around from move to move and held in storage for something like 15 years. My goal is to turn it into a hub in my computer room to store a UPS, a laser printer, a Synology, several hubs, a modem, a router, a 5-port switch … While tastefully arranging lots and lots of cables and power cords and allowing for good air flow. This will sit next to my computer desk at the point where I’m having fiber installed in a couple of weeks, so I’ll be able to hardwire my computer and keep all the associated network and associated gear neatly in place next to it.
Not sure how this is going to turn out, I’m designing it on the fly and relying on a sketch. Today, I got things started.
I began by disassembling the sewing machine table, which was quite an effort. I’m keeping the parts I don’t use in the hopes that I can use them elsewhere. There is some very interesting hardware here that I’m certain I find a use for in future projects. I’m thinking of mounting the foot pedal as part of the back cabinet “wall” for air flow, maybe to route some cables, and because I think it will look cool.
The first step is to create a lower bar to hold the eventual shelf that is going to be housed inside the iron frame. This is a scrap of bubinga. I will hold this in place with two dowels inserted into the lower screw holes of the iron frame.
The next step is to make the dowels. I’m using walnut here, pounded through a 1/2 inch dowel jig. Turns out 1/2 was a bit too large so I had to shave them down to a proper millimeter size to fit the screw holes.
Next, I drilled holes in each end of the bubinga bar to house the dowels.
Here’s what it looks like rough assembled.
Here’s a front view. The cabinet I’m going to build will be mounted on this bubinga bar at the bottom. At the top, the cabinet will be held in the frame by two wedged tenons.
Next up I needed to join two 8 foot lengths of sapele so I have boards wide enough for the project. This is an image of joining the edges.
And I glued them up so I’m ready to start cutting out the cabinet pieces tomorrow.
I sketched out a rough plan. I think this is the right kind of project to sketch out the basic idea but figure out the finer details as I go along. This sketch shows a side and front view. The cabinet will taper to fit the shape of the table. One thing I haven’t figured out: I want the UPS to sit on a shelf that faces the back wall. No idea how I’m going to do that at this point.
I finished up a gift pencil box for a friend. I have a bunch of lapel pins that I use for these projects. I cut off the back of the pin and then carve out a place to inset the pin into the box. Makes for a nice keepsake.
For this project, I used wenge for the sides and walnut for the bottom. I challenged myself to cut the smallest dovetails I’ve ever attempted and it was indeed a challenge. I almost scrapped this project to start over because I had so many problems. This is the completed box from the front:
And from the top, showing the walnut bottom:
I was originally going to make a sliding lid for this project, but that didn’t work out. I cut grooves for lid, but I cut them too close to the top of the box, so the top edge split the first time I tried to slide in a lid. So I improvised and shaved off the top grove to make it an open box. For the box top corners, I used a chisel to make little bevel edges so it looks like I planned it that way. I also had a heck of a time with the tiny dovetails. When I started this, I was thinking “I wonder how small I can go with dovetails?” Well, this is apparently as small as I can go with my experience level.
A few items of note for this project:
I used a Raamtang vise made many years ago. As I do many smaller projects, I find myself turning to this tabletop vise quite often. It’s a very useful appliance.
Planing the thin pieces took some creative work holding on my Nicholson bench.
This is the setup I used to mark the tails. The hardest part about working with this wood: I could not see the lines, the wood is so dark.
When I was cutting the dovetails to the line, I used blue tape to mark where to stop since I had so much trouble seeing my lines. I used a Dozuki saw to cut the dovetails and it worked very well. I think I prefer using this saw over my western dovetail saw.
A few holidays ago, I got this set of very tiny little chisels because my wife thought they were cute. I’ve never had occasion to use them until now! I felt ridiculous, but I couldn’t otherwise get at some of the places with my smallest regular-sized chisel.
Fun project, but looking forward to the large bookshelf I’ll be building next.
Utility room shelves complete.
This one is odd, but it serves a purpose. We have an elderly cat who has bad joints so has trouble eating. I set out to create an adjustable tray so he didn’t have to bend down to eat. Here’s what I came up with. I made it tall enough to plan for the future (in case we end up getting a really large cat or a small dog someday in the future). Our cat can now comfortably eat while seated. The trays easily move up or down depending on the size of the bowl.
The inspiration for this: I had two Harbor Freight bar clamps in my shop, shown below, which I never use because I don’t like to use them for work holding. But the one thing I like about these is that the bottom clamp ratchet is very easy to move up and down. So I thought, what if I cut these clamps up and used the parts to make a cat feeder that could be adjusted?
This is the end result, with a touch of decorative cord wrapping. This was all made with wood scraps and it’s mostly poplar. I’m happy with how it came out and I believe it a one-of-kind design. I mean, really who is going to make something this weird?
Each tray is attached with four screws (and glued) to the aluminum clamp ratchets. I framed the trays so each has a lip so the cat can’t push the bowl off the edge.
I added bumper feet on the bottom of the stand to keep it off the ground a bit in case a water bowl is tipped. I made the top removable so each tray can be removed and cleaned. The tops are capped with scrap leather just to ensure we don’t cut ourselves on the cut aluminum edges. Each bar is set in the poplar base with deep mortises, glued, and screwed in. Also, I added wood inserts to the inner part of the bars for more sturdiness.
The top is shaped so it’s easy to lift off. I cut tiny mortises to fit these bits from the bar clamps and they just rest on top of the aluminum arms. I glued them in.
And here is the final. The apparatus is sized to fit nicely on a standard cat mat. I finished all the wood parts with three coats of Osmo TopOil High Solid.
I decided to try my hand at making a small Kumiko ornament for the tree, as a first step in learning this process for later larger projects. This one took way more time than expected, because I needed to first create the jigs to cut tiny Kumiko strips. I figured out what I needed to do with an excellent book, Shoji and Kumiko Design: Book 1 The Basics by Desmond King, and very helpful YouTube videos from Adrian Preda. So I bought a big chunk of 5’‘W x 36’‘L x 1-1/16’’ basswood from Rockler and went to work. Here’s the finished piece.
And here are the basic steps, starting with some pics of getting the basswood cut down to size. I started by cutting the board into thirds.
And then cutting those boards into thirds.
And then resawing all of those thirds.
I used two-sided tape to hold the wood while I cut the small strips out of the resulting boards, after planing them down.
Here are the jigs I made, which took the most time in this project by far. The first one in the image below is for cutting the angles needed. I made this design up and I’m proud of it because it is all self-contained and can hang on a wall. You’ll see how it’s used shortly. The second jig is for planing the basswood down to uniform strips of 1/2" by 1/8"
Here’s the planing stop in action. The stop is 1/2" and two inserts are added as needed, one is 1/4" and one is 1/8". The side piece of MDF is used to cut the strips to length, after removing the inserts. So it does double duty.
Here’s how the angle-cutting jig works. The two short pieces of hard maple can be flipped around so each has two angles available. These fit into the jig with an adjustable stop for longer pieces. I hope to make larger Kumiko projects later on, so this gives flexibility. I can just cut new maple blocks if I need other angles to make other Kumiko patterns.
And here is my first Kumiko pattern (in the classic asa-no-ha shape). It is not perfect, but I’m happy how it turned out. I stuck it in the Christmas tree. Next year, I aim to batch produce a number of these for gifts. It was fun to learn how these work and was a challenge for hand tools only. Learning to do this with buttery basswood is a good way to go. I may next try one with walnut.
This is another going-away gift for a work colleague who left for another job. I’m incorporating a lapel pin in the project from my place of work, as I’ve found that cutting off the back pin part and insetting the small metal logo looks really nice. The box is poplar with a bubinga top and bottom. The gift is for someone who appreciates quality pencils, so this project was a great fit. The instructions for this box come from Renaissance Woodworking. This is a great, easy-to-do project. The pencils I bought for the box are Mitsubushi 9850. As an aside, I’ve found Mitsubishi 9800 pencils to be perfect for woodworking because the graphite is strong and makes dark lines.
Here’s a project using scrap walnut tongue-and-groove boards I was given by friend, which I used to create a small tray to dry herbs — my wife does a lot with herbal tinctures and such and needed a rack to dry some of the plants and mushrooms she collects while foraging.
This is the final drying rack:
The biggest challenge in creating this was the small size. Here is the walnut board I started with:
I used a holding tool I previously made called a Raamtang to keep all the small bits held firmly while I worked on them. This small wooden vise has proven invaluable over the years and is worth the time and effort to build if you create a lot of smaller projects.
I decided to make this a simple mitered box, but will add splines for strength. I cut the angles free hand and then dialed them in with this 45 degree shooting board I made. The final pieces are shown here resting on top of the shooting board.
I added a fancy curve to the four edges of the tray. I drew the curve on paper then traced it onto the wood. I used a backsaw to cut the to lines of the curve.
Then used a coping saw to get near my lines.
Then cleaned it all up with files and a spokeshave.
Here are the final curved edges.
After glueing up the frame, I added the splines with a contrasting wood (scraps of oak). I cut out the corners, cut the splines, then planed them flush with a block plane.
Then the final step was adding the chicken wire, for which I used some mesh from a big box store. The wire mesh is attached to the underside of the frame with wood strips half-lapped, glued and strengthened with small screws. That’s it.